Posts tagged with: Hickory Run State Park

Thoughts on Photography: Camera Support


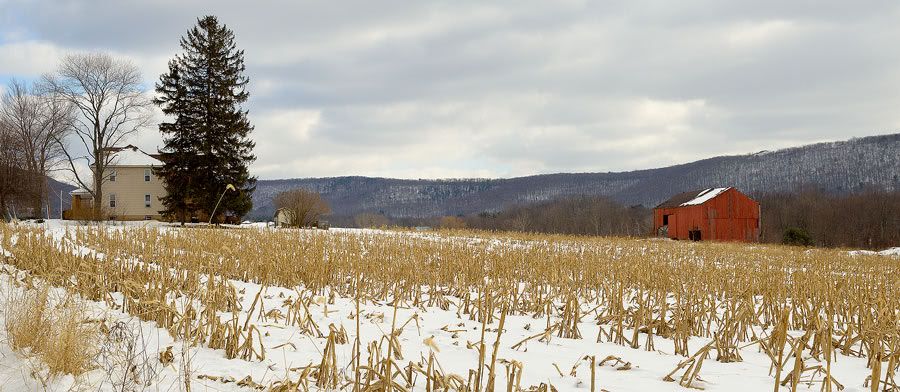
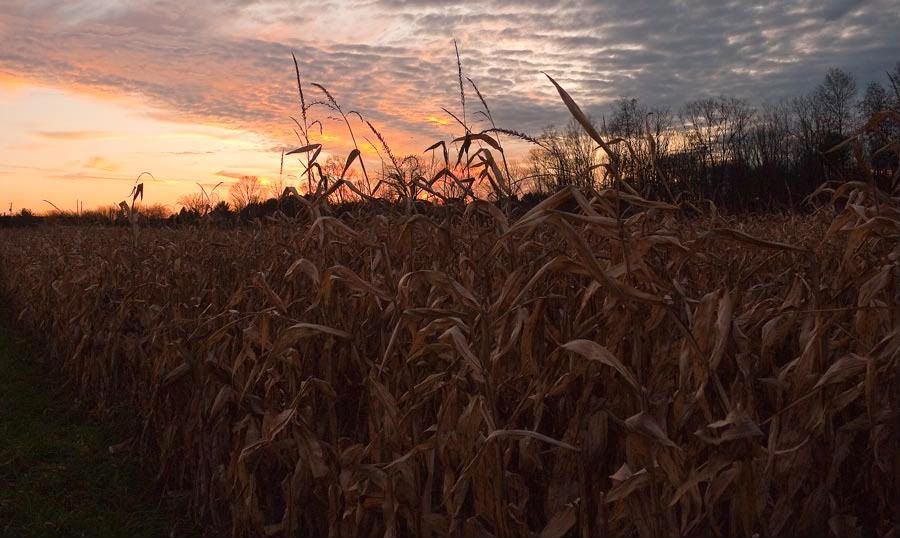
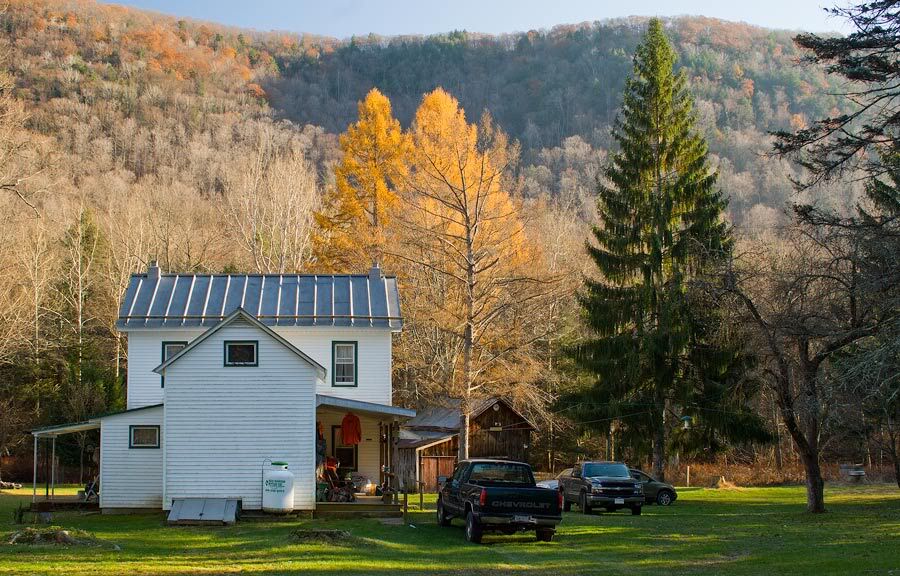
Pennsylvania Winter Farm (Nikon D7000, Nikkor 16-85mm f3.5)


Occasionally, a budding photographer will approach me for advice on how to capture better images.

I think that my answer must disappoint them. I’m sure most beginners really hope that I can direct them towards the purchase of a particularly sexy piece of gear, such as a camera body, or a particular lens that will set their photography afire.

They want to talk about gear. I want to talk about composition, and technique. Particularly, I want to talk about rather mundane basics such as the nature of optics, shooting discipine, and camera, and lens support.

Not that there aren’t some great photographs blurred by subject motion, or camera movements.

Most great images are sharp, even if it is at a narrow point of focus selected by the shooter.

 Generally, for an image to be sharp, the camera and lens need to be still relative to the subject, as the shutter is released.

Now, there are many ways to properly stabilize a camera.

My first rule would be: the human body unaided, is at best, only a fair camera support.  Now true enough, a practiced pro shooter can hand-hold, and certainly achieve great results, usually far better  than an amateur. There are reasons for this. First, the pro is practiced at taking still images, much in the way a fine marksman, can draw a bead and hold very steadily on his target. It takes concentration and lots of repetition. There are places to learn this: here, and here.

 Most amateurs have lousy technique. They think that they can hold a camera, arms akimbo, far out from the body, trying to shoot a telephoto shot through a slow zoom lens, at an impossibly slow shutter speed, and still achieve Sports Illustrated quality shots of their precious soccer-playing offspring. It doesn’t work that way.

A pro understands that the proper shooting technique is to hold the arms close in to the body elbows braced against the chest or abdomen, and the viewfinder pressed against the face. Holding as modern digital camera out away from you while you frame with the viewfinder, is generally going to lead to fair snapshots, but lousy fine art prints.

Also, often pro camera gear, is heavier. This means that the poke of the finger on the shutter, and the movement of the mirror and shutter, on an SLR, is working against the greater mass of, for instance,  a heavy, metal-bodied  camera such as a Canon 1Ds mark II, rather than a diminutive plastic consumer grade Digital Rebel. It thus creates less blur-inducing movement.

 Most landscape purists use tripods… period. Many shoot large-format cameras that are too unwieldy to be practical for anything but tripod mounting.  The true purist would use, very heavy tripods with equally beefy camera mounts that add mass to the camera body and couple it rigidly to the floor or ground, essentially eliminating camera movement.

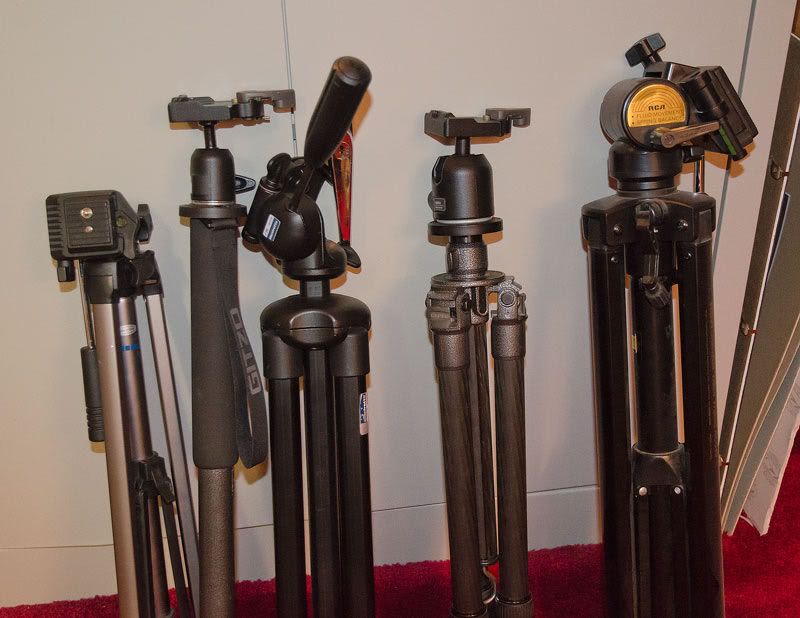
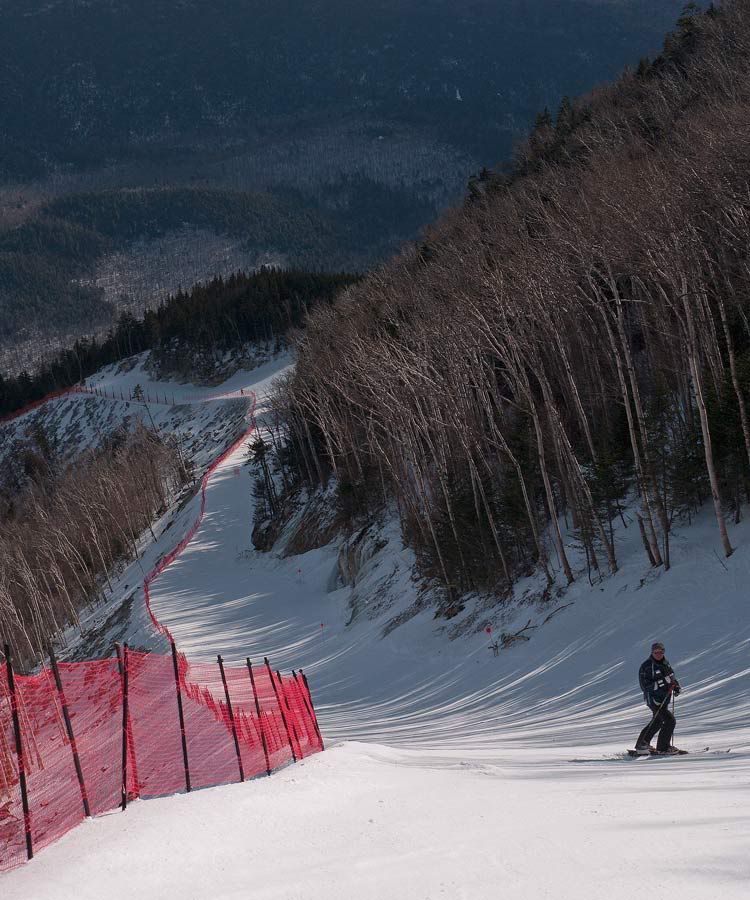
Camera Support (Nikon D7000, Nikkor 16-85mm f3.5)

Tripods are great for detailed images. They are less useful when for hiking long distances, for discreet shooting and sometimes, for spontaneity.

 Obviously, there are available, stabilized lenses, known as IS lenses for Canon,OIS for Panasonic, and VR lenses for Nikkor. These can partially make up for camera shake. Modern Sony, Olympus, and Pentax SLR lenses are generally stabilized by the camera body itself. Whether in the lens or body, stabilization is a useful feature, but can only be counted on to compensate for modest camera movements at reasonably fast shutter speeds.

Coppras Pond Shore (Olympus 510, Zuiko 11-22mm f2.8)

Combining a heavy tripod with a remote shutter release (or releasing the shutter by using the camera self timer) is still the best way to obtain sharp, enlargable landscape prints.  This is especially true when shooting moving water, or in low light situations.  We should probably all do this, all the time.

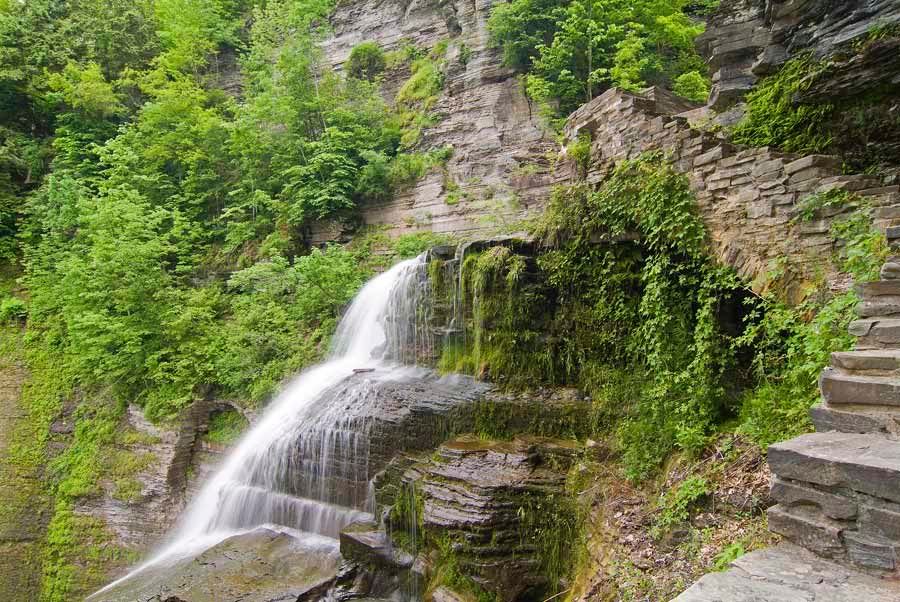
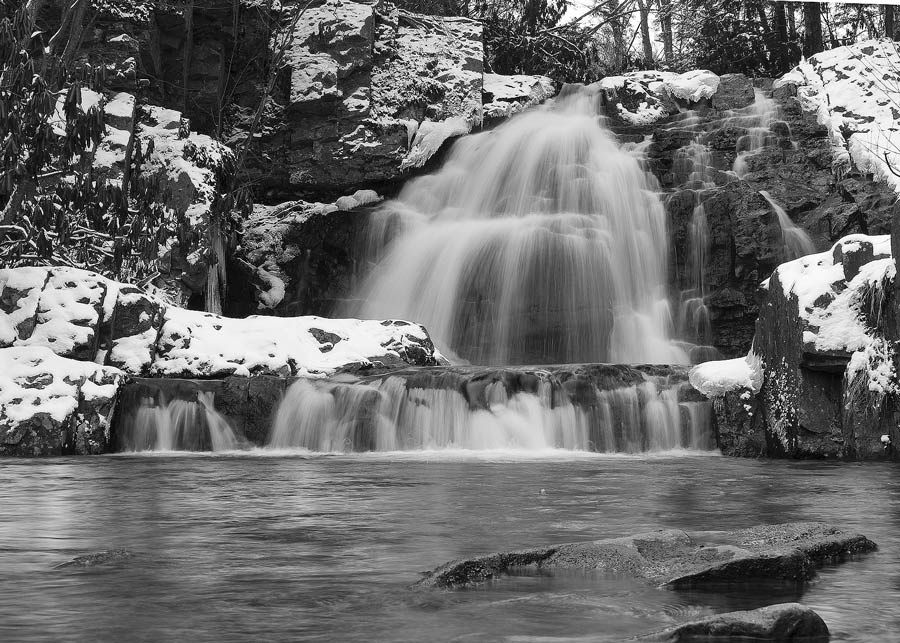
Lucifer Falls (Fuji S3, Tokina 28-80 f2.8)

In fact, good technique and less megapixels, will sometimes trump bad technique with more megapixels in terms of fine detail reproduction.

I have walked, snowshoed, and skied many miles with a tripods strapped to my pack. In a target-rich photographic environment, I sometimes leave the body and lens attached to the tripod, and travel with the combination over my shoulder, much like the way Huck Finn would carry a fishin’ pole.

 Lately though, I have changed tactics.  I found that sometimes setting up all the gear to work as a purist means that there are shots you won’t take because, it’s too much trouble. I still do use a tripod on formal shooting days. But for more casual opportunities, or for situations where I think that the neighbors will react badly to my presence, I use other techniques.

Cross-country skiing is one example. I have two ski poles in hand, and often, no where convenient to carry a monopod. I will then have to improvise.

Holding crossed ski (or hiking) poles with my thumb and third to fifth finger, I can improvise a bipod with the pair. My index finger can then encircle the barrel of the lens which rests in the cross. This works pretty well.

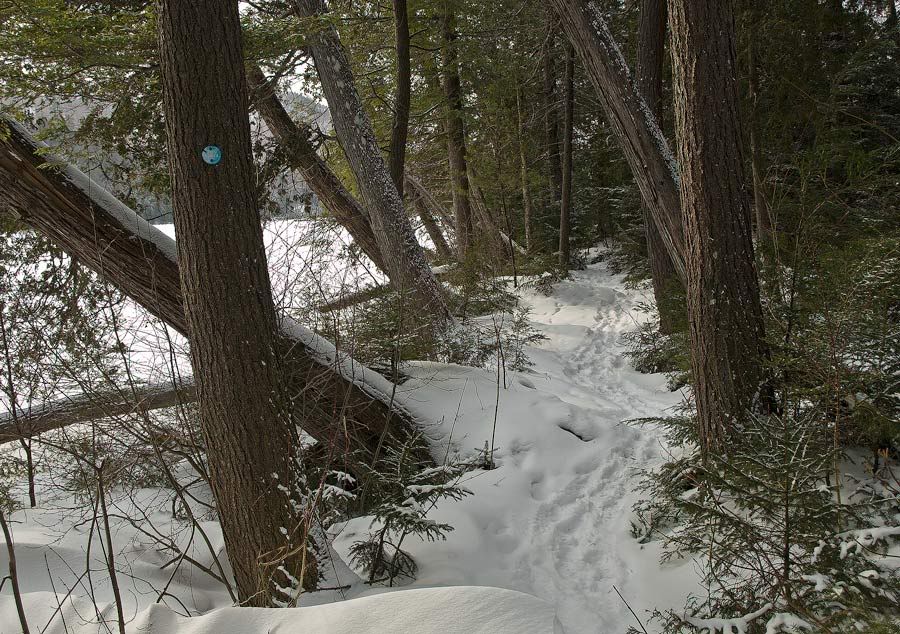
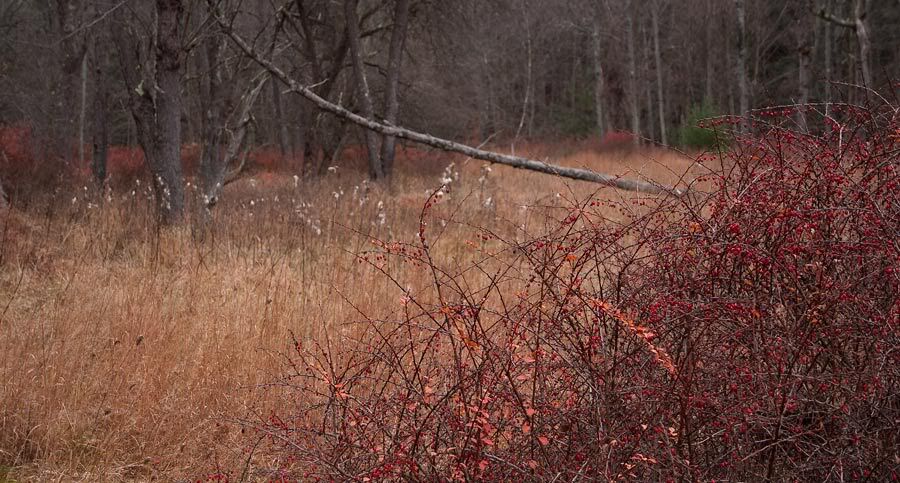
Whiteface Mountain,Wilmington Trail (Panasonic G1, Lumix 14-45 f3.5-5)

Trees when well located can be used to stabilize things, either by leaning against them, or bracing the camera hard against the bark. A small sandbag in your bag is helpful to facilitate the latter.

Any firm stable object can be useful. Fence post and bridge rails make fine camera supports. With SLRs, it is useful to press the camera into the support, to damp the movement of the mirror. Again a sandbag is useful to position the camera on a hard surface.

Logs, the hood of your car, your mountain bike seat, even rocks in the middle of a stream, can offer a shooting platform, as well as a non-intuitive, but unique shooting viewpoint. The Panasonic G 1-G1h- G2h-series cameras are great for this as they have an articulating view screen for framing at weird angles, are physically small, and have no mirror, and thus no “mirror slap” to dampen.

Hawk Falls, Winter (Panasonic G1, Lumix 14-45mm f3.5-5)

Finally, most often lately, I use a monopod.  Mine is a steel Bogen-Manfrotto unit with a sturdy ballhead mounted, a ballhead similar to, if less robust than the one on my good Gitzo tripod. Both ballheads use the same camera shoe so that I can switch back quickly between support options.

The monopod is a solid, heavy steel unit. The weight is an advantage when mechanically coupled to the camera, and then to the ground. There is a rubber foot, which can be slipped off to reveal a metal spike.

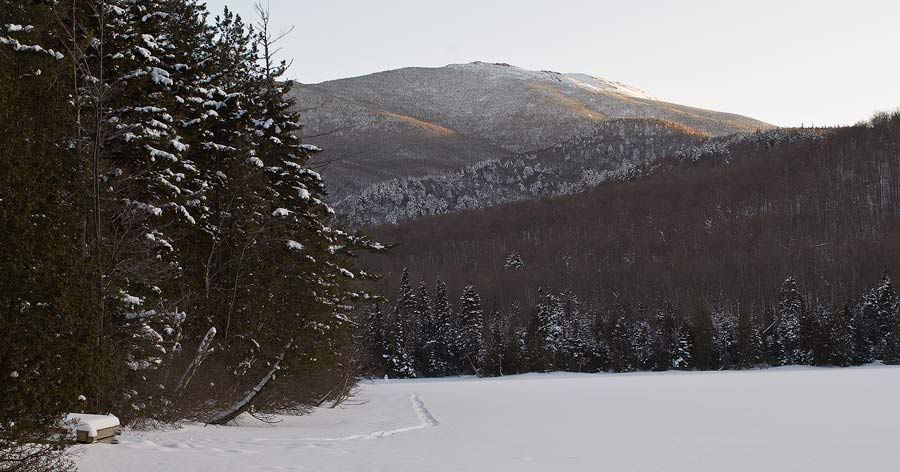
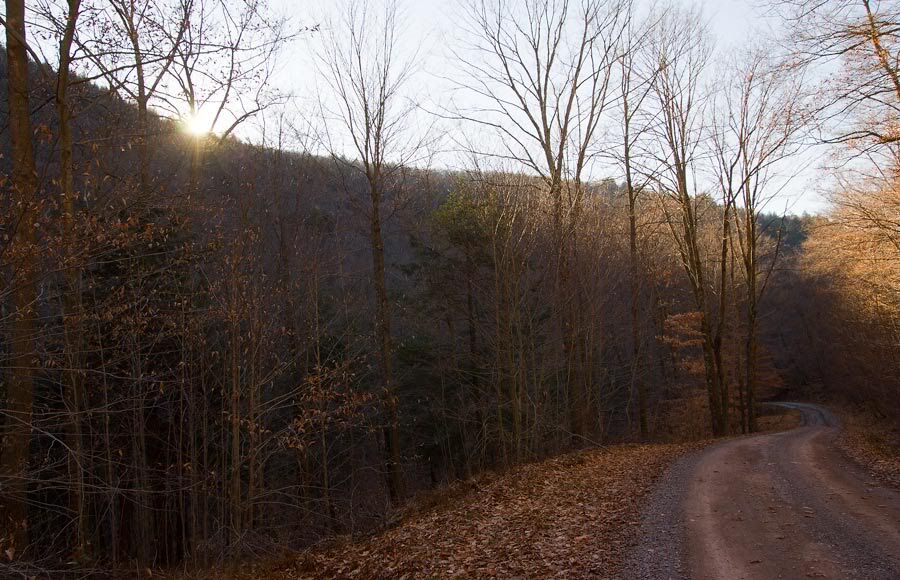
Wright Peak, from Heart Lake (Nikon D2x, Tokina 28-80mm f2.8)

It makes a robust hiking pole. I keep it in my car wedged between the passenger seat and the console where it is readily available for “grab shots”. I have also suspected it would make a formidable self-defense weapon.

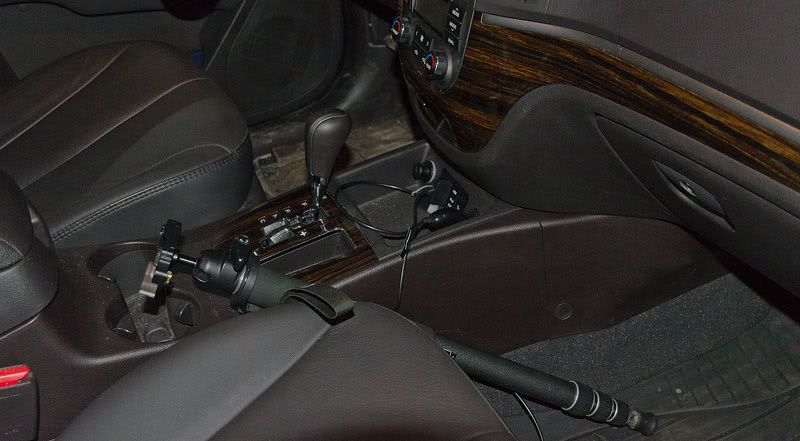
Monopod in my Car (Nikon D7000, Nikkor 16-85mm f3.5)

For landscape photography, I extend the monopod to the length I need. I make sure all of the joints are tightly locked. I position the camera with the ball head and then lock it down tight. I find that placing some weight on the camera-monopod assembly and making sure it if firmly engaged with the ground before tripping the shutter, allows me to take very sharp images even at marginal shutter speeds. I can grab good shots very quickly with a monopod in situations where a tripod would be slow and cumbersome.

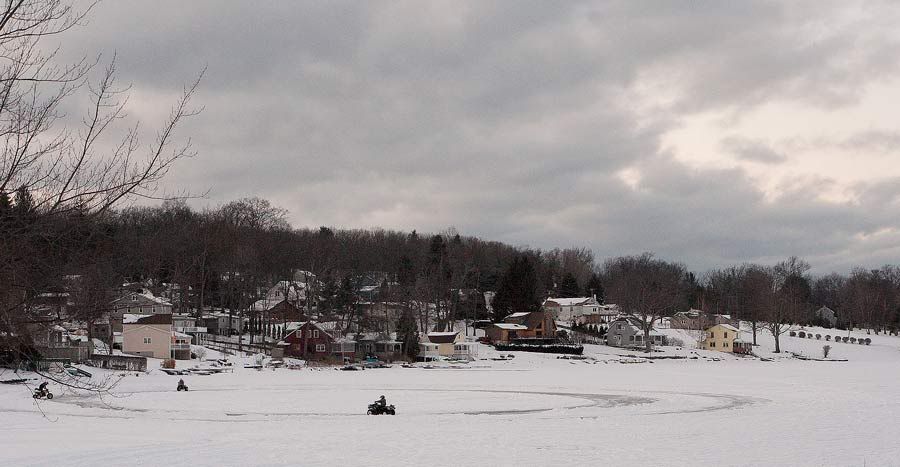
Circling at Lake Silkworth ( Panasonic G-1, Lumix 14-45mm f3.5-5)

If you aspire to create photographic images beyond the average, you need to spend time learning the basics. 

These methods may seem tedious and even stifling. Always remember that good camera technique and save you from opening your compositional masterwork, the one you hiked hours to capture, only to find is a blurred, unprintable mess.

Take the time and trouble.

It’s worth it.

The Bleak Times of Year


November Evening Corn ( Panasonic G1, Lumix 14-45mm f3.5)


The leaves have mostly fallen. The forests, viewed from afar now reflect the grey of  tree bark, the light tan of beech leaves, which will stay on the trees till spring, and dull brown of spent foliage on the forest floor. 

At first glance, late fall in the Northeastern U.S. offer slim pickings for landscape photography.

After the blazing colors of mid fall, which occur in mid-October in the mountains of eastern Pennsylvania, Late October, and November can be an imaging challenge.  I’m the photographer for a calendar we publish every year. Shooting November’s image is a definitely feels more difficult than for other months (except perhaps March, and August).

The transition from autumn splendor to the dull scenery of late fall can occur fairly quickly. One good windy storm after “peak leaves” occur, and suddenly the colorful forest canopy is gone.  What had been a “target rich” photographic environment can vanish overnight.

Early Sunset, Jamison City Road (Fuji S5, Nikkor 16-85 VR f3.5)

 Still and all in some ways, I like the late season.  You need to be observant to be successful. You can’t always rely on the cheap thrill of iridescent sugar maples and crimson oaks.  No more cheerful outdoor scenes with people happily playing touch football, because in November, it’s getting cold, and the people are all inside watching football. To be effective and compelling, late fall photography needs to focus on subtle things.

Contrast is a wonderful theme for this season. If you look hard enough (and know where to look) there will always be residual color, even into the early winter.

First, in cool dry air of fall, sunsets become more spectacular even as the foliage fades.

 In our area, some maples and oaks delay their fall color, and hold their leaves until later in the year. Tamaracks can have brilliant yellows late in the year.  Shrubs such as Blueberry and Hawthorne retain their brilliant reds long after the main foliage has disappeared. One strategy is to find these stragglers, and feature their beauty in a way that juxtaposes it against the dull post-foliage background. Longer focal lengths and wider apertures can be useful to help isolate these small remaining patches of interest, and blur the background.

Hawthorne in the Sand Springs Valley (Fuji S5, Nikkor 16-85VR f3.5)

It’s helpful if your images depict a seasonal tradition, and hopefully for the audience, a pleasant memory. Scenes involving holidays are an obvious possibility.

November Snow in Glen Summit (Olympus E-510,Zuiko 11-22mm f2.8)

  In our part of Pennsylvania, hunting, particularly deer hunting, is a deep-seated passion, and for many evokes strong memories of fellowship and traditions enjoyed in late autumn. I often rove the on the day before “buck season” to scout for interesting scenes among the hunting towns in the “Endless Mountains” region to the north of my home.

Hunting Cabin at Red Rock (Nikon D2x, Tokina 28-80mm f2.8)

 Another opportunity involves the transition between seasons, and the scenes at the cusp can be worth recording. The first frost, a late fall dusting of snow,  the first freeze up of a forest pond, or an unexpected ice storm, offer opportunities to the alert photographer.

Ice Storm on Penobscot (Fuji S5, 16-85mm f3.5)

As always, good landscape images should tell a story, in this case of a natural world that is “battening down” to endure the cold months to come.

I believe, that the care and imagination one needs to find beauty in relatively bleak periods during the year, can make us cleverer photographers when seasons cooperate.

Fog


Red and Orange (Panasonic GH1, Lumix 20mm f 1.7)


On a day off, especially if I am awakening in the morning during a photogenic season, or in a scenic place, I have to make a decision.

Do I get up, grab my photo gear and go out early, or do I “sleep in”. This is a decision that I usually make based on the weather.

If it’s cloudy, I stay in bed, knowing that the same shooting conditions that I would encounter at 6 AM will exist at 11. I can sleep a bit, have breakfast and coffee, and still get good light.

If it’s clear, I think about it. You have to get up very early, arguably before sunrise, to catch the very best light. If I can look out the window and can already see that it’s clear, I probably already missed the best shooting. Have to wait until sunset.

If it’s foggy however, particularly if there’s no rain, I’m up instantly. For fogs, or mists, in many ways and in their many forms provide a wonderful backdrop for landscape photography.

Sunrise and Corn ( Fuji S3, Tamron 17-50 f2.8)

Landscape photographers need to try to understand the weather. It’s helpful to anticipate the atmosphere’s behavior in order to be present for the best shooting conditions. I’m not a meteorologist, but I know a few things:

I know that in the fall of the year, when a cold front passes after a period of warmth, fog will form in valleys, particularly in river valleys, while the surrounding ridges will be clear. The amount of fog will depend on the “dew point” of the atmosphere.

Market Street Bridge, Fall Morning (Fuji S2, Nikkor 18-35mm f3.5)

I know that a similar phenomenon occurs anytime cool moist air passes over warmer surfaces.

I know that it is not unlikely to have fog, when there is an ice storm in the winter.

I know that fog will occur at times I cannot predict.

Fog is like free bokeh (see definition here) provided by the atmosphere. When it is thin, it blurs and deemphasizes the background detail, focusing one’s attention on the subject.

Betty the Sheep (Fuji S3, Nikkor 18-35mm)

When it is thick, it can transform the commonplace into the abstract. It can change a pedestrian scene, into a more magical vision.

Lake Placid, Foggy Morning (Nikon D2x, Nikkor 17-35mm f 2.8)

It helps to have equipment that is relatively moisture resistant. Don’t underestimate the pernicious effect  of water vapor on electronics. Don’t bring warm cameras out into cool moist environments. If you do, water will condense onto the electronics, and lenses will fog. At the least, it helps to have a lens cloth available.  

Better yet, let the equipment equalize to the ambient temperature (I usually leave my gear overnight in a place where that can happen). Typically then, there will be few issues.

Deer in Fog (Panasonic G1, Lumix 14-45mm)

Every once in a while, Mother Nature helps us with our craft.

Take advantage of it.

October 18, 2010

Alright , I admit it. I screwed up A number of our readers pointed out that the real danger of condensation on camera lenses, and in camera bodies occurs when cold equipment is brought into warm environments. Bang, you got me. In my own defense however, I would say that I was trying to warn my gentle readers about the perils of using electronic equipment, in ultra-humid environments.

I am greatful that people are paying attention.

 I hope you’ll continue.

Eighty Five Millimeters


September Maple (Nikon D700, Nikkor 85mm f1.8)

Good prime lenses have much to teach the earnest photographer. 

Because I’m cheap, and haven’t sprung for the latest hyper expensive, nano-coated Nikkors, designed and optimized for the full frame FX sensor. I am forced to operate with a collection of lenses that I suspect, would arouse sniffs of derision from a “best and latest” FX Nikon aficionado. I don’t yet own a 14-24mm f2.8, or a 24-80mm f2.8 or a 70-200 f2.8VR Mark II. I struggle by with my old 70-200 VR, and my 17-35 f2.8 along with a variety of single focal length “prime” lenses.

This has given me an appreciation for shooting in a fixed focal length .  In other words, these are lenses that don’t zoom. This makes them simpler, and thus easier to design well.  Great “primes” tend to have low distortion, and have great secondary characteristics.  They are also really sharp, often much more so than common zoom lenses. Best of all, “primes” tend to be inexpensive to purchase compared to equivalent quality zooms.

I like that.

The simplicity of construction also allows these lenses tend to be “fast” or in other words to have wide open apertures so they can admit a lot of light to the sensor. With an imager like that of the D700 which has wonderful high ISO capabilities, a lens with an aperture wider than f 2.0 can let a camera essentially “see in the dark”. 

Fishing under the Bridge (Nikon D700, Nikkor 85mm f1.8)

 Wide apertures also facilitate images with a narrow depth of field isolating the subject from the background. This is very flattering especially in portraiture but it can also be very helpful in landscape work.

Better lenses, but particularly fast “primes” also render the out-of-focus areas of the images they acquire in a smooth, flattering way. That characteristic is called “bokeh”.

On this day, I decided to do some hiking in the Nescopeck State Park, which is near to my home. I chose a part of the park which was previously farmland, bought by the state and cut periodically, to maintain the character of the land.

There was a lot of color already evident in the late September afternoon. Goldenrod had painted the background an almost uniform yellow, but in the fields there were white and purple Asters, Black-Eyed Susans and Pokeberry bushes. There were Milkweed pods, ready to erupt. Monarch butterflies were plentiful, as if waiting for that event.

Pokeberrys (Nikon D700, Nikkor 85mm f 1.8)

I took the D700 and three primes, but I resolved early in the hike to leave a Nikkor 85mm f1.8 mounted on the body.

This is a mid-level Nikkor prime, though arguably, compared to the other 85mm Nikkors; it’s the most suitable for shooting landscape work. Though it’s not as “bright” (f1.8 vs.f1.4) it has measured in some reports to have the highest resolution across the frame. Oh, and it’s considerably smaller and lighter than its bigger brothers.

 It’s a interesting photographic exercise, to adapt one’s vision to the constraints of the focal length. I walked as usual, with a heavy steel Manfrotto monopod, with a Bogen ballhead, to control camera movement.  With a prime lens, one can no longer twist the zoom ring to frame the image. Instead, one has to “zoom with one’s feet”. Ultimately, this gives the photo a different look than when one just changes the focal length of a zoom lens. It suggests the almost infinite number of choices available to us when evaluating a scene for capture.

The experience tends to teach the true nature of each focal length.

 I love good zoom lenses, but sometimes I think they stop you from thinking photographically. Shoot with primes and you begin to understand not only the framing inherent in the focal length, the changes that occur at different distances from the subject,  the reletive magnification of the foreground and backround inherent in the particular lens length, and the available depth of field at various apertures.

 Also, one sometimes tends to forget how useful, longer focal length lenses are in shooting landscapes. You just have to recalibrate from thoughts of wide scenic vistas, to focusing your attention on a particular detail of the scenery, and using the shorter depth of field, and the bokeh inherent in good long glass, to blur the background into a sort of impressionistic look. This is what good lenses, particularly primes, allow you to do.

Monarch and Goldenrod (Nikon D700, Nikkor 85mmf1.8)

Good photographers understand all the characteristics of various focal length lenses in their bags.

Hopefully, by spending a day with a single prime lens on the front of the camera, you can then begin to use your zooms lenses more thoughtfully and effectively.

New Header Image


The Stage Road

The new  photo above, was taken at one of my favorite local places: Hickory Run State Park, which is located at the very western border of the Pocono “Mountains” of Pennsylvania.

   It depicts the “Old Stage Road”, which runs through the park as a hiking trail but converts to a public road at the park’s border.

  Hickory Run is a fascinating place from a geologic standpoint. As I understand it, the park is situated on land at the very end of the  ice sheet that formed over North America 18,000 years ago

    The glaciated, “Pocono” portion of the park on the east is actually a high flat plateau with a mix of woodland and barrens species and the locally famous Boulder field (depicted in a photo published with the “Mountain Laurels” article”). As you travel west, the land falls off and with it, multiple streams tumble off the heights,  through a succession of lovely glens, and over countless small (and some large) waterfalls,  all flowing inexorably  towards the Lehigh River at the park’s western border.

  At places on the property, very dense pockets of second-growth hemlocks block out sunlight even in midday. This helps visitors to this park understand the descriptions  by early settlers quoted in in park’s brochures of the “shades of death” they encountered here.

   This was the description by colonists who travelled this wilderness centuries ago, fearful of attack by predators or aboriginal Americans, that they imagined were lurking among the vast groves of  white pine and hemlock, many of which may have been 2-300 ft tall, and 500-hundred years old.

Those trees are long gone now, logged out in the 18th and 19th centuries for timber and tannin. They have been replaced by ancestors that are by comparison, mere adolescents. Nonetheless, as you pass through these dark verdent sections, you can easily imagine the anxiety of travellers riding on open wagon, in a stage coach, or worse, on foot as they traversed this dark, seemingly endless forest.

But I digress.

  Unfortunately, the method I use to bring higher-quality images to the site does not appear to be available for the header image. I am stuck with less than crisp images at this location on the site.

  I’m working on it.

12