Posts tagged with: Pennsylvania

Chestnuts and Ash

Dying ash trees
Dying Ash (Fujifilm X-E3, XF 18-55mm f2.8-4)

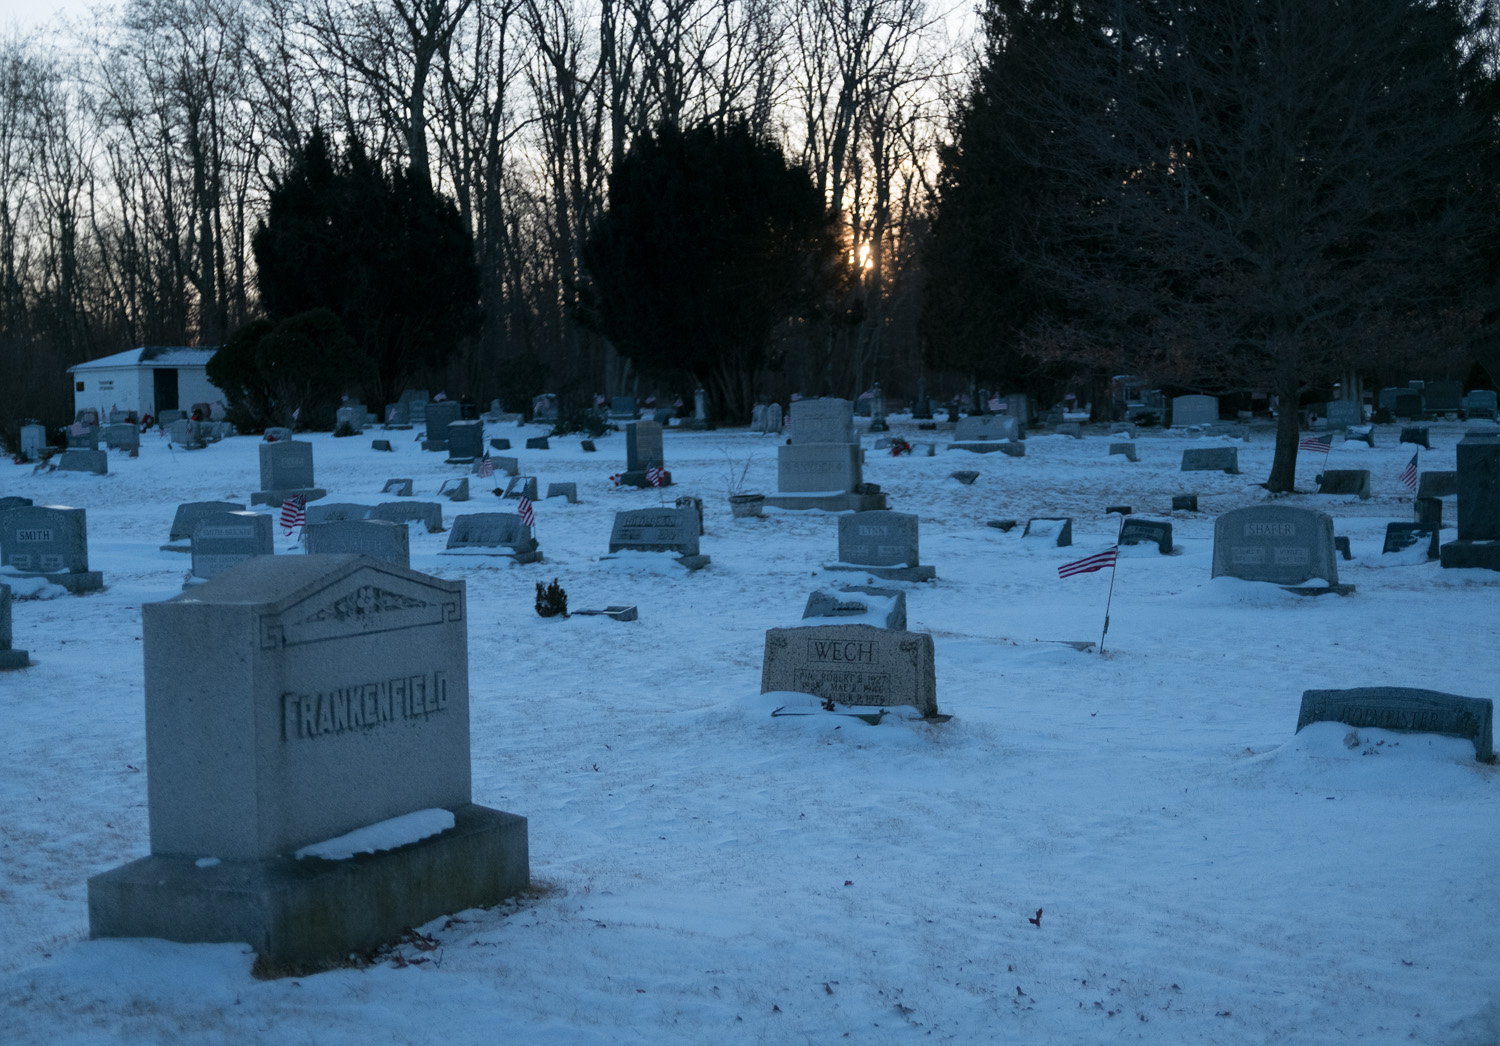
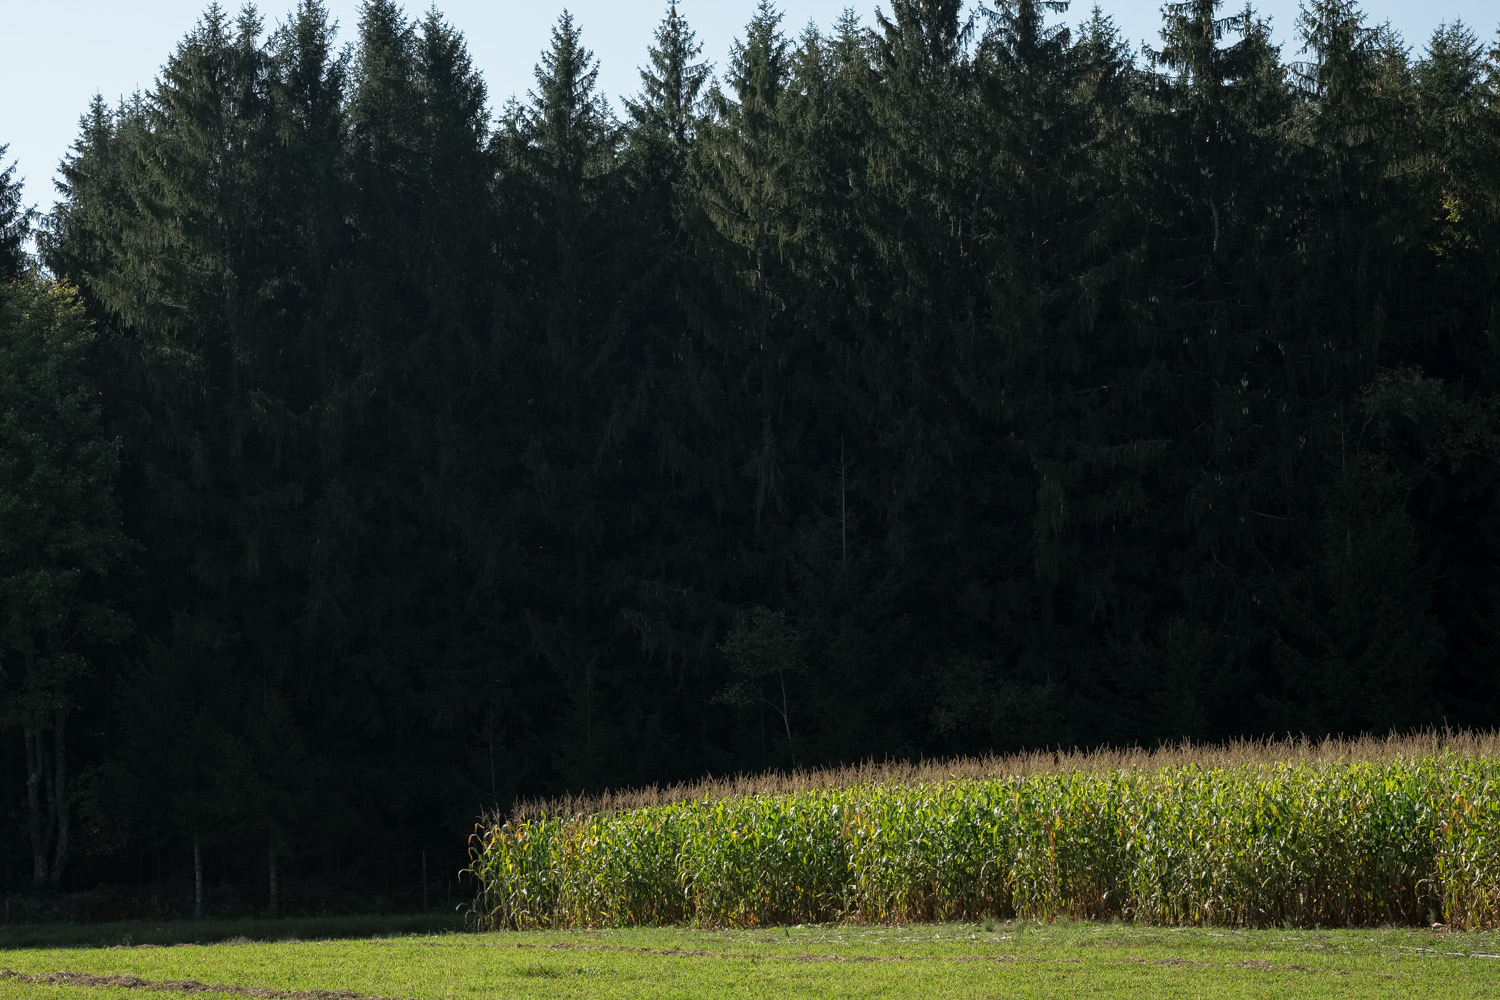
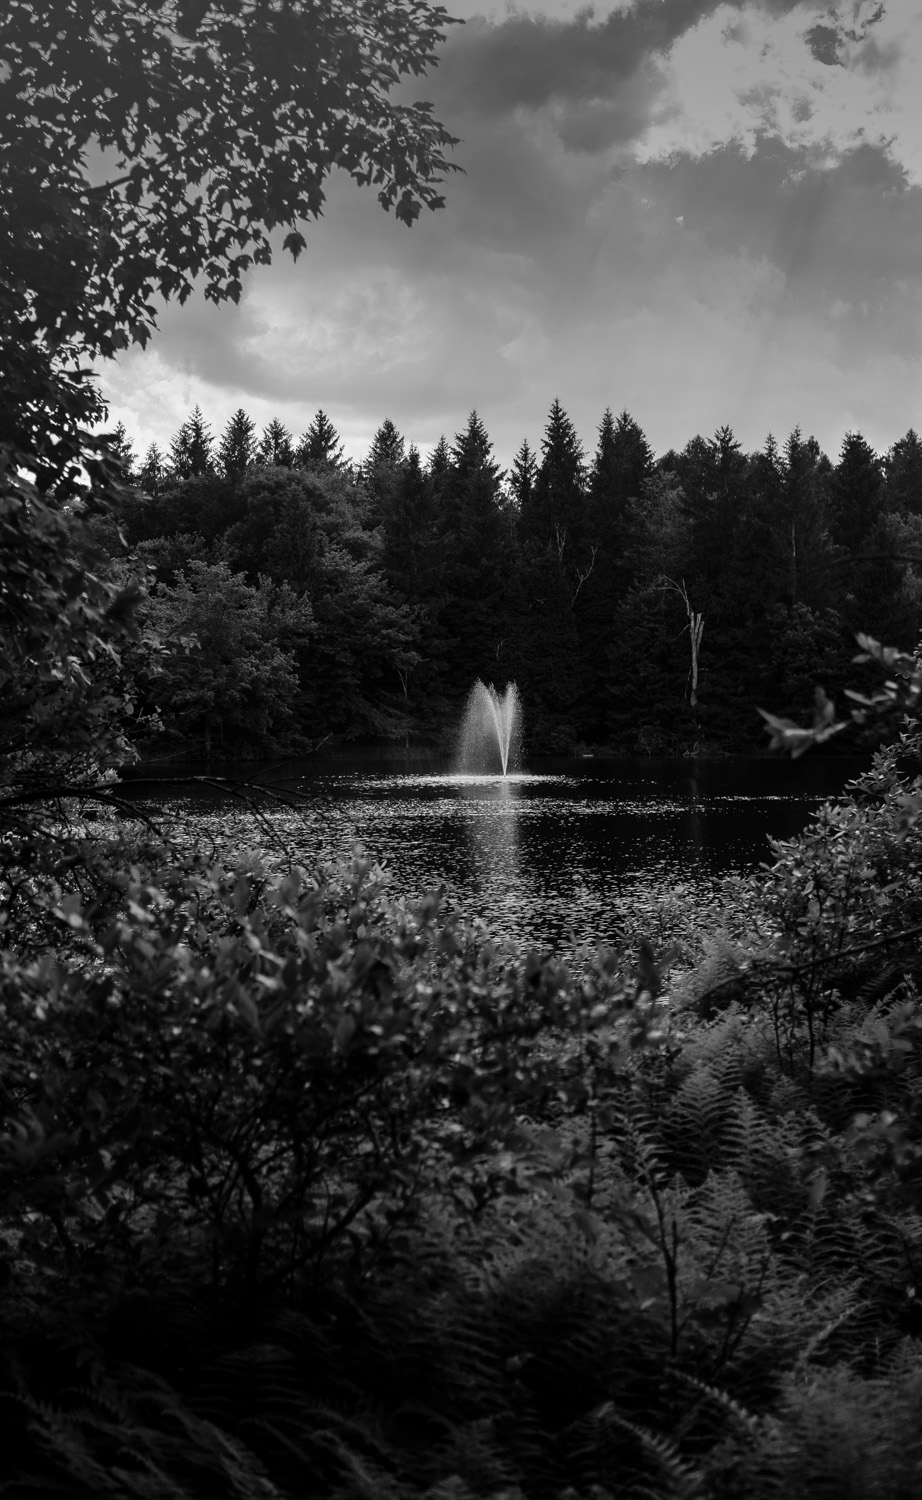
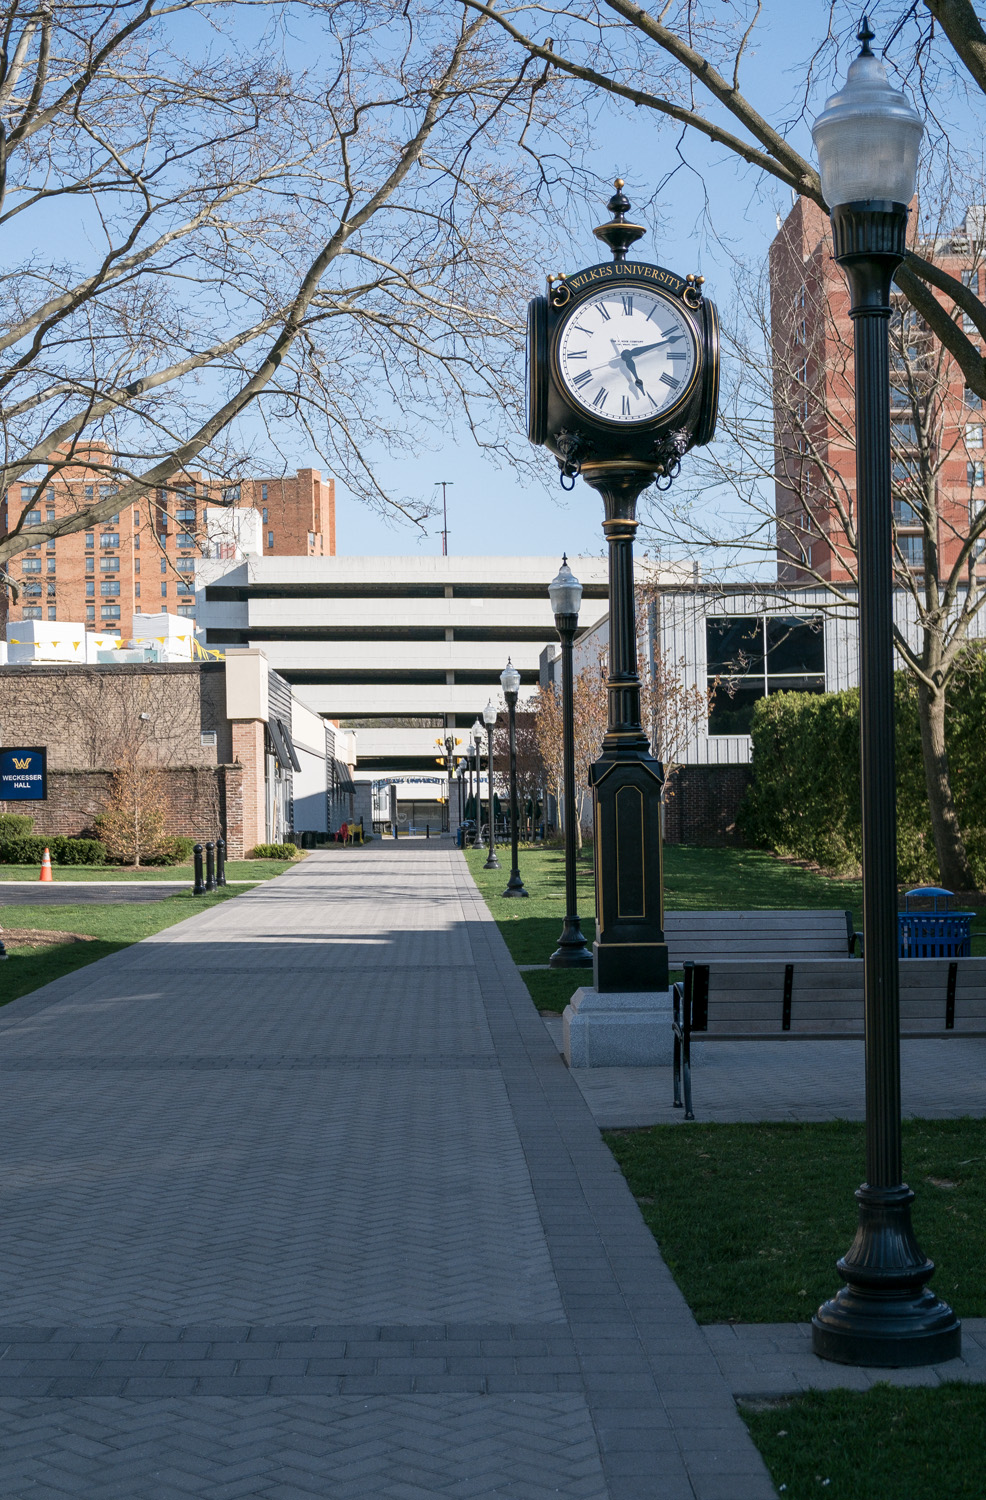
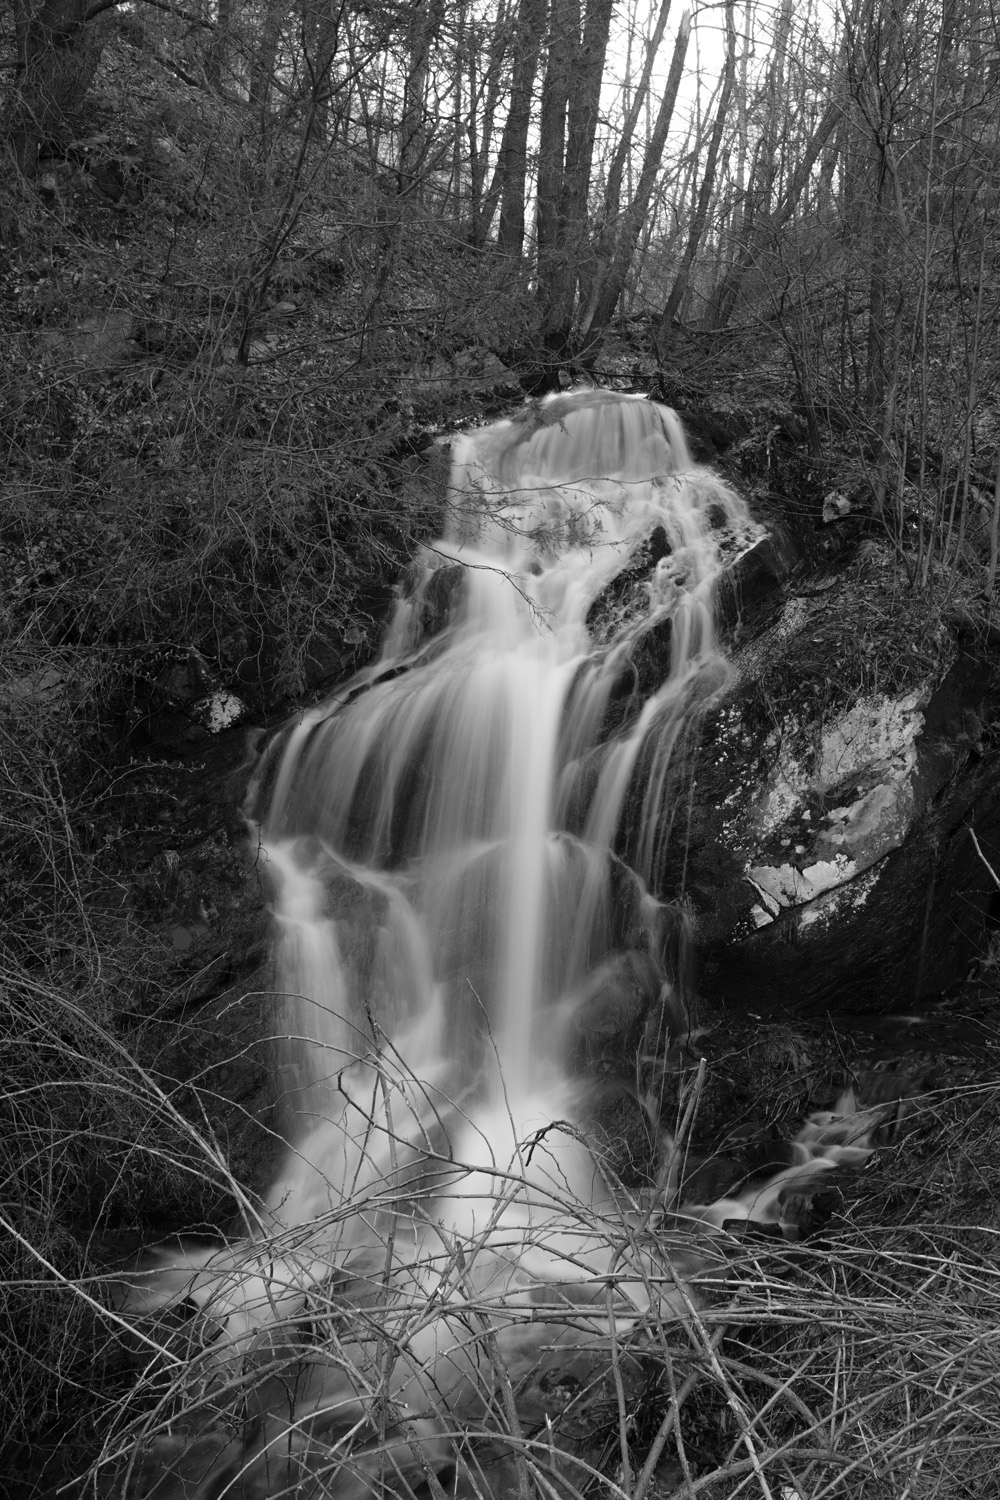
The forests in my neighborhood are dying.  Well not maybe the whole ecosystem, but sometimes it seems that in that at this time in history, there is an unprecedented onslaught against the eastern forest.

But it’s not true.  Such events have happened before. 

The American chestnut was arguably the most important tree species in the eastern forests of the 19th century.  It was a large tree, at full maturity as tall as 120 ft., with the base of some tree 5 to 6 feet in diameter.  Its wood was light, yet strong and rot proof; useful in many functions including railroad ties, and house framing.  Its yearly crop of mast or nuts were an important food source for multiple species, including our own.   

In the early years of the 20th century, a fungal pathogen known as the chestnut blight, arrived in the city of New York riding along on A shipment of Asian chestnut trees.  This blight quickly spread, and in 30 years, wiped out millions of chestnut trees throughout the east.  This extraordinary organism, many times serving as a node tree in what we know to be our interconnected forests, became virtually extinct.

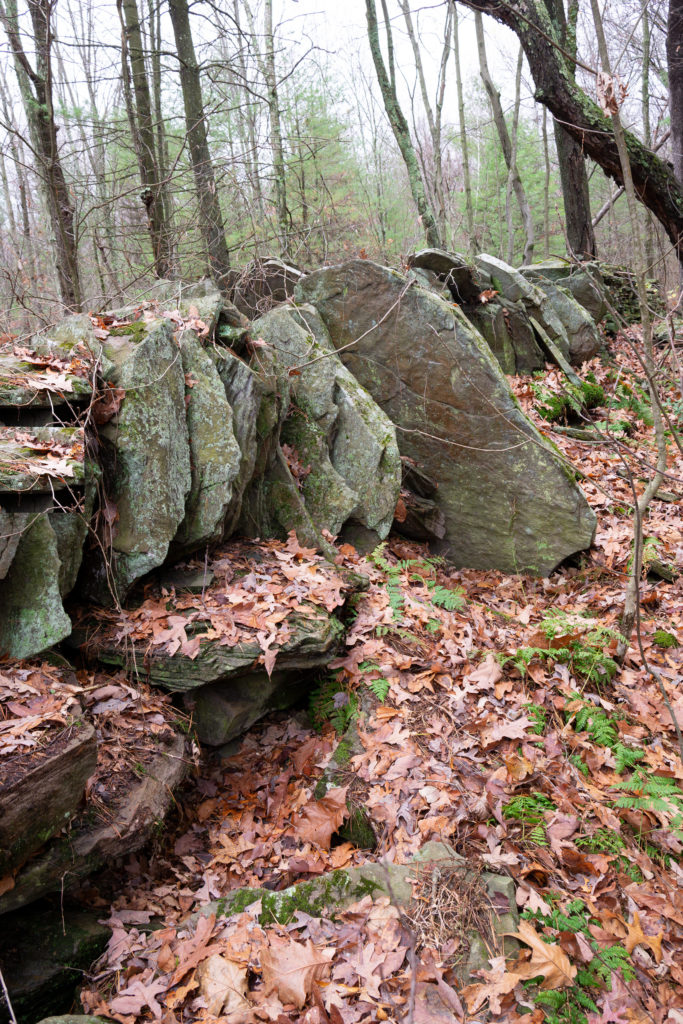
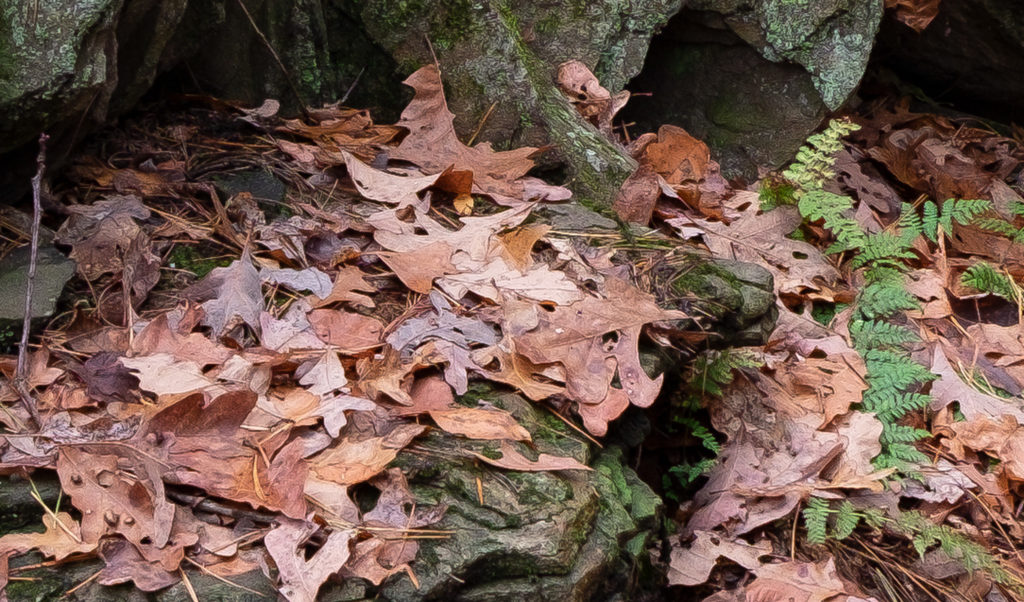
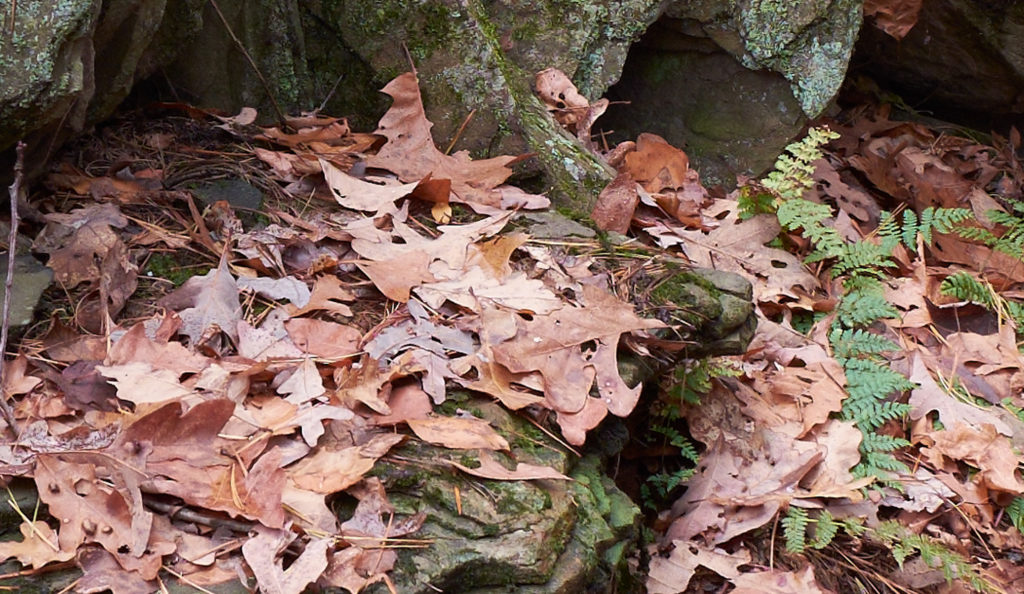
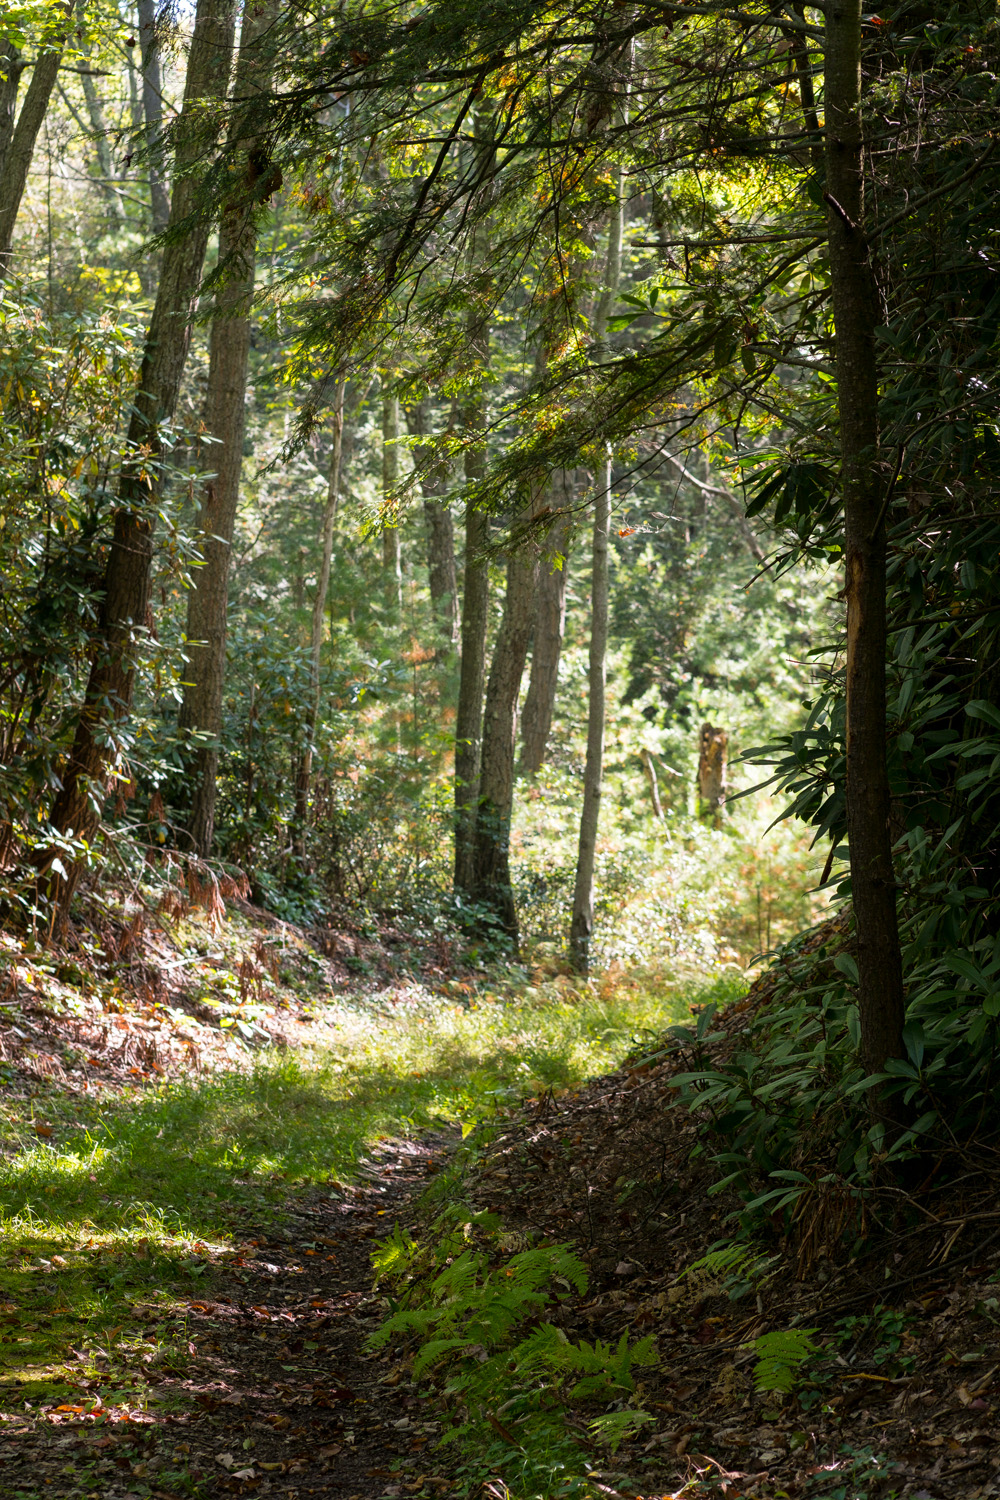
If you walk along the trails around our community, you will periodically observe a cluster os sapling sized trunks interspersed with dead or dying snags. These will bear the distinctive serrated leaves of the American chestnut. There may be long strands of catkins in the spring, and a few nuts in the fall. These are the withered descendants of their once magnificent species. Each sapling will live a few years until they are girdled by the fungus, The roots, which are unaffected, will desperately send up more shoots. Thus they have existed for perhaps a century.

  A few mature trees still survive, either under the protection of humans in horticultural collections, or isolated in the backcountry.

  I have stood beside one such tree that exists deep in a draw on the west rim of Pennsylvania’s Grand Canyon.  There it has escaped, for now, the blight that has wiped out its relatives.  As I stood there alone, under its broad canopy, I was transfixed.

 There are currently efforts To revive the species using several techniques, including backcrossing the vulnerable Americans species with its resistant Asian cousins. Still, the loss of this magnificent species leaves me wistful in that I never was able to witness the beauty of the so-called chestnut-oak forest that was so much a part of our region.

Then there was Dutch elm disease, This was another Asian fungus that arrived by way of the Netherlands in the 1920s, and devastated our majestic American Elms. Some Elms still survive.

There certainly been other threats to forest members over the years. Our oak trees are constantly under attack by another Asian immigrant, the gypsy moth, which can cause multiple defoliations over time, killing even robustly healthy oak trees. We lost two magnificent roughly 150-year-old specimens several years ago due to an outbreak.

Our magnificent hemlocks, Pennsylvania’s state tree, is at risk due to the Hemlock Wooly Algedid, another imported pest.

Yet in both cases, the species are persevering.

Now over 100 years after the blight was introduced, we are once again faced with a similar situation.   

The ash tree is in a way, an unheralded species of tree common in Pennsylvania’s forests.  Its wood is light but strong, rather famously used to create the baseball bats used by major league baseball over the years.  Yet it’s an unassuming tree, without any flashy blooms, or plentiful fruits or nuts to remind us of its presence.

I fact I looked for images of ash trees in my archives. I found images of oak, maples and even spindly chestnuts. But none sadly, of the, now threatened tree.

Unfortunately, At least as a member of our forest community, It’s about to follow the chestnut tree into oblivion.

Again it is an Asian immigrant, this time an insect, The Emerald Ash Borer.  First found in the upper Midwest In the early two thousand, It is spread quickly Throughout the Eastern United States.  First noted in Pennsylvania and 2007. It spread quickly on the wing. It is virtually a 100% lethal, once it infests even healthy ash trees. 

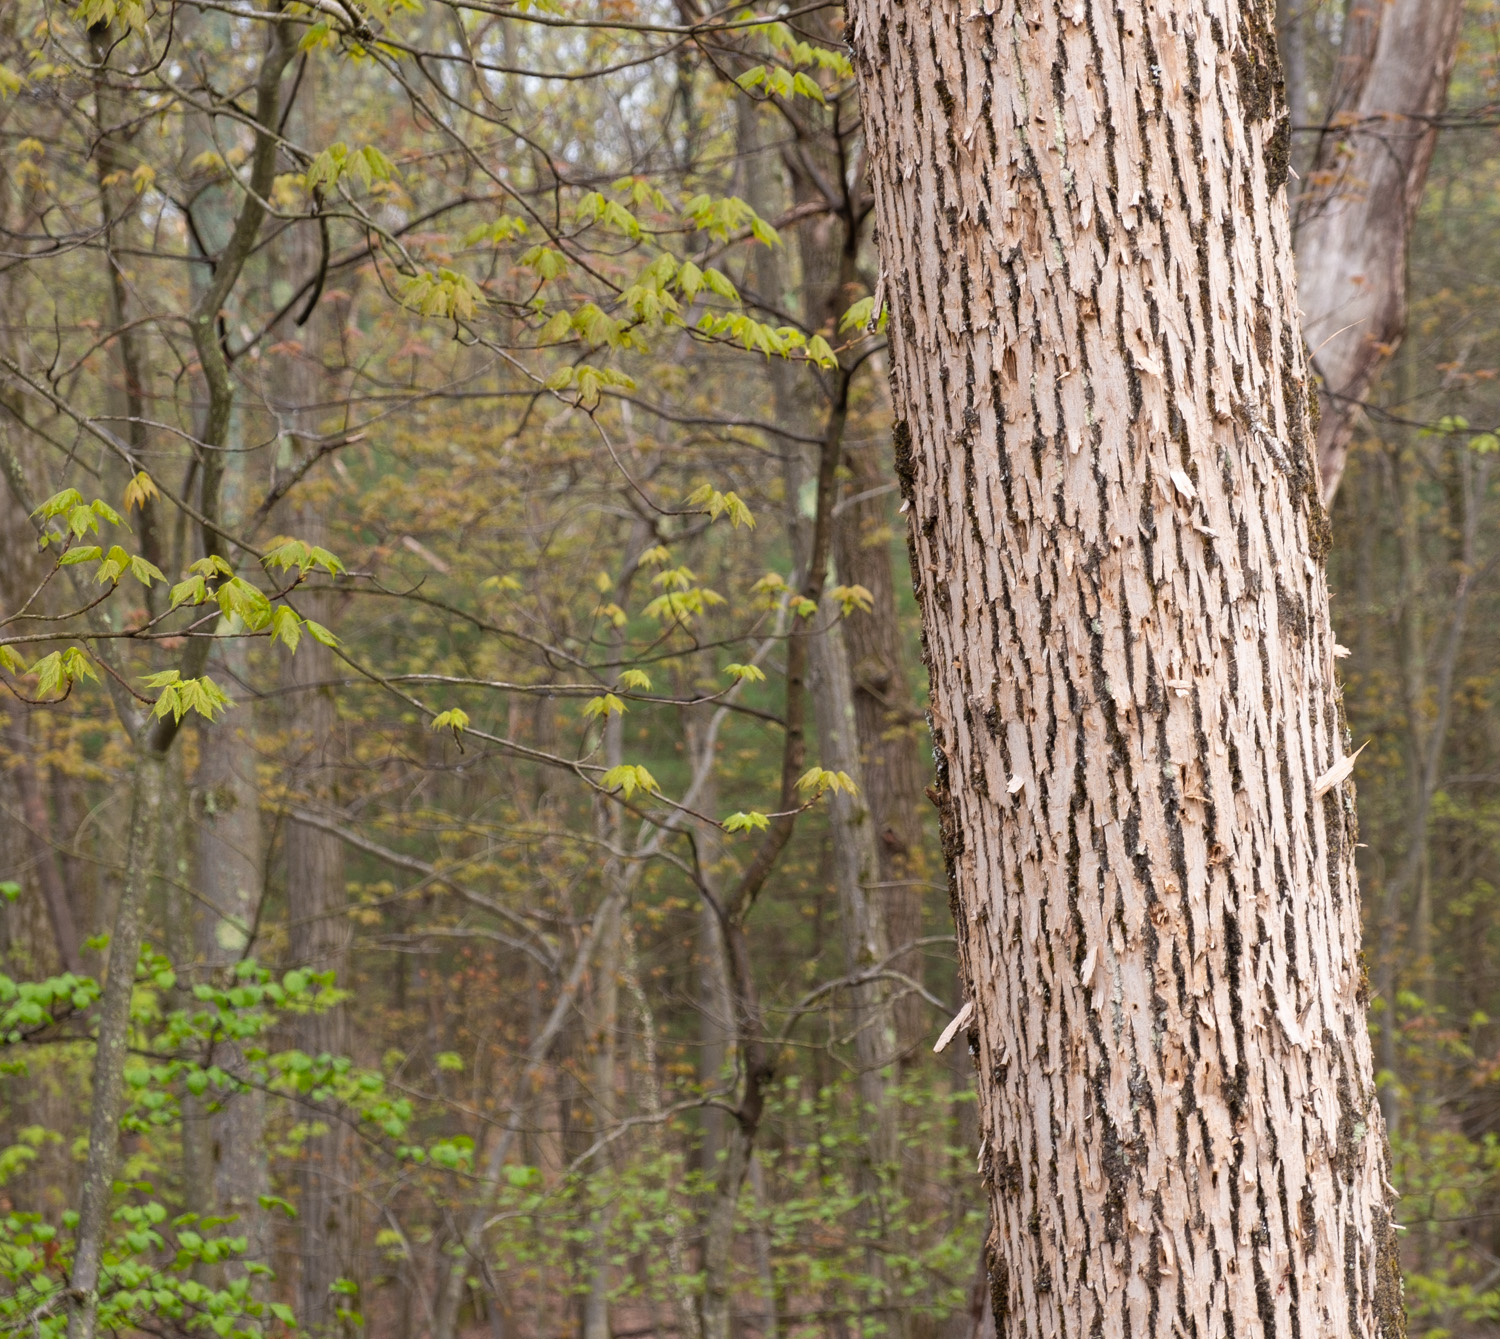
We began to notice the signs last summer. Along the dirt road that leads to my home, there are at least 50 Green ash trees many of them quite mature. Last September their bark began to deteriorate as though someone had taken a giant sander to them.  This is called “blonding”, and is caused by peeling off the bark.   Soon we could see the characteristic “D “shaped holes in the bark caused by the insects.

 This spring, none of them have foliage. In fact, I have yet to find  an ash tree that has any sign of life

It is possible to save individual trees. I have none on my property, but if I did, they could be injected every couple of years with a pesticide that will protect them from the parasite. It is expensive, and as I understand it would need to go on for the foreseeable future. Sadly, it is the only way and is obviously not practical for the trees of our woodlands.

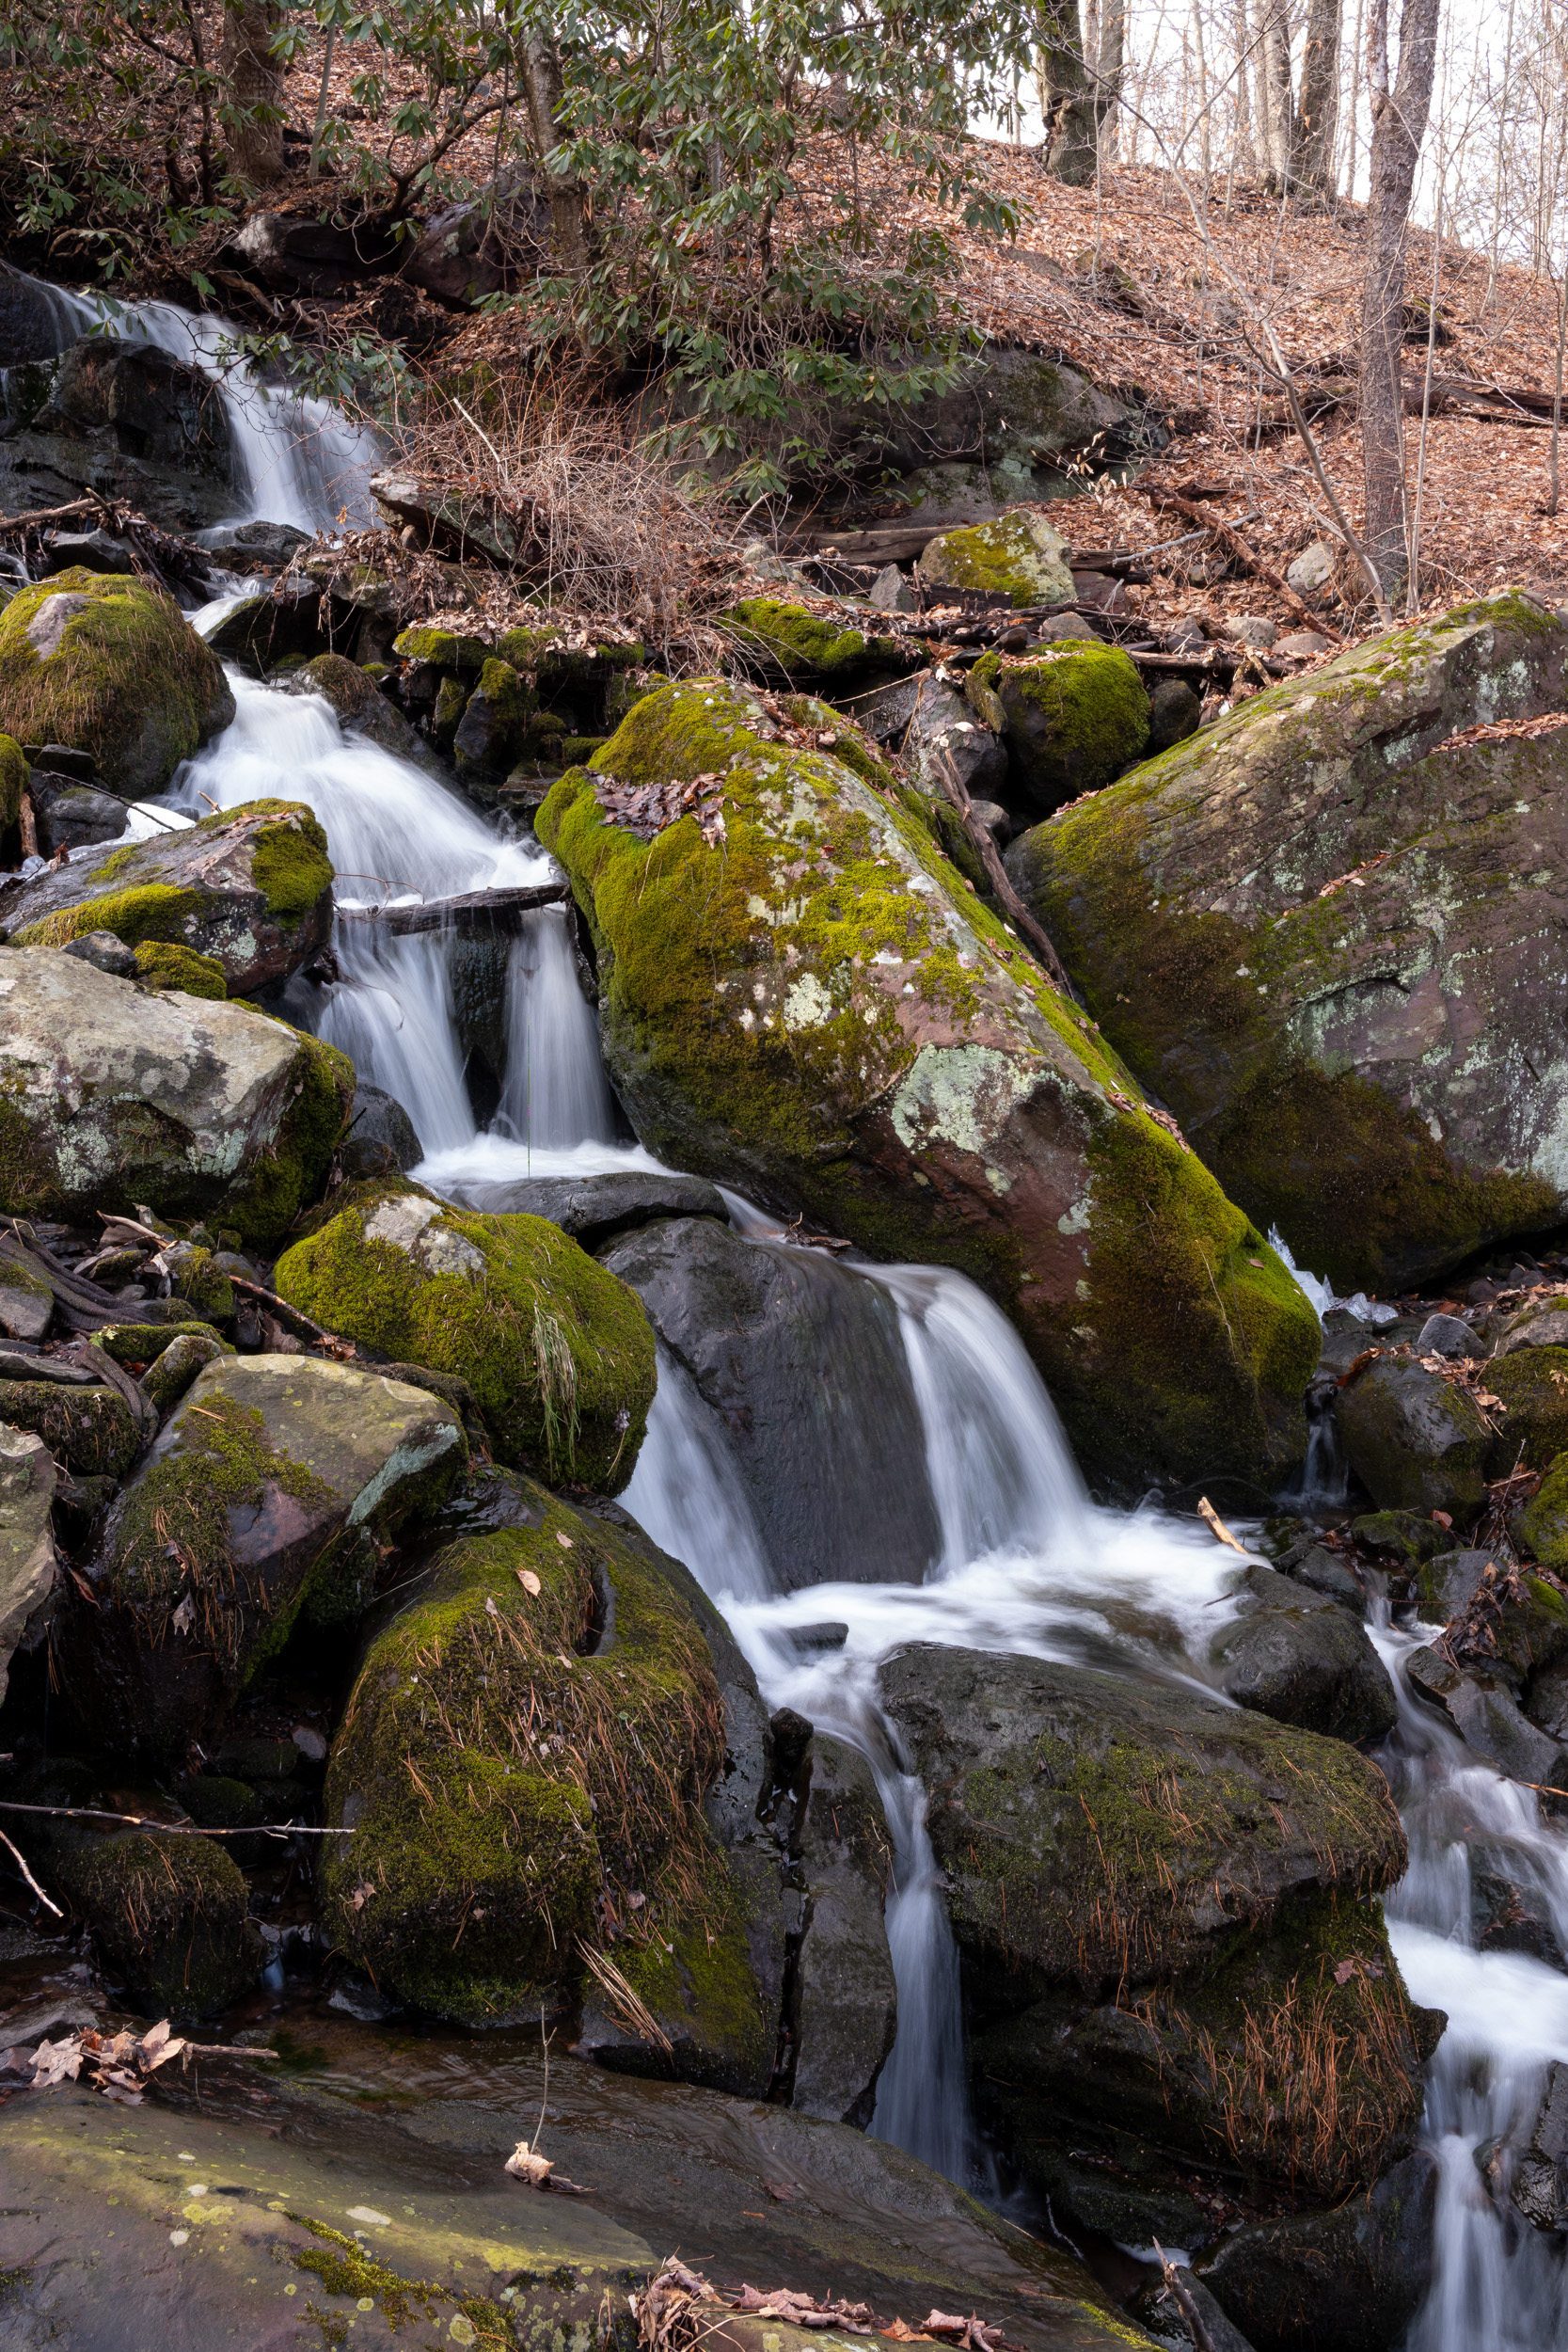
Science tells us, that our forests are complex communities, with fungi interconnecting the trees of many species. Trees it turns out can use these networks to communicate chemically.  They can warn each other of danger such as an influx of parasites., They will even share carbon and other nutrients when necessary.  Thus the forest behaves as a family of organisms, working together.

With this newest onslaught that will likely wipe out a species, I wonder:

Do the Oaks mourn?  

Another Fujifilm Raw Conversion Post- 2019 Edition

Small Falls near Middleburg (Fujifilm XE3, XF 23mm f2.0)

Thanks to the quirkiness of the Trans-X sensor, the topic of the raw conversion remains fertile ground for those who blog on the Fujifilm line of cameras.

For those of you not familiar with this issue, the color pattern of the Fujifilm Trans-X sensor, is more complex than that of a more conventional Bayer sensor used in pretty much every other digital camera.  For many years, we have sought the best method for the conversion of raw files from this unique sensor.  I’ve written on this multiple times in the past.  Now in 2019, we are faced with some new choices and options,several of them free. I though I would do an informal comparison.

There has been, and always will be, Adobe’s raw conversion software either in Lightroom or Photoshop versions.  This converter has been accused of less-than-stellar performance with the Trans-X sensor.  But lo and behold, Adobe has included a new feature, in their latest Photoshop version called “Enhance Details”.  This is said to be aimed in part, at the Fuji sensor problem.

Phase One, whose “Capture One” software, has always performed somewhat better with Fuji raw files, has been updated to version 12.  More interestingly, they have released a free Fujifilm only version, which presumably replaces the former Silkipix software that was bundled with the Fuji cameras.  The latter software performed very well, but because it was in no one’s workflow, it always felt kludgy and uncomfortable to use.

Another free software workaround for Fujifilm raw files comes from Irident Digital.  Though the company offers a fairly reasonably priced raw development package, many of us frugal types, have taken advantage of their free “Irident Transformer”.  This is a simple application that transforms Fujifilm raw files into another raw file, in this case, the ubiquitous .dng files championed by Adobe.  It does this in a clever way so that they may be processed more easily, particularly by Adobe Products.  This has proven to be an excellent way to avoid the muddled details, and “wormy artifacts”, often seen in straight Adobe Camera Raw conversions.

Rock Wall at Francis Slocum (Fujifilm X-T10, XF 18-55mm f2.8)

I thought it would be interesting, to compare files, converted in as close a manner as possible, for different methods, in this case straight Adobe camera raw conversion, then a conversion using the “enhance details” feature.  These can then be compared to conversions done by Irident/Adobe, and by the free Fuji version of Capture One 12.

I decided to use 24-megapixel X-Trans 3 files from both my new Fujifilm XE3, as well as the 16-megapixel files of the previous X-Trans 2 sensor from its predecessor, my now departed X-T10.

Now right up front, this is an inexact comparison.  I did play around to try to obtain the best image possible from the different conversion software, but I don’t think things like sharpening and clarity for instance, can be directly correlated between Capture One, and Photoshop.

A word about the workflow.  Perhaps because of familiarity, there’s no doubt that for me that Adobe Bridge, Camera Raw, and then Photoshop make for an extremely comfortable process.  I’ve used Capture One for many years, but even now I’m a little vague on some of its features.  This may be my fault in that I have probably not been as diligent as possible watching their tutorials.

Adding Irident Transformer conversion to the Adobe workflow ads exactly one step, and works pretty well.  Conversion is quick, and I have set up a file called “Irident conversions” on my computer to receive them.  One then the open is a converted, you can open file in your raw conversion software of choice.  My only gripe, would be that there does not seem to be a way to have the image open automatically in Photoshop after it is converted to a .dng file which would be handy.

Oddly enough, the Adobe “enhance details” feature is less conveniant inthat it seems to take forever to process a file.  It can take up to 2 to 3 minutes to run on my fairly high-end Intel I7 desktop.

So how do they perform?  Here first is a representative file from the XE3 at 200%:

Photoshop Camera Raw
Camera Raw plus Enhance Detail
Capture One 12 (Fujifilm Edition)
Irident with Camera Raw conversion of the .dng

I think it’s fairly obvious that the straight Photoshop version, even given the limitations involved in these jpegs, is inferior to the image processed using either of the other methods. I was hard-pressed, even looking at the original files, to decide on a winner among these though I settled on the Capture One conversion as slightly more detailed than the others. I was initially unhappy with my original Irident conversions which looked “harsh”. I came to realize however that there is some sharpening occurring in that during the .raw to .dng conversion. Once I backed off on the sharpening in Camera Raw, things improved markedly.

Also, I didn’t attempt to convert the Irident file using Capture One , Though it is certainly possible, given that the .dng file format was created by Adobe , I assume their software will convert it as well or better than anyone else .

Now let’s have a look at the X-T10 files, again at 200%

Camera Raw and Photoshop
Camera Raw plus Enhance Detail
Capture One 12, Fujifilm Edition
Iredent Conversion then Camera Raw

In posting these, I fear that, the JPEG compression of the files, plus the compression inherent in WordPress, has somewhat minimized the differences between these files.  Yet I can tell you that on my monitor, there is a clear difference between the straight Camera Raw conversions and the other methods.  I would say that between the Enhanced Detail, Adobe conversion, Irident plus Camera Raw, or Capture One 12, there is no clear winner.

Also it is intriguing to me how similar the detail is when comparing between the 16-megapixel, X-Trans 2 files, and the 24-megapixel X-Trans 3 files.

I must say, given the effort required to optimize X-Trans files, and that diminishing value of the technology as time marches on, I can certainly be convinced, that at some point, perhaps this sensor type should be abandoned.

On the other hand, those of us who have been Fujifilm shooters for a long time know that a portion of the brand’s appeal has always been unique sensor technology (remember the SuperCCD of the S3pro?).

In summary, I would say that Adobe has finally given us the ability to process with Fujifilm files at a level that matches the best rival conversions.

I just wish it wasn’t so slow both in coming, as well as in use.

The Gear that I Use: The Memento Digital Picture Frame


Scene on Bow Creek (Fujifilm X Pro 2, XF 55-200 mm f3.5-4.8)

As a photographer, it is natural to want to display your work for others to see.  Obviously, with social media, you can offer essentially the world (or, at least your followers), your latest efforts.  But what about your guests at home?  Printing and framing, are expensive and for me, impractical for the number of images I  would like to display throughout the year. 

Now you can certainly show work on a computer monitor, but this isn’t something that house guests think to seek out.  Coaxing someone to review your work on your computer always seem to me to be akin to breaking out the slide projector after dinner.  It makes most people cringe.

So I was on the website Luminous Landscape recently.  They posted a review, of two fairly novel products that looked really interesting to me, especially as I re-decorate, my home office workspace.  As it turns out, one can now purchase large digital display devices which are very appropriate for the wall display of photography.

Now digital picture frames have been around for a long time.  I have a 5 x 7 version sitting on the table in my den, which is pleasant for a slideshow of snapshots.  It is obviously too small and has insufficient resolution for serious work.  But there are apparently several manufacturers making display-worthy larger digital frames that offer a convenient and easy way to show one’s work (and other artistic works) in a gallery style.

Cows at the Prison (Fujifilm X100f, TCL X100II)

The most aggressively marketed of these is the Meural.  This is a 27 inch, 1920 x 1080 resolution flat panel screen mounted to look like a matted framed object.  It is actually marketed along with a subscription service that allows you to display a huge variety of artworks licensed by the service.  It can be controlled from your computer or your mobile device.  It can also be loaded with your own images.  It has a unique motion sensor that allows you to swipe in front of the screen to change the artwork.

I, however, chose another product: the Memento Smart Frame.  It too looks like a matted frame, but for me, it has several advantages over the Meural product.  First, it has significantly higher resolution at 3240 x 2160 which also gives it a 3:2 aspect ratio rather than the 16:9 aspect ratio of the Meural.  It comes in two sizes: 25 and 35 inches, sold at US $599 and $899 respectively.

Memento Frame (Image courtesy of manufacturer)

On both the Meural and the Memento products, it is possible to display other aspect ratios with the rest of the screen masked.  I find the images look much better if they can be displayed full screen.  Given this, most images work better at the 3:2 format (the native format of most sensors) than in the wider ratio.

The Memento Smart Frame is mounted to a wall using a specially designed bracket.  The 35-inch frame is capable of being mounted both horizontally and vertically.  I have the 25 inch which is only designed to be mounted horizontally. It is connected to an electrical outlet by a thin power wire which is relatively easy to hide.  You can also buy an optional flat power wire that can be taped to the wall and painted over.

The frame is activated by downloading an app to a mobile device, or your computer.  You can then connect the frame to your WiFi.  The app allows you to create different folders with images for display.  It will store up to 3000 images as jpgs.

Foggy Morning, Fountain Lake (Fujifilm X Pro 2, XF 55-200mm f3.5-4.8)

You can decide to display 1 image or a variety of images which will display whatever time interval you select.  I will typically allow about 5 minutes between images so they can be appreciated, but a slideshow-like presentation would also be possible.

It also has the capability of having images uploaded remotely.  Thus it can be a sort of upscale version of those smaller digital frames marketed to seniors so their offspring can upload images of the grandchildren.

Another appreciated feature is the timer and light sensor which allows the frame to be off for prescheduled periods (like when I’m at work).  The frame can also be set to go off at night, and/or when there is no ambient light.  The frame also adjusts to the light level, and its color signature, contrast, and brightness can be adjusted in the app.

So how do images look?  From my point of view very nice indeed. I keep most of the controls near neutral, but it is important to adjust the brightness of the display so that the impression of backlighting is minimized. Once this is done, images are not immediately distinguishable from an actual framed print. Colors are vivid, and detail is excellent.  When displaying black-and-white in particular, the graduations are very pleasing, and blacks are deep.

Memento Smart Frame at Home (Samsung Galaxy S8)

I am so enjoying the Memento frame, I am thinking about buying a second one, perhaps a 35-inch version so that I can display vertically oriented images.  I also think of their other potential uses.

For instance, my last gallery show cost upwards of $2200 just for framing roughly 30 works.  In time when the price of these devices comes down a bit, I can imagine organizing a gallery show using four or five of these frames, each displaying perhaps 5 images sequentially.  Over the long run, this would save a lot of money and trouble (bubble wrapping and transporting framed prints is a nuisance). As opposed to the many hours it takes to create a standard display of prints, setting up this sort of show would be a breeze. I would only have to print the images I sell.

The Memento Smart Frame is a wonderful example of how technology is changing the nature of photography, and the display of artworks. And, it will only get better.

The Gear that I Use:  The BenQ SW2700PT Photo Editing Monitor.

The Lasr Snowfall? (Samsung Galaxy S8)

I am nothing if not a tightwad. I can’t help it.  Nonetheless, after approximately 20 years in digital imaging, I have finally broken down and acquired my first specifically-designed photo editing computer display.  This turns out to have been a really good idea, and one that was long overdue.

When I got started in computers back in the early 1990s, I bought what was for the time, a very nice computer desk, with a hutch and a matching printer stand.  It was quite modern and stylish for the times.  And just sufficient in size for a single CRT monitor.  I  have spent a lot of time at this desk.   More important yet, it was the place my two graduate computer engineer kids learned their craft. I think I developed a slight sentimental attachment.

Over the years I went through a variety of computer displays.  Cathode ray tubes, gave way  to flat panels, which were certainly more space efficient. When I became interested in digital photography, the display quality became more critical, and I would seek out IPS (in plane switching) panel displays of good quality. This technology allows one to view at wider viewing angles without a significant change in the appearance of colors.

Dedicated photography monitors, such as those made by companies such as Eizo, were just prohibitively expensive. Plus, my little desk from the 90s  limited my choices and prevented me from running dual monitors which would be very helpful both in photo editing, and for my work tasks.

Spring Flow on the Nescopeck (Fujifilm X100s)

My latest monitor was an 4/3 aspect ratio  NEC panel circa 2008 that  came highly recommended.  In the last several months, I noticed during calibration that it was  losing its luminance.  Given that pretty much all available monitors are now wide-screen format,  I was finally forced to bite the bullet and upgrade my situation.

Ultimately this led not only to new furniture, but to a significant redo of my home office/photo editing space.  I got rid of the old standby, and obtained  a large Hon desk for the work-space.  I painted the walls a more neutral gray, and changed the carpeting in attempt to match.  My desktop computer was already robust, so I merely needed a better display.  I looked at a variety of panels recommended by various websites, specifically  wide gamut panels that could display nearly 100% of the Adobe RGB color space.

For the uninitiated, there are multiple so-called “color spaces”.  These refer to the different “languages”, a digital device uses to interpret  color information.  Most monitors can display all or part of the more familier narrow “gamut” sRGB color space.  This is the “language” for instance, that your smartphone uses.

Photographers, particularly those that will print their work, will generally prefer to work in Adobe RGB, a broader color space.  Better digital cameras can generally be set to capture this more vibrant “dialect”.  Relatively few monitors however are capable of displaying this wider range of colors accurately.

There are some that do, most of which come in at a fairly high price point.  I ultimately chose the Ben Q  SW2700PT, a very well-reviewed full gamut display for roughly $550 (a comparable Eizo professional display costs $2900 US).  Despite its reasonable cost, it performs in a way comparable to higher price products.

Image by BenQ

The display comes very carefully packed with its stand. Included in the box is a monitor hood, the mark of a serious piece of kit designed for critical photo editing.  It includes a handy remote control with a sufficient cord either to sit on your desk or in its cubby, on the monitor stand.

It was easily assembled.  For the time being I am partnering it with my NEC monitor which is still functional, but no will no longer be used for any serious photography work.

Please bear with me on the technology, for I am hardly an expert.  For serious photographers  there are multiple advantages to this monitor compared to a more generic display.  First, as I understand it, each SW2700PT has its color profile carefully calibrated in the factory prior to its delivery.  The individual monitor’s profile is included in the box.

Color Space Comparison ( Image by BenQ)

Monitors used for photography need frequent calibration to known standards, using specialized on-screen sensors, and software.  Once calibrated, the resultant “profile” is stored on the computer’s hard drive. This allows you to send files that will look the same on other calibrated devices (i.e. printers) 

The SW2700PT has sufficient memory that it can retain the color profile within its own hardware, rather than requiring it to be stored on the computer’s hard drive.  You can download  BenQ’s own calibration software from their website, which used with your own color calibrator, will store profiles that are directly accessible to the monitor’s remote control.  Using BenQ’s software makes re-calibrations much more straightforward then using aftermarket software which are generally designed to accommodate multiple types of displays.

If you have ever reviewed images on a dedicated professional photography or printing workstation, you know they tend to look dim. Most of the time we intuitively set our monitors to be brighter, and higher contrast, than actually is appropriate in a calibrated printing work flow.

Unfortunately, if you use your computer for both printing and casual use, you can end up viewing the online world in a less vibrant way.  I put up with this for years.  If I did brighten the screen, I had to remember to set it back to a more appropriate brightness/contrast levels prior to a print job.  This was generally a guess, and resulted in a lot of wasted paper and ink. Until things were dialed in, my prints generally came out too dark.

This is where the remote control comes in.  There are 4 buttons.  One is used to access the display’s menus. The others access three color profiles: sRGB, Adobe RGB, and monochrome.  More importantly, because everything resides within the monitor, you can also set a brightness/contrast setting for each.

Color Space selection (Image by BenQ)

Thus, for normal web viewing, I naturally use sRGB, which I have set for a pleasantly bright viewing screen and color reproduction that aligns with the web.  Switching to AdobeRGB dims things down to allow accurate photo editing and printing.  It is interesting to me that although AdobeRGB images reviewed in photo editing software look really nice, web content is overly saturated and unnatural.

The appearance of the monitor in Adobe RGB is striking, and for the first time I was able to see onscreen, the full spectrum of color, and nuance that  modern cameras imagers acquire.  It also has a fairly high resolution at 2560 x 1440 (not quite 4K) which allows you to view impressive amounts of detail.  This turns out to be not only important in photography (for accurate sharpening), but makes it much more pleasant to view text and waveforms, which is a part of my online medical work.

The monitor has a variety of other nice features including multiple inputs ( DVI-D, DisplayPort 1.2, HDMI and multiple USB ports). There is also an SD card reader.

I’ve been using the BenQ now for multiple months.  This is a situation of “I had no idea what I’ve been missing”.  As I scan between the new display and my old NEC monitor, there is no comparison in terms of color reproduction ( particularly in AdobeRGB), and resolution.

I note that there is a new version from BenQ, the PhotoVue SW271 featuring full 4K resolution for roughly $1100.  I’m sure that this would be a striking display, but for me at least, I’m not sure the improvement would justify doubling the cost.

If you’re serious about your photography, particularly if you are printing your work, this monitor is well worth a look.  If you’re coming from a more generic display, I think you will wonder how you did without it.


April is not Really Spring.


Vernal Pond on the Farmstead Trail ( Sony RX100 mark III)

We never learn. 

Every year in the first weeks of April, I hear my warmth-loving friends lament  the  cool weather, and/or the lingering snow as though it were something unusual.  But this is April in the Pocono region.  Weather-wise, anything can, and does happen. It’s kinda like November, but in reverse. 

As I write this, It is April tenth.  The morning temperature is in the high twenties, headed for about 40 degrees later today. A half inch of snow has fallen overnight.

Now my childhood memories for this time of year tend to feature blissful afternoons after school. Dressed in shorts and a sweatshirt, it was warm enough to enjoy a pickup game of baseball (remember those) or to ride one’s bike.

The internet however, allows us to review historic weather data, readily available on multiple websites. Turns out this memory of mine is not really typical of early April in the Pocono region of Pennsylvania.  In fact I suspect that the warm afternoons I remember are representative of a fluke year, possibly 1967 ( I was 10) when April was rather warm. Most of the rest of my youth, the month was not so blissful.

Apple Trees in April ( Fujifilm X100f)

It takes only a quick trip to the Weather Underground website to discover that at least in my part of Pennsylvania, April starts out with typical high temperatures in the low 50’s and by the 30th of the month typically reaches the low 60’s.  Given this, there are opportunities for anything from bonnie summer-like days,  to significant snowfall events.  And oddly enough these weather swings tend to be fairly typical.

Oh, and by the way, May here is no picnic either.

For instance:  in our region, April 2017 was the warmest April on record.  The mean high temperature for the month was actually 66°, which is 3-4° higher than the average high temperatures for the very end of April.  And the month was warm pretty much from the first, to the 30th with only a few cool spells.

April on the Nescopeck ( Panasonic GH1, Lumix 14-42 f3.5-5.6)

Contrast that was 2016, which at least started out cool like this year prior to slowly warming as the month went on.

So April is the month, when I hedge my bets.  Once the snow melts, and the lawn firms up, spring cleanup is certainly reasonable.  Early-to-mid April  is however waaaay too early to take the plow off my UTV or put away the snow shovels.  This is true at least on the ridge-tops here, for as in the  fall, spring snowfall events  tend to be very altitude dependent.

I think back to April 16, 2007. It was a cold day in the Susquehanna river valley where I spend my workdays.  There was a wet snow falling, though it was unable to accumulate on the warm ground.  In late afternoon, I drove to my home (which is 13- 1400 feet higher in altitude than the hospital where I was working).

Last of April Snow (Samsung Galaxy S8)

I noticed as I climbed out of the valley, that first the snow started to stick,, and then accumulate, deeper and deeper as I gained elevation.  At my home, there was 16 inches on the ground.  That was the most robust snowfall event of the season. It was also the greatest accumulation difference valley to mountains I can remember.  It is hardly the only significant snow event I remember occurring during the fourth month of the year.

April Snow in the Pine Plantation (Fujifilm X Pro 2, Fujinon XF35mm f1.4)

So my approach with April is typically to stop complaining, and be grateful.  For even on the cooler days, it’s not as cold as it would’ve been in January when the sun arcs so much lower in the sky. When it’s warm, I bask in the sunshine and think back to that kid on his bicycle after school. 

I have faith that as the weeks pass, the warmth of spring will finally beat back the leftover chill of Winter.

Hopefully in June… towards the end of the month.

End of Winter 2018, and the XF55–200mm f3.5-4.8 OIS Zoom revisited


The scene at Deer Creek (Samsung Galaxy S8)

The winter of 2017-18 is over.  At least chronologically.

As I write this, it is the first full day of spring.  For the third time this March, a Nor’easter has formed off the coast of the Outer Banks and is making its way north.

It is now spreading snow over the Appalachians, and points east.  Forecasts for this storm have been wavering, but I think that between 2 and 6 inches over the elevation or I reside is likely (5″ eventually fell).  Though I do yearn for spring, the upcoming weekend is forecast to be sunny and pleasant.  It will likely offer one more opportunity for cross-country skiing before I put my equipment away.

It has been a strange winter.We had a little snow earlier in the year, and then extremely warm February.  By groundhog day it seemed likely that we would drift right into spring (though the groundhog disagreed).  Winter is cruel that way.

At the Long Lake Outlet (Fujifilm X Pro 2, XF 50-200mm OIS)

Then came March with its storms which in our part of the Poconos have maintained an adequate snowpack for recreation.  Today’s storm continues that trend.  And the warm weather, at least according to the meteorologists, is not yet in sight.

The last several months have been a busy time.  Given my position as a pulmonary physician, this winter’s flu epidemic kept me on my toes, running between patient rooms, gowning and re gowning to avoid the spread of the virus to other patients and hospital staff.  I have been overseeing some renovations at my home, including a new home office and photo studio.  Earlier in March, I spent my usual late winter week in the Adirondacks.  There was plenty of snow for skiing and snowshoeing as well as photography.   This will serve as my excuse for the lack of attention to the site over the past month or so.  Now happily, the flu epidemic has waned, and my renovations are largely done. It’s time to put pen to paper (so to speak).

In the time since my last article, mindful of my good experience with the rather modest XF 18–55mm zoom legacy lens, I focused my attention on its bigger brother, the XF55-200mm f3.5-4.8 OIS zoom that hearkens from the same time period.  I have written about this lens before.  Ironically, I published its original review almost exactly the same time of year back in 2014.   Now with the higher resolution sensors available on newer Fujifilm bodies, it was worth digging out of my roomy new equipment cabinet for a second look.

Lean-to at Black Lake (Fujifilm X Pro 2, XF 50-200mm OIS)

Over the years, this is proven to be a fairly rugged lens. Though I used it fairly frequently in its early years, cosmetically it looks roughly the same as when I took delivery.  At 55mm, and without its deep lens-shade, the lens is fairly compact, though it telescopes awkwardly as one increases the focal length.  It tends to look weird on a rangefinder style body such as the X Pro 2, though it handles just fine.

The focus and aperture dials remain smooth after 4 years of ownership.  The lens continues to exude high-quality.  Though it is not officially weather-sealed, I have used it multiple times in rainy or snowy conditions without any difficulty.

Ladd Cemetary (Fujifilm X Pro 2, XF 50-200mm OIS)


In my normal photography with the Fuji system, I tend to favor mild wide lenses like the 23 mm lens in my X100 series cameras, combined with a mild telephoto such as my XF 56mm f1.2.  With the 50-200mm I tended to shoot from its short end, out to about 160 mm, because as it approaches 200 mm, sharpness is known to deteriorate slightly.  It thus tends to be an outdoor lens, as it is not nearly fast enough, (nor razor sharp wide open like the Fuji primes ) for natural light indoor photography.

Don Chappell on St Patrick’s Day (Fujifilm X Pro 2, XF 50-200mm OIS)

Particularly on a “long” lens. the addition of optical image stabilization (OIS) is extremely convenient. It definitely increases your “keepers” if your subject is static.

Now I love being a prime lens snob. To be honest, though, the quality of both of the original “kit” lenses is somewhere between more than adequate to awesome, Used within their limitations (good light, slowly moving subjects) they are no impediment to producing quality prints of landscape subjects. This suits me fine.  If I want to go back to shooting sports and fast-moving wildlife, I would probably invest in a use or refurbished Nikon D7XXX body to use with the  70-200 f2.8 VR Nikkor that still lurks in my studio.  For what I do, this Fuji telephoto zoom works just fine.

Winter is Long (Fujifilm X Pro 2, XF 50-200mm OIS)


Fujifilm makes several other long zooms including a robust 50–140 millimeter f2.8 which would also suit my focal length needs, and allow more light for fast action and dusk/dawn shooting.  It is $1500 new and weighs more than twice as much as the 55-200, attributes that are not particularly interesting to me.  Like my Nikkor 70-200mm, it has sufficient size/weight to require a tripod mount. Thus, for me, it would be likely relegated to shooting from the car. That kind of shooting I tend to do with my heavier Nikon gear.

“Tux” on Parade (Fujifilm X Pro 2, XF 50-200mm OIS)

I still prefer prime lenses, both for their inherent quality and for the discipline they instill in my shooting.  But I can see maintaining a camera bag, with the 2 zoom lenses, and a more SLR-like camera such as an X-T10/20 body. This would be fairly light, and a very easy “grab” when headed out into the outdoors for some impromptu exercise. 

Given the quality of images I have seen these two lenses, such a gear bag would likely spend a lot of time by my side.


Cold

Cold Cemetary in Alberts (Fujifilm X100f (TCL X100)

It has been cold in Northeastern Pennsylvania. For us at least, it is very cold.  With high temperatures in the single digits and lows well below zero, this is a stretch of weather quite the opposite of the warm January’s we had over the last 2 years. 

Up on the Pocono Plateau, we have a few inches of light powdery snow, sadly inadequate for cross-country skiing.  Still, in all it’s pretty, and with the cold temperatures, the ice formations in our creeks and streams get rather interesting and complex.  With a snow cover, the scenery is interesting again, and at this depth, it is no impediment to hiking and exploring.

Waiting for Turkeys (Fujifilm X100f)

With this frigid weather has come wind, which makes outdoor activities more challenging.  Anticipating a trip coming up to the even colder Adirondacks, I’m spending time out in the elements to acclimate myself to cold weather sports.  As I get older, this gets more and more difficult.

The forests change in the bitter cold.  A walk in the woods during single-digit temperatures is a quiet one; with little evidence of the chickadees, nuthatches, blue jays, and squirrels one encounters in more normal temperatures.  The squirrels I understand, are probably holed up in their leafy nests, but the location and condition of the birds is more mysterious.  Due to they find shelter?  Are they in torpor?

Ice Fishing at Francis Walter Dam (Fujifilm X100t (TCL X100)

This cold has real consequences for people.   My neighbors live in an even larger Victorian summer home that I do, albeit one that is not as obsessively sealed and insulated as my own.  On such cold days, even with the use of auxiliary coal and wood stoves, they struggle to keep the house in the low 60s.

The Nescopeck is Frozen ( Fujifilm X100f, TCL X100II)

Even though we live in a natural gas producing region, I’m told that with such high demand, the gas suppliers are forced to ration supplies, diverting them from businesses, to homeowners.  This can obviously be quite disruptive. It’s slightly embarrassing to me, that in these times the schools actually stay closed on the coldest days for fear of exposing the little darlings to the winter’s chill.  Whatever happened to “bundling up”?

Glen Summit Chapel in Winter(Fujifilm X100f (TCL X100II)

A friend of mine who runs a heating oil distributor once told me that surprisingly, he actually hates bitter cold times because people who live on the edge financially, run out of money to buy heating oil. This leaves him with a difficult choice: to either extend credit or refuse a delivery.  More often he chooses the former than the latter putting him at financial risk.  These conditions also challenge his service people, who work long hours, doing emergency repairs on poorly maintained heating systems.


Still, in all, this will pass.  Our normal winters have highs in the 30s and lows in the teens, a temperature.  regimen to which we are all more accustomed.  People will still grumble, complain, and pine for spring, while we skiers wait for the Northeaster’s of the later winter to kick start our outdoor winter sports.

Soon the snows will come.

Revisiting a forgotten lens: the Fujinon XF 60mm f2.4

Corn at Sitko’s Farm (Fujifilm XT-10, XF 60mm f2.4)

Every once in a while, perhaps while out shopping, or at a restaurant, I will encounter an old friend, whose life path has drifted out of my particular orbit. After spending some time catching up, I will be reminded of how much I enjoy their company, and will wonder why we didn’t make more of an effort to keep in touch.

In the last several weeks, I feel it had that sort of an experience with a lens. In particular, the Fujinon XF 60 mm f2.4.

This was one of the 3 original prime lenses introduced with the X Pro 1 in 2012. At the time, it was lauded by some is the sharpest of the trio (the 18 mm f 2.8, the 35mm F1.4, were the other 2 lenses).

I remember my initial impressions were that this was a bitingly sharp lens, noticeably more so than my Nikon primes. In fact, the quality of all of these original lenses probably helped pull me from using my Nikon gear, to shooting mainly with Fuji.

But just like with life, newer things come along, in this case, lenses that are faster and newer, and distract me from an old companion. After a time the 60 mm became lost in the back of my photography cabinet.

Wild Grapes (Fujifilm XT-10, XF 60mm f2.4)

Several weeks ago while on my way out the door to go hiking, I picked up camera bag with my XT-10 body, which I noticed had no lens mounted on it. I opened a cabinet and on a whim, reached blindly to the back of the shelf, determined to utilize the first Fujifilm lens I grabbed. This turned out to be the 60 mm, which I have basically ignored for many years. I mounted it on the camera and have been shooting ever since.

Early Fall on the Old Stage Road (Fujifilm XT-10, XF 60mm f2.4)

To remind you, this is a macro lens, the first in the Fujifilm “XF” line. It is fairly diminutive, compared to for instance the 56 mm f.12. It’s nicely built, with not only a fairly deeply recessed small front element but then a rather large metal lens hood. All of this makes it quite resistant to lens flare as the sun’s rays rarely reach the front element.

Epiphyte (Fujifilm XT-10, XF 60mm f2.4)

Though the lens aperture is tighter than many of the other Fujifilm primes, the lens is quite sharp wide open at F2.4. For those of us that focus on landscape imaging, the modest deficit in light gathering is really not much of an impediment when shooting in the daylight hours. This plus its small size may make it preferable to the newer 56mm for shooting while hiking. If only it had stabilization…

On an APS sensor, the lens has a 90 mm equivalent field of view, which makes it ideal for the sort of late summer early fall photography, available now as it allows you to isolate the sporadic displays of autumnal color beginning to erupt at this time of year. It’s also wonderful to have its macro capabilities for close-ups of wildflowers and the other fall forest offerings.

And boy is it sharp! From f2.8 and above, the lens has incredible definition. Out of focus elements look lovely at f2.4-3.5. Mounted on the XT-10 it balances very nicely, though it is a bit long with the lens hood installed. Still an all, it’s very compact package.

One downside of this optic for outdoor use is that given its magnification, it is prone to artifacts from camera shake. I find that using my steel Gitzo monopod, and good shooting technique, I can get acceptably sharp results without a tripod. You just have to be careful.

Hemlock with old bridge cable (Fujifilm XT-10, XF 60mm f2.4)

I did a search on eBay and found there are a lot of these lenses for sale. I suspect that it is a common lens for Fujifilm users to unload. There is a wide range of price’s but it looks like you could acquire a nice used one for between $US200- $400. There is also a broad range of prices for new lenses of between $US300-$650.

Given my experience, I think I’m going to put this lens back into circulation for outdoor shooting, relying more on the 56 mm f1.2 for street, and indoor work.

If you have one in the back of your cabinet, pull it out. I suspect he will find it is indeed like an old friend.


The X100f after Four Months of Use.

Fountain Lake Scene (Fujifilm X100f, TCL X100)

It has been almost 4 months since the UPS man walked up my driveway, and dropped off my X100f.  It has become, as was its predecessor the X100t, my most used camera body.  And over that period of time, I have definitely formed some opinions on the camera particularly compared to its predecessors.

I posted my initial review of the X100f here.

The “f” model  X100 some ways is the most revolutionary new model, at least since the “s” version of this small range finder-like body.  It slightly larger than its predecessors, mainly to accommodate the larger battery of the other cameras in the “X” series.  I was concerned that this would alter the physical joint using the camera, but over the months the differences mean nothing.  And the convenience of packing one battery type for a photography job or trip is well worth whatever additional girth the camera brings.  I also like the idea that in a pinch, the camera can serve as a charger for the pool of batteries either in a car or at home.

Marathon Couple (Fujifilm X100f)

I have been using the camera a lot with the TCL  X100 Mark II, which automatically changes the camera setting to reflect the change in the field of view (35–50 millimeters).  This lens, like its predecessor, is optically excellent, and now I don’t forget to change the camera setting.

I’m pleased with the autofocus performance in general, but I am sometimes frustrated by the facial recognition, which is somewhat inconsistent even shooting multiple images of the same scene.  Sometimes it just won’t pick up the face.  It would probably be better, to turn it off and just use a focus point.  This is especially true since we now have the advantage of the joystick control.

Iris (Fujifilm X100f)

I’ve noticed a few other things.  The focus mode switch on the side of the camera seems to have had its actions stiff and somewhat.  On the camera’s predecessor, I actually had some gaffer tape over the switch to keep it in the “S” setting as I often found that it would move unbeknownst to me (I generally only use manual focusing for panoramas, and almost never use continuous focusing).

Evening at the Whiteface Club (Fujifilm X100f)

I have never been overly impressed in the past with the resolution improvement of the new 25mp sensor relative to its 16mp predecessor, but I think I’m noticing more shake artifact in images with the newer camera.  Maybe as I age my hands aren’t as steady as they used to be.  Still, in all, I don’t remember this with the previous bodies.  Nothing in the leaf shutter mechanism is changed to my knowledge, and the camera still has a nice soft shutter sound.

I was already a fan of the Acros black-and-white film simulation on my X Pro 2, and though I shoot in raw, I often develop images in photoshop with this profile.  To my eyes, it is relatively close to the camera-generated image.

Nescopeck in June (Fujifilm X10f, TCL X100)

Overall I’m extremely pleased with my new camera.  The X100 series has become like an old friend to me, and in my collection, even among the other Fujifilm products, it is the easiest to reach for what I’m going out and about.  It remains discrete and non-threatening and wonderful for event and street shooting, and with the extra resolution wonderful for landscapes.  Also with its soft shutter and built-in neutral density filter, it remains my favorite camera for moving water.

It’s,  going to get a lot of use over the next several years.

.


The Gear that I Use: The Fujifilm X100F Review

Turkeys Next Store (Fujifilm X100F, TCL X100II)


I am a creature of habit. Whether it is merchants, restaurants, vacation spots… etc., I derive comfort in familiarity. It is an impulse I endeavor to resist… not always successfully.

It’s also true in terms of camera gear. For I just bought my fourth version of the Fujifilm X100… the X100F.

It arrived in late March, of the latest iteration of an old photographic friend, the newest camera in the X100 series. I have been shooting it since then, in the somewhat sparse scenery of early Spring.

Over the last several years, this camera line has been the one that I reach for the most. I have been looking over archived raw files in preparation for my upcoming photography exhibit. I couldn’t help but notice that particularly in the last 3 years; my X100 series uploads far exceed those of my other equipment. I have grown very comfortable with the camera’s functioning, the image quality, and the range of focal links offered between the native lenses and the lens adapters.

Given this, I may skip other upgrades, but the newest X100 will always be interesting to me.

Clayton”s Walkway (Fujifilm X100F, TCL X100II)


I have no desire to be repetitious and waste the reader’s time. Therefore if you wish, you can read my reviews of the original X100, the X100s, and the X100t which will serve as a basis for this review. My desire is to discuss what I think are the relevant improvements, and what they mean to my workflow in the Fuji system. There are also websites such as DPReview, and The Imaging Resource that can be a source of feature-by-feature descriptions of this product. My mission here will be to describe the effect those changes have had on this user.

The best way to summarize my reaction to this camera is this: that in terms of image quality, controls and features, it now is almost completely in sync with the X Pro 2. This is very important to me as these cameras are my go-to pairing for weddings and events. I now can shoot the same resolution files and film simulation on the X100 style body that I can on the interchangeable lens X Pro 2. And the relevant controls and menu structure are now roughly the same. This means that I can quickly make intuitive adjustments on either camera without thinking.

First and foremost, the camera in hand feels roughly the same as the previous generations. All of the buttons on the back of the camera have been relocated to the right side which does facilitate their operation while looking through the viewfinder. The camera feels extremely well-built, though weather sealing is still not a feature.

Maple Buds at Fountain Lake (Fujifilm X100F, TCLX100II)


I have written here and here about my reactions to the new sensor offered in the later Fujifilm cameras. The resolution increase from 16 megapixels to 24 is not trivial, but also not overwhelming. It certainly means you can crop more aggressively, which is certainly helpful on the fixed lens X 100, and the images do seem to have improved “per-pixel” sharpness. In particular, because of my exhibit, I’ve been doing a lot of printing. I remain extremely impressed with the amount of detail on even 17-22 inch prints that even the earlier 16mp Trans-X megapixels can produce without straining. Obviously, the new sensor will be better yet.

Scene at Wilkes’s Library (Fujifilm X100F)

What is nice about the Fuji’s in general, and the X100F, in particular, is that all this resolution is very usable. Again in reference to my upcoming exhibit, I had identified an image shot with my D800E for inclusion. This is a 36mp DSLR, and given this, I have always been aware that camera technique must be perfect in order to avoid shake artifact, (which is much more evident the higher the resolution). For this reason, I shot this image from a stout Gitzo tripod, and with a remote release.

When I printed the image, however, I discovered that there was camera shake, which essentially ruined the image for me. Undoubtedly this came from the impact of the mirror as it swung out of the way of the sensor. I shoot all the time with the mirrorless Fuji bodies, and particularly X100, on a much smaller tripod, and essentially never have this problem. Because of its leaf shutter, the X100 is particularly forgiving in this regard. So bring on the resolution!

Cascade Near Mocanaqua


I remain underwhelmed with the purported improvements in high-ISO performance for the new sensor noted on some other websites, but on the other hand, I don’t really do formal tests on this. I was already pretty darn happy with the earlier cameras. It’s certainly no worse than the earlier chip and may be a smidge better. I’m certainly content continuing to use ISO 6400 as the upper limit on my auto ISO setting.

Then there is the matter of the mechanical ISO dial which it also has in common with the X Pro 2. Many people were unhappy with this feature when it first appeared. From my style of shooting, however, it is very convenient. So good are the trans X sensors that I generally shoot in auto ISO without much worry. But if, for instance, I’m shooting moving water, or daytime fill flash, the ISO dial makes it easy to quickly switch to ISO 200, and then switch back when I’m done.

George and Alihah (Fujifilm X100F iso 6400)


Several improvements do really alter the relationship between the cameras. The X 100F now uses the same battery as all of the other Fuji bodies. This really simplifies keeping a good collection of batteries charged and ready to go, it also means when I change camera bags, I don’t have to worry about which type of extra battery I have stowed there. Also, since the X100 series has an onboard USB charging, in a pinch it can charge batteries to be used on my other Fuji bodies. The battery indicator apparently now displays a more accurate representation of the percentage of power remaining. Oh, and hopefully battery life will be longer, though this was never really a problem for me.

I’m a big fan of the Acros black and white film simulation, which given the new sensor and processor, is now finally available on the X100 series. I like the fact that I can set the film simulation, but shoot the camera in RAW alone, but still see the film simulation in the viewfinder. I later apply the film simulation in post processing, as it now is available in Adobe Camera Raw.

Eloquent Erika (Fujifilm X100F)


Then there is the focus point joystick, which again appeared in the X Pro 2. Now that it’s available on the X100, I feel as though I can begin relying on it. For those of you who unfamiliar with the feature, it allows direct access to focus point adjustment without first pressing any other buttons. It thus frees up a programmable button on the camera for other functions. It is a feature that is long overdue.

Another really likable improvement in the camera is its ability to recognize when one of a new series of lens adapters is mounted. With the older cameras, I was forever forgetting to change this adjustment manually, which theoretically results in some distortion in the image. I did acquire the 50mm field of view TCL X100 II (the adapter I most often use). The old version sold on eBay for surprisingly good money, which is heartening.

TCL X100 set up for Landscape (Sony RX100III)


Every time there is a new version of a particular model in the Fujifilm lineup, auto focus has been improved. Before I sold it, I compared the “T” model to its replacement. There did seem to be a slight improvement in focusing speed, particularly in low contrast areas, but again these cameras of gotten good enough that for my style of shooting such improvements are not that impactful.

There is an increase in the number of focus points from 49 in the X100 T, to 325 and the newer camera. This is the same as on the X Pro 2.There is a little wider screen coverage, but in general, to me, the larger number of points seems to increase the amount of time it takes me to move to the right part of the sensor. I tend to keep these cameras set to show a lower number of points in the viewfinder.


I’m sure as time goes on, I will have additional comments as I gain more experience with this instrument. Overall I am quite content. In most ways, this is a superior camera than its predecessor (which happily also sold for decent money on eBay). Who knows what is yet to come in future firmware upgrades.

Yes, I am definitely a creature of habit.

But if you find something that works, why not stick with it?