Posts tagged with: Fujifilm X pro 2

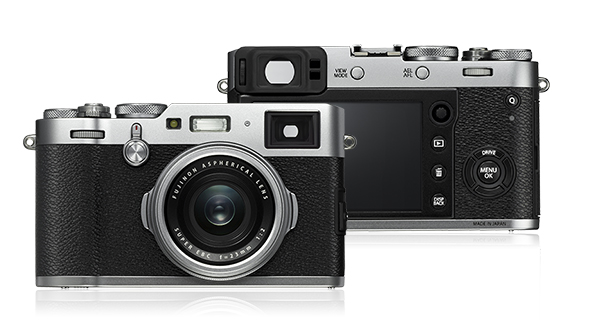
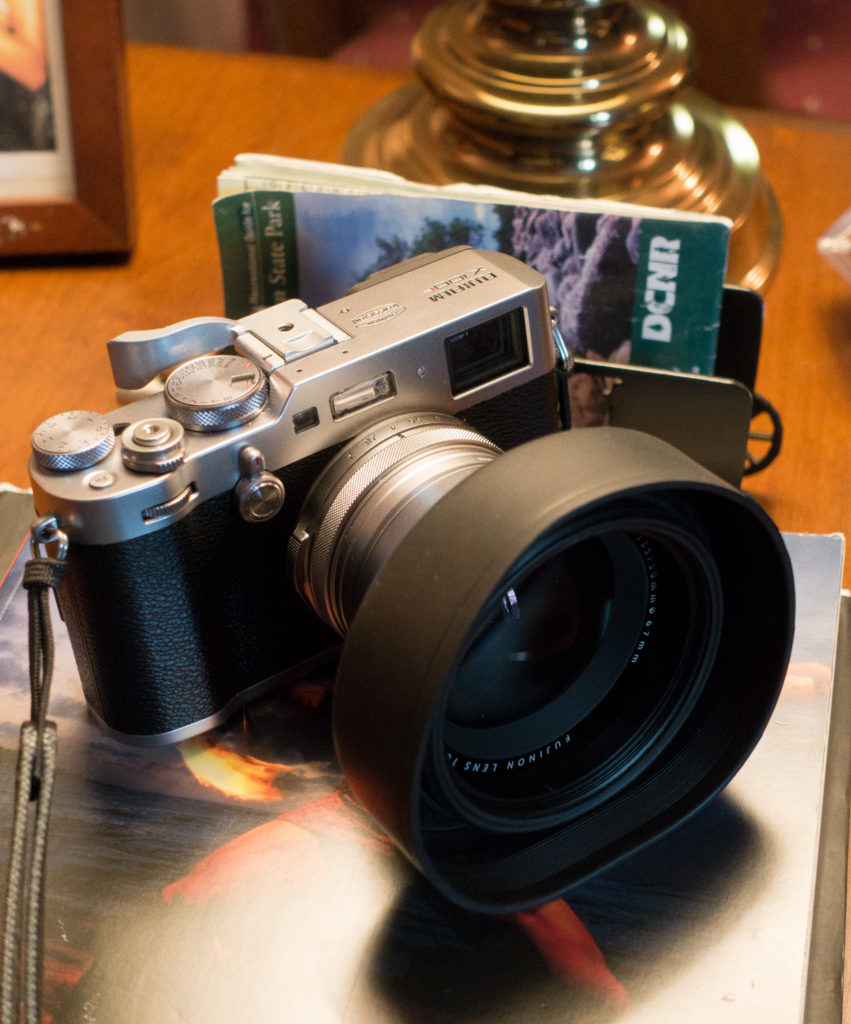
The Gear that I Use: The Fujifilm X100F Review

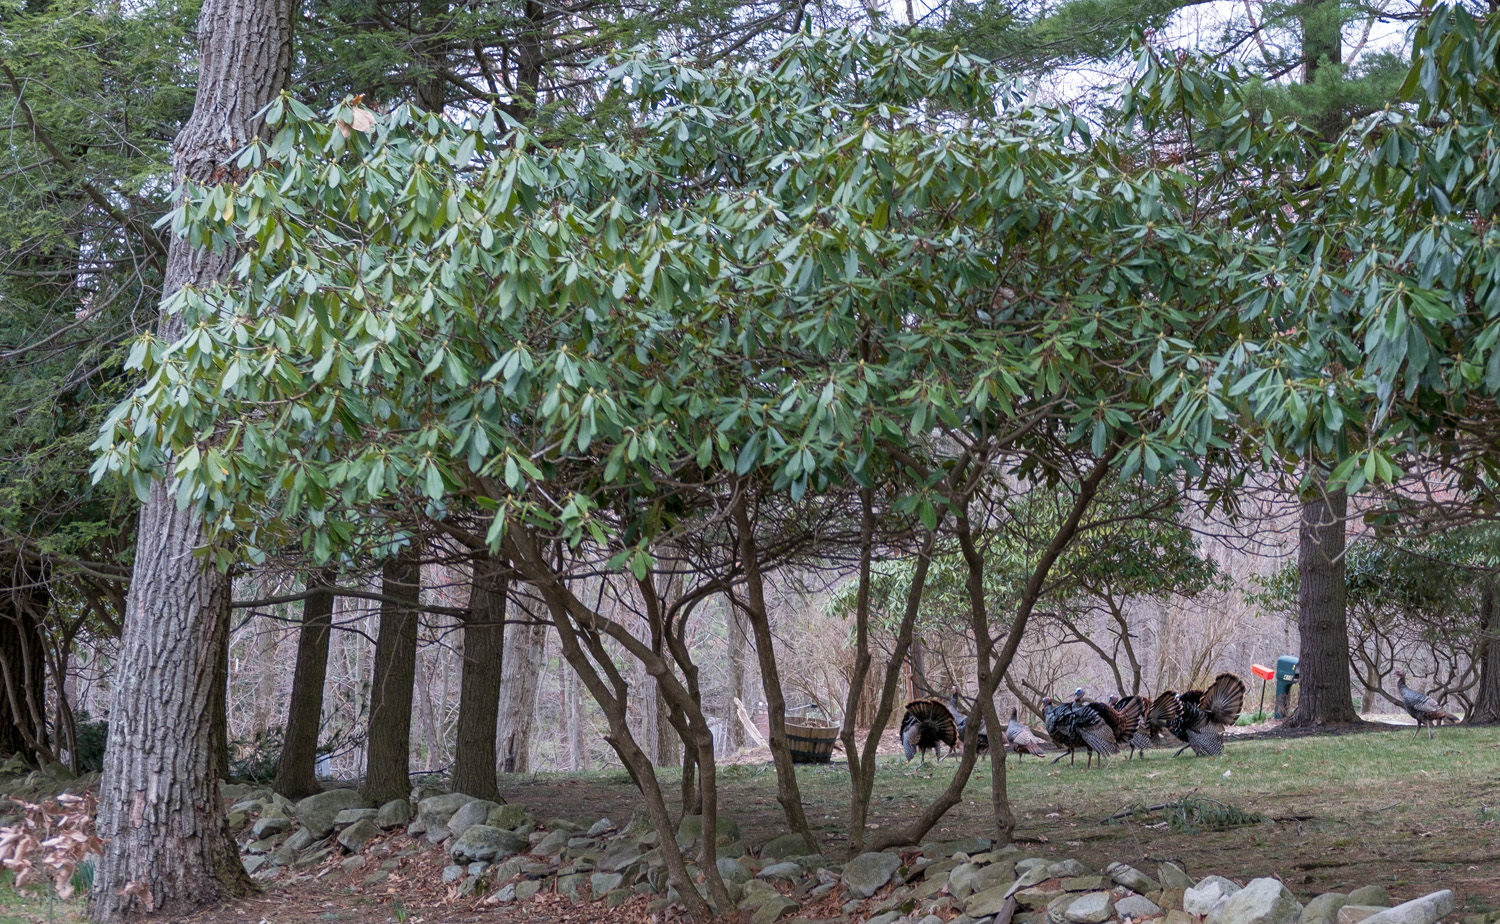
Turkeys Next Store (Fujifilm X100F, TCL X100II)


I am a creature of habit. Whether it is merchants, restaurants, vacation spots… etc., I derive comfort in familiarity. It is an impulse I endeavor to resist… not always successfully.

It’s also true in terms of camera gear. For I just bought my fourth version of the Fujifilm X100… the X100F.

It arrived in late March, of the latest iteration of an old photographic friend, the newest camera in the X100 series. I have been shooting it since then, in the somewhat sparse scenery of early Spring.

Over the last several years, this camera line has been the one that I reach for the most. I have been looking over archived raw files in preparation for my upcoming photography exhibit. I couldn’t help but notice that particularly in the last 3 years; my X100 series uploads far exceed those of my other equipment. I have grown very comfortable with the camera’s functioning, the image quality, and the range of focal links offered between the native lenses and the lens adapters.

Given this, I may skip other upgrades, but the newest X100 will always be interesting to me.

Clayton”s Walkway (Fujifilm X100F, TCL X100II)


I have no desire to be repetitious and waste the reader’s time. Therefore if you wish, you can read my reviews of the original X100, the X100s, and the X100t which will serve as a basis for this review. My desire is to discuss what I think are the relevant improvements, and what they mean to my workflow in the Fuji system. There are also websites such as DPReview, and The Imaging Resource that can be a source of feature-by-feature descriptions of this product. My mission here will be to describe the effect those changes have had on this user.

The best way to summarize my reaction to this camera is this: that in terms of image quality, controls and features, it now is almost completely in sync with the X Pro 2. This is very important to me as these cameras are my go-to pairing for weddings and events. I now can shoot the same resolution files and film simulation on the X100 style body that I can on the interchangeable lens X Pro 2. And the relevant controls and menu structure are now roughly the same. This means that I can quickly make intuitive adjustments on either camera without thinking.

First and foremost, the camera in hand feels roughly the same as the previous generations. All of the buttons on the back of the camera have been relocated to the right side which does facilitate their operation while looking through the viewfinder. The camera feels extremely well-built, though weather sealing is still not a feature.

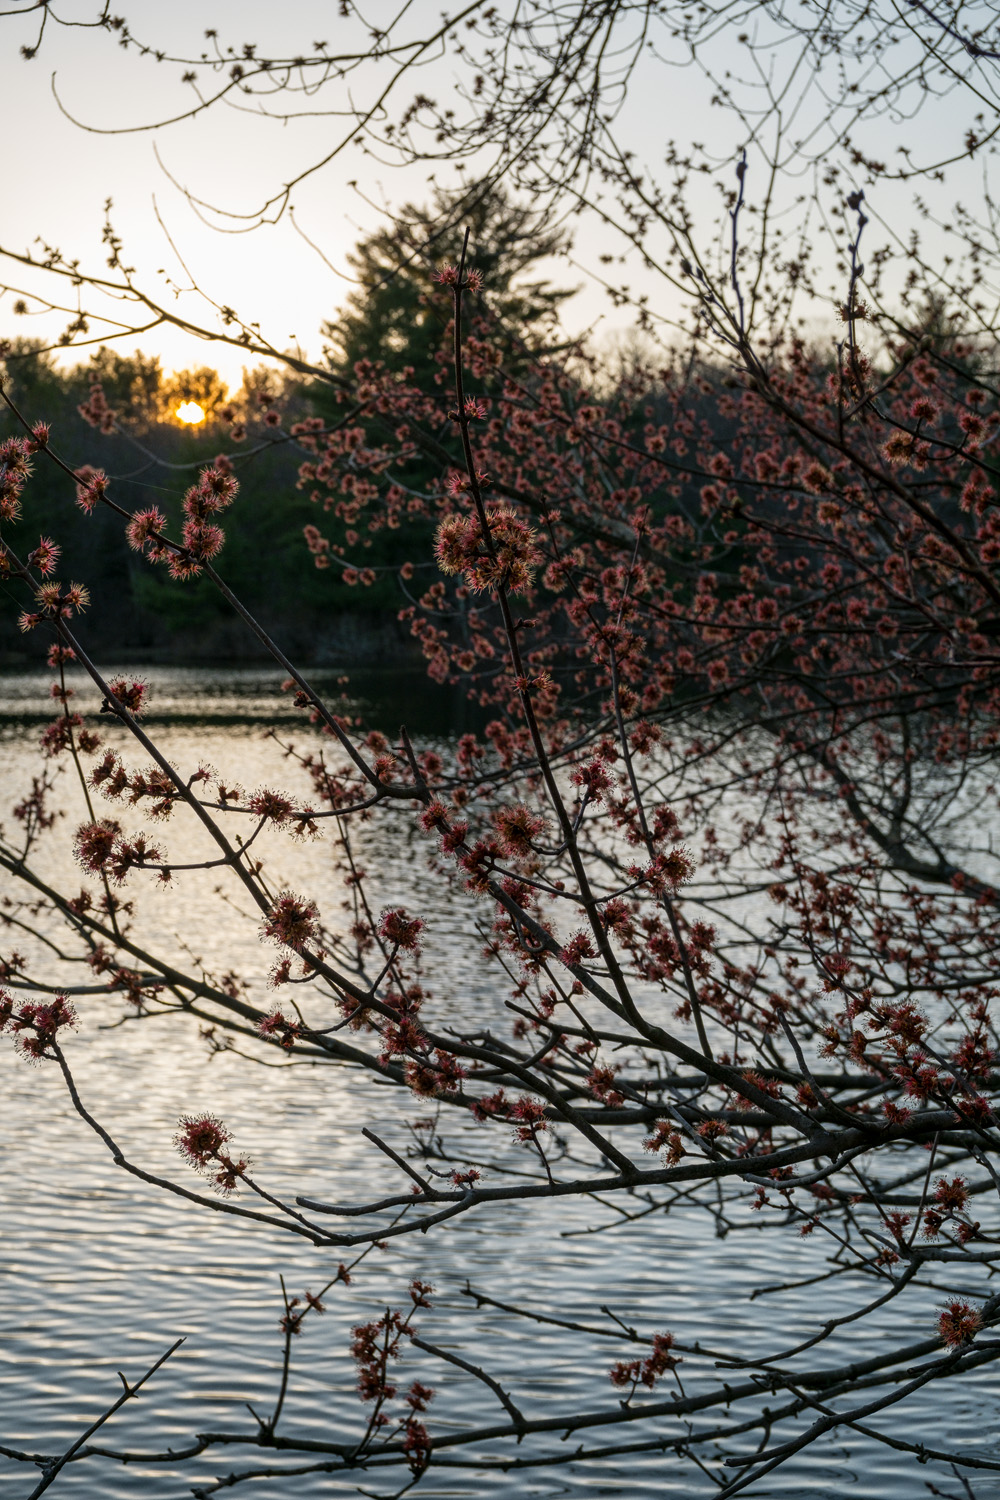
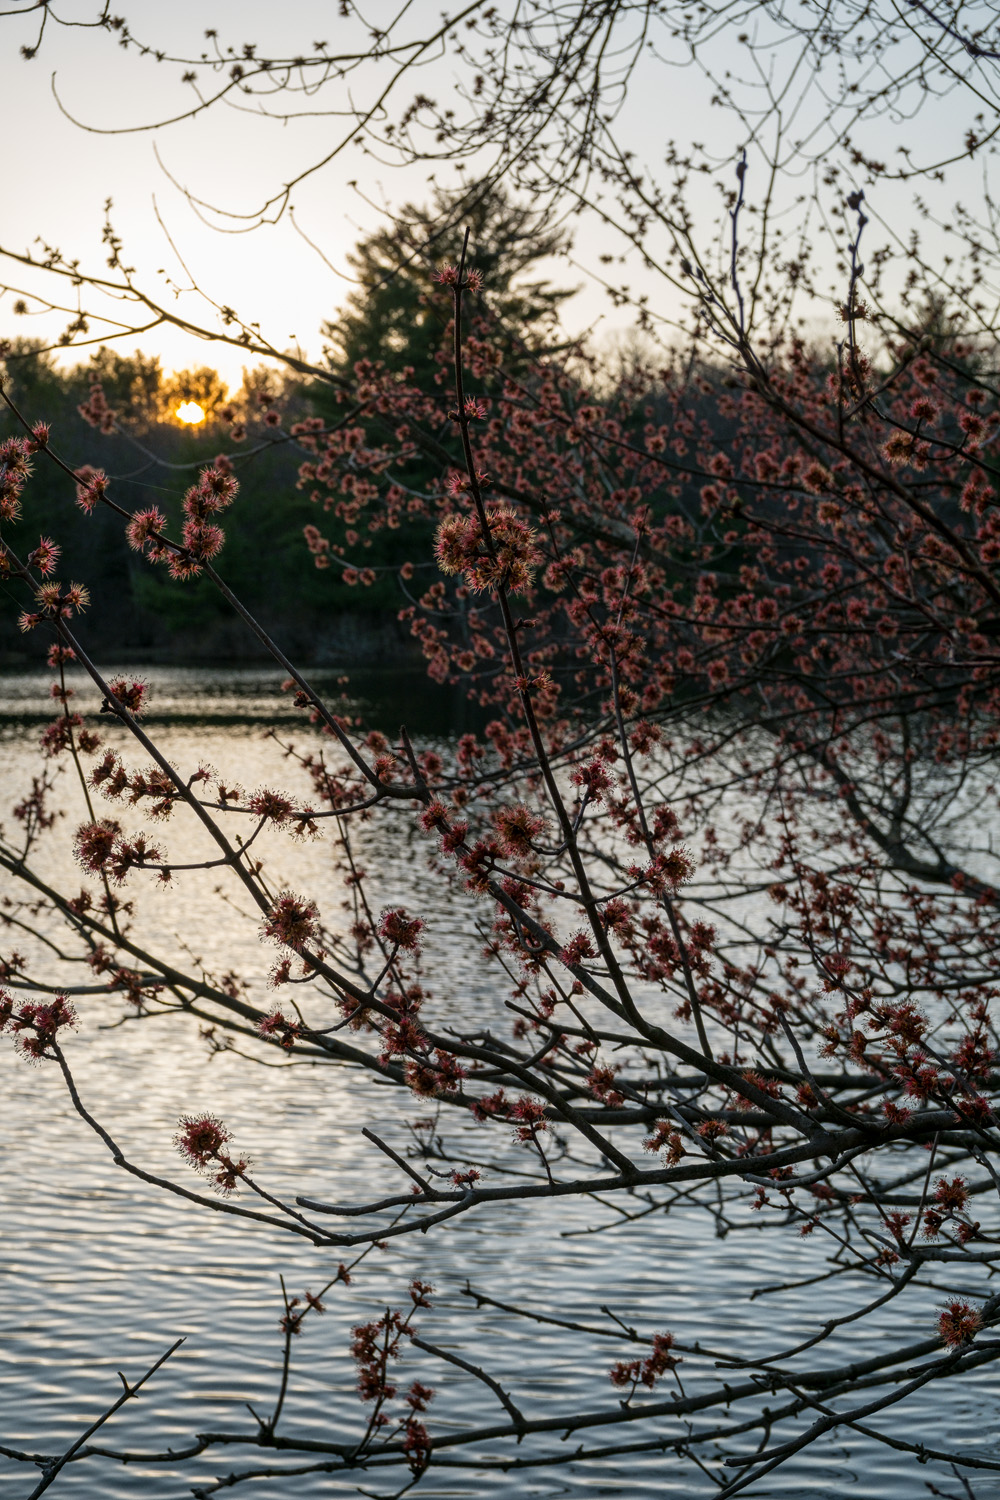
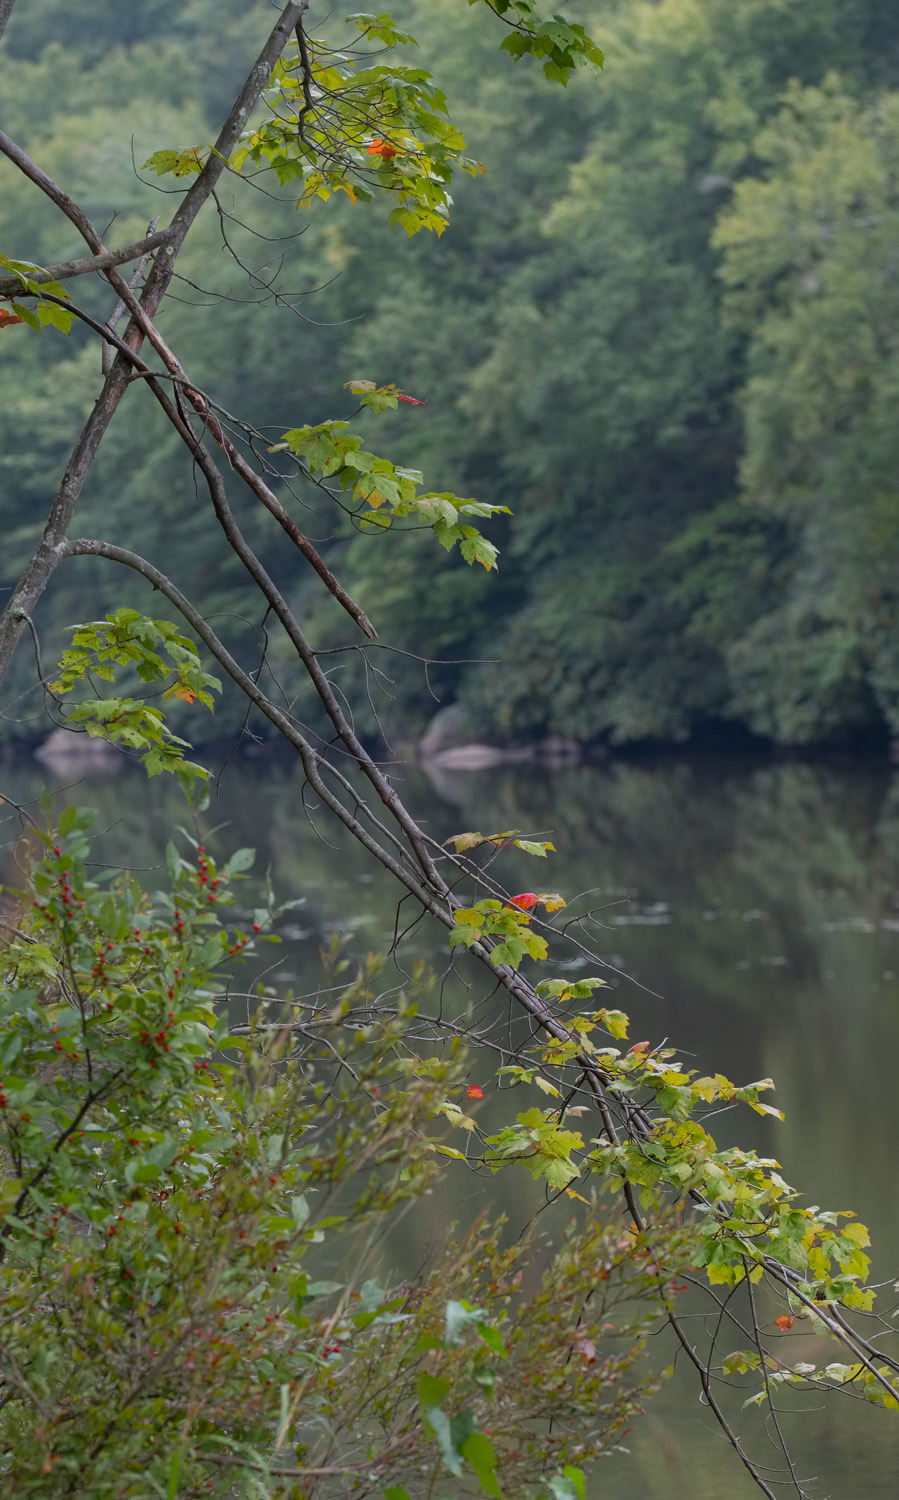
Maple Buds at Fountain Lake (Fujifilm X100F, TCLX100II)


I have written here and here about my reactions to the new sensor offered in the later Fujifilm cameras. The resolution increase from 16 megapixels to 24 is not trivial, but also not overwhelming. It certainly means you can crop more aggressively, which is certainly helpful on the fixed lens X 100, and the images do seem to have improved “per-pixel” sharpness. In particular, because of my exhibit, I’ve been doing a lot of printing. I remain extremely impressed with the amount of detail on even 17-22 inch prints that even the earlier 16mp Trans-X megapixels can produce without straining. Obviously, the new sensor will be better yet.

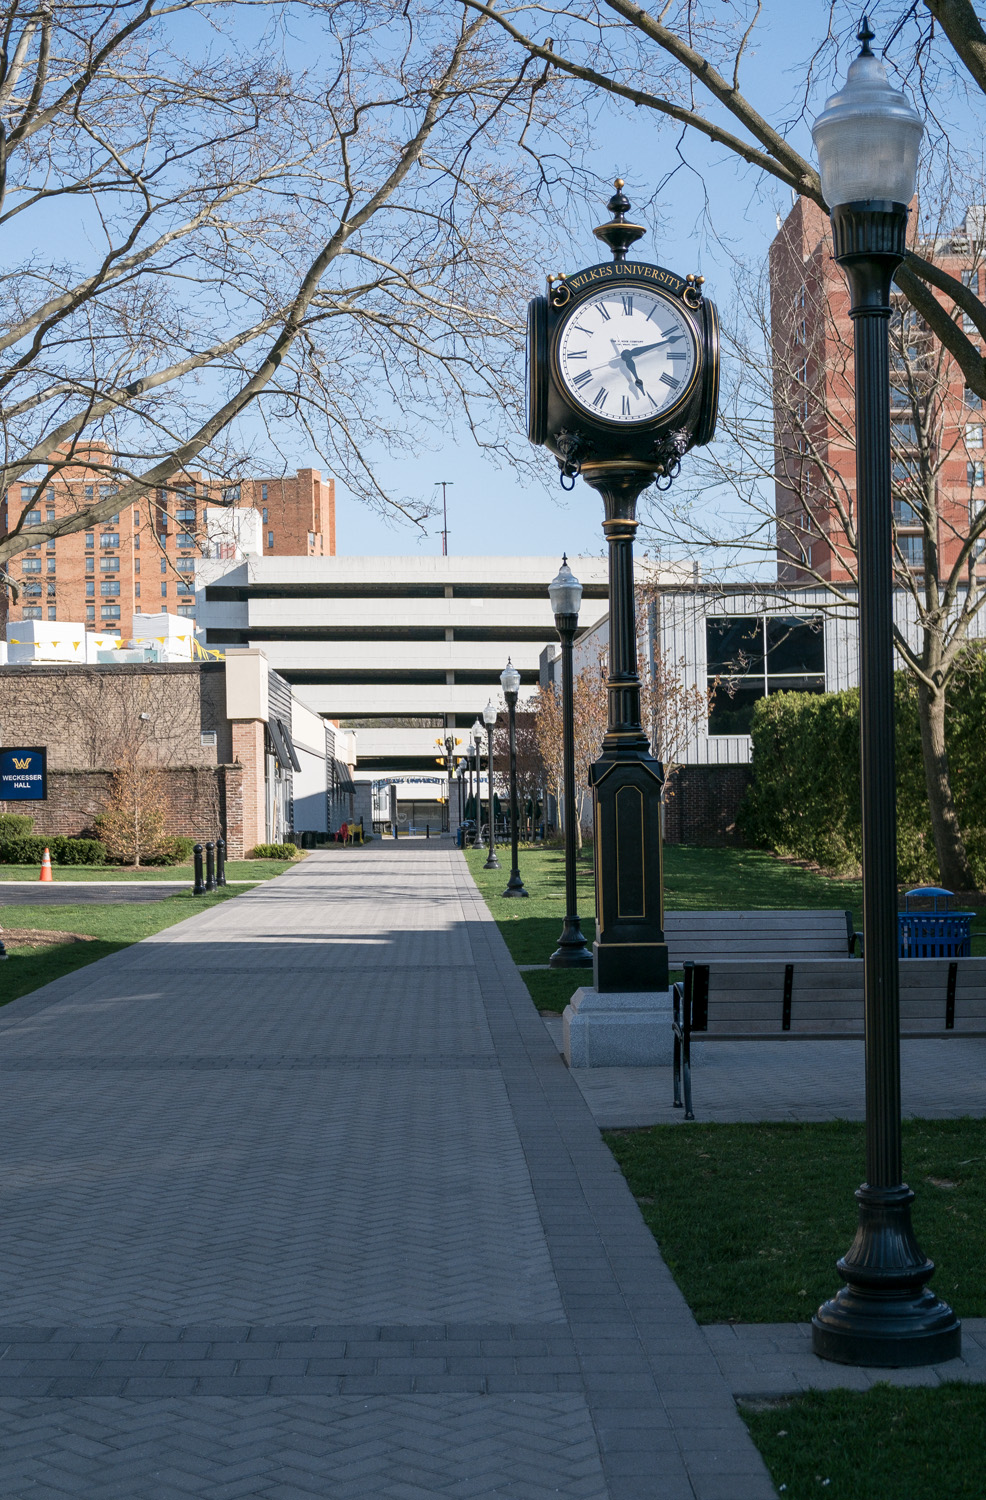
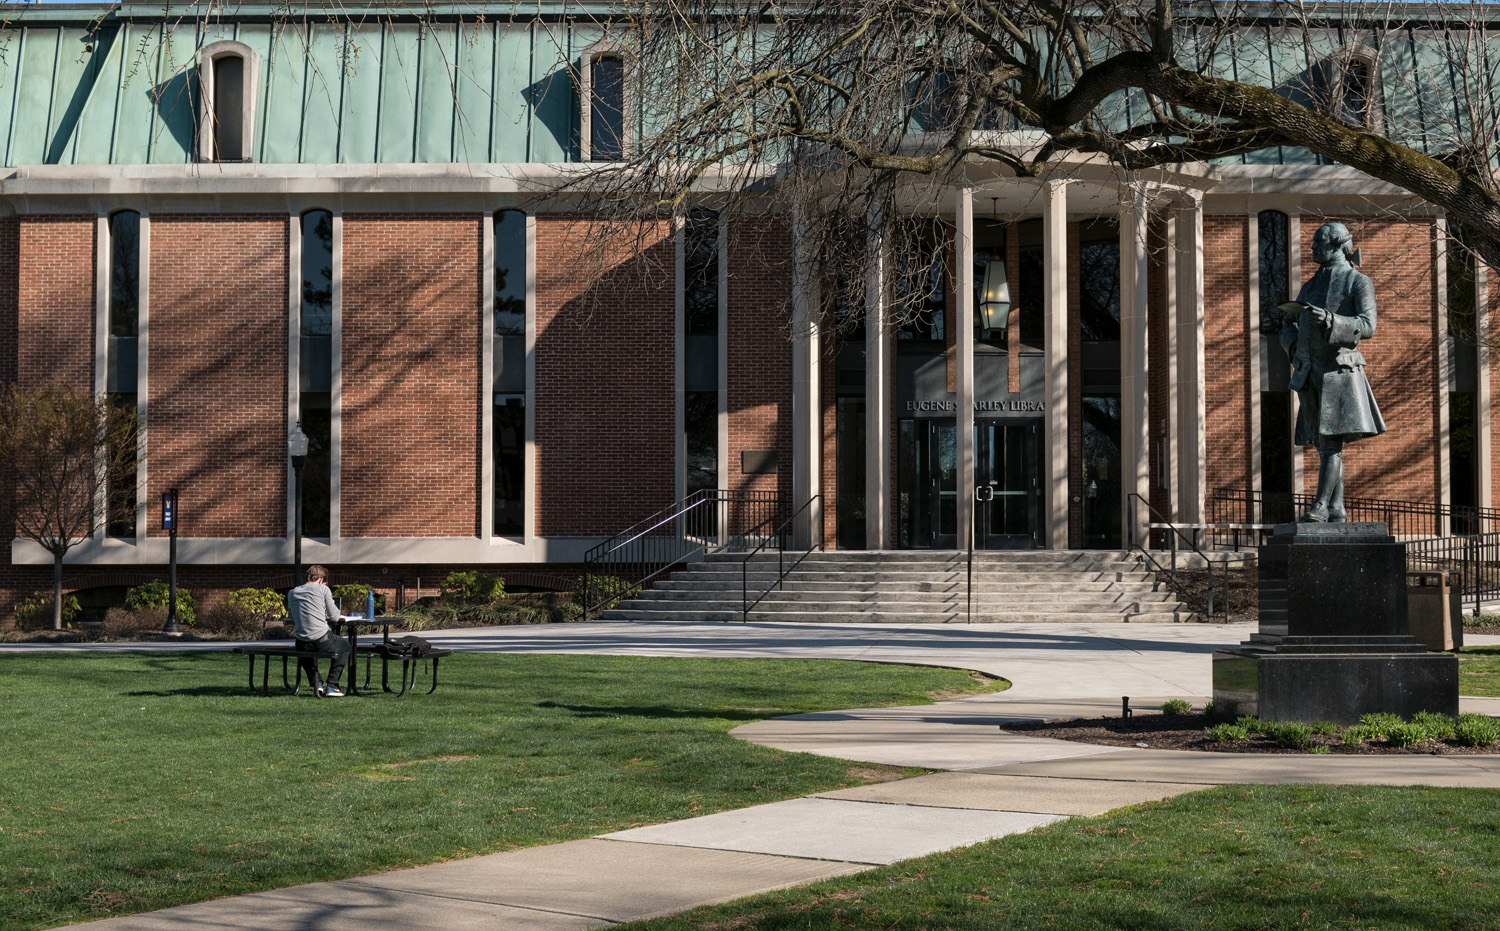
Scene at Wilkes’s Library (Fujifilm X100F)

What is nice about the Fuji’s in general, and the X100F, in particular, is that all this resolution is very usable. Again in reference to my upcoming exhibit, I had identified an image shot with my D800E for inclusion. This is a 36mp DSLR, and given this, I have always been aware that camera technique must be perfect in order to avoid shake artifact, (which is much more evident the higher the resolution). For this reason, I shot this image from a stout Gitzo tripod, and with a remote release.

When I printed the image, however, I discovered that there was camera shake, which essentially ruined the image for me. Undoubtedly this came from the impact of the mirror as it swung out of the way of the sensor. I shoot all the time with the mirrorless Fuji bodies, and particularly X100, on a much smaller tripod, and essentially never have this problem. Because of its leaf shutter, the X100 is particularly forgiving in this regard. So bring on the resolution!

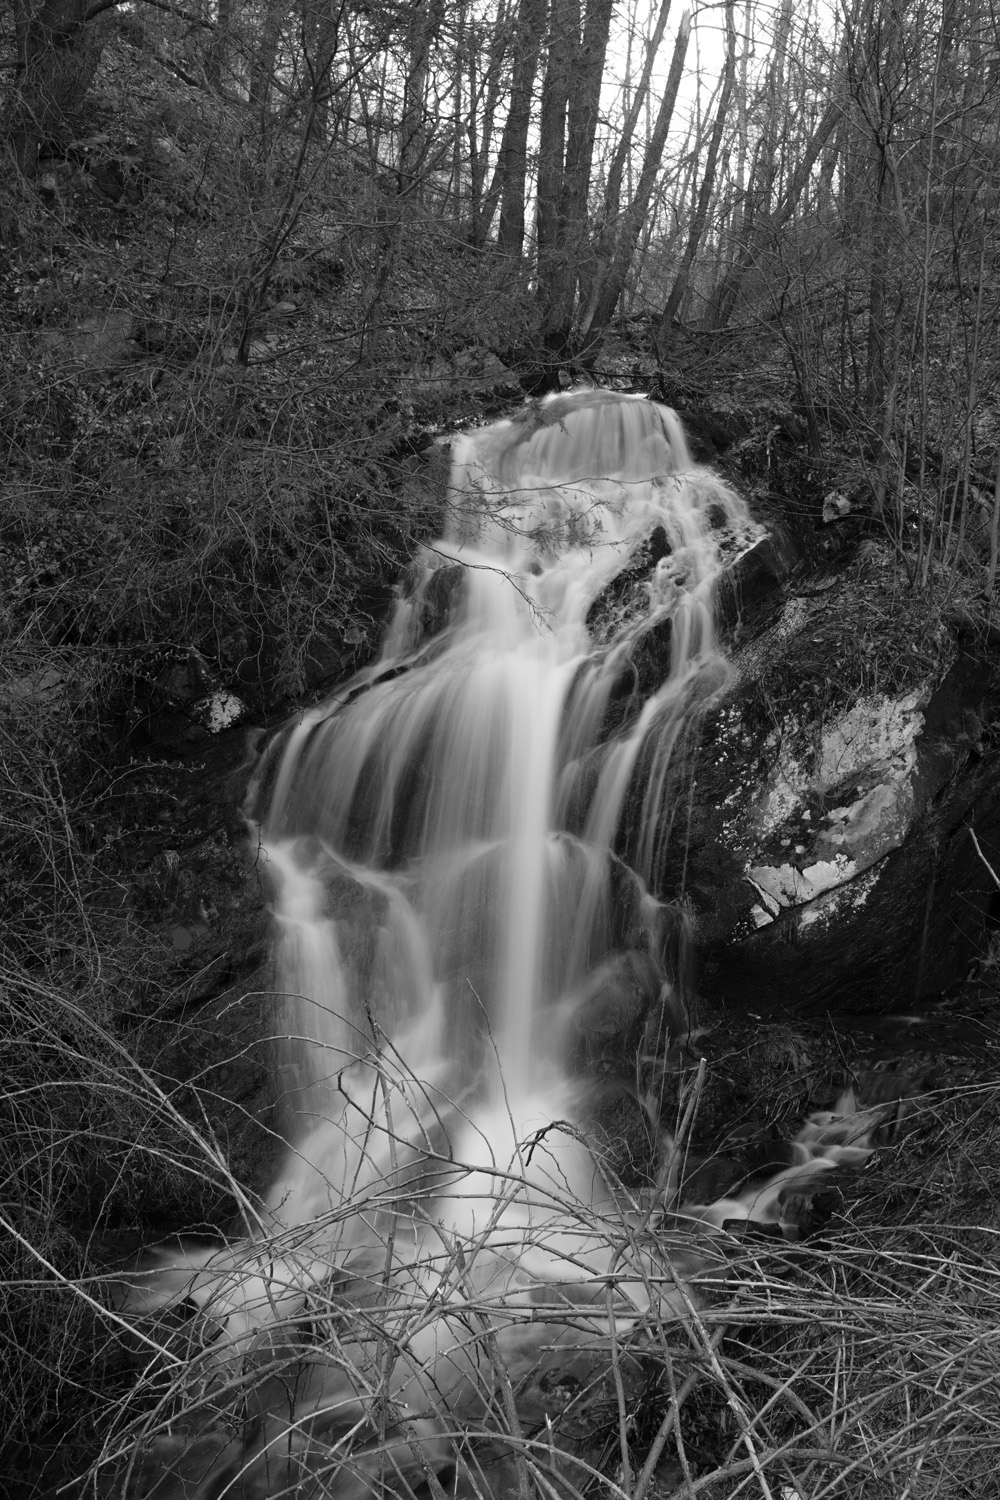
Cascade Near Mocanaqua


I remain underwhelmed with the purported improvements in high-ISO performance for the new sensor noted on some other websites, but on the other hand, I don’t really do formal tests on this. I was already pretty darn happy with the earlier cameras. It’s certainly no worse than the earlier chip and may be a smidge better. I’m certainly content continuing to use ISO 6400 as the upper limit on my auto ISO setting.

Then there is the matter of the mechanical ISO dial which it also has in common with the X Pro 2. Many people were unhappy with this feature when it first appeared. From my style of shooting, however, it is very convenient. So good are the trans X sensors that I generally shoot in auto ISO without much worry. But if, for instance, I’m shooting moving water, or daytime fill flash, the ISO dial makes it easy to quickly switch to ISO 200, and then switch back when I’m done.

George and Alihah (Fujifilm X100F iso 6400)


Several improvements do really alter the relationship between the cameras. The X 100F now uses the same battery as all of the other Fuji bodies. This really simplifies keeping a good collection of batteries charged and ready to go, it also means when I change camera bags, I don’t have to worry about which type of extra battery I have stowed there. Also, since the X100 series has an onboard USB charging, in a pinch it can charge batteries to be used on my other Fuji bodies. The battery indicator apparently now displays a more accurate representation of the percentage of power remaining. Oh, and hopefully battery life will be longer, though this was never really a problem for me.

I’m a big fan of the Acros black and white film simulation, which given the new sensor and processor, is now finally available on the X100 series. I like the fact that I can set the film simulation, but shoot the camera in RAW alone, but still see the film simulation in the viewfinder. I later apply the film simulation in post processing, as it now is available in Adobe Camera Raw.

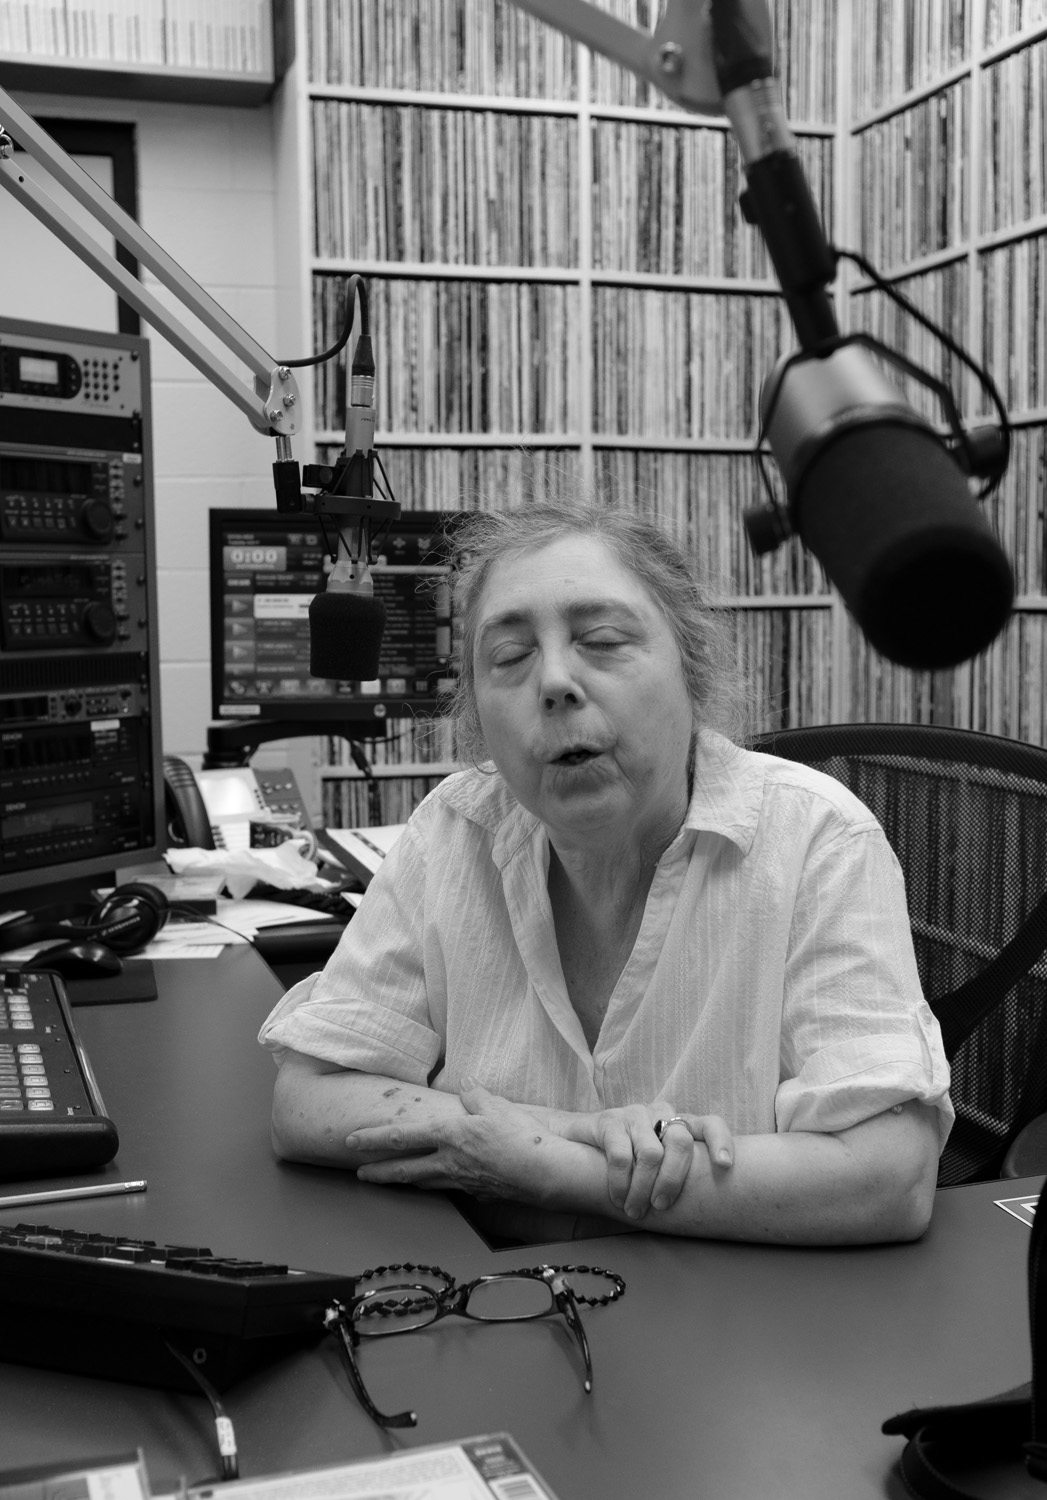
Eloquent Erika (Fujifilm X100F)


Then there is the focus point joystick, which again appeared in the X Pro 2. Now that it’s available on the X100, I feel as though I can begin relying on it. For those of you who unfamiliar with the feature, it allows direct access to focus point adjustment without first pressing any other buttons. It thus frees up a programmable button on the camera for other functions. It is a feature that is long overdue.

Another really likable improvement in the camera is its ability to recognize when one of a new series of lens adapters is mounted. With the older cameras, I was forever forgetting to change this adjustment manually, which theoretically results in some distortion in the image. I did acquire the 50mm field of view TCL X100 II (the adapter I most often use). The old version sold on eBay for surprisingly good money, which is heartening.

TCL X100 set up for Landscape (Sony RX100III)


Every time there is a new version of a particular model in the Fujifilm lineup, auto focus has been improved. Before I sold it, I compared the “T” model to its replacement. There did seem to be a slight improvement in focusing speed, particularly in low contrast areas, but again these cameras of gotten good enough that for my style of shooting such improvements are not that impactful.

There is an increase in the number of focus points from 49 in the X100 T, to 325 and the newer camera. This is the same as on the X Pro 2.There is a little wider screen coverage, but in general, to me, the larger number of points seems to increase the amount of time it takes me to move to the right part of the sensor. I tend to keep these cameras set to show a lower number of points in the viewfinder.


I’m sure as time goes on, I will have additional comments as I gain more experience with this instrument. Overall I am quite content. In most ways, this is a superior camera than its predecessor (which happily also sold for decent money on eBay). Who knows what is yet to come in future firmware upgrades.

Yes, I am definitely a creature of habit.

But if you find something that works, why not stick with it?

Testing Irident X-Transformer for Fujifilm Raw files.

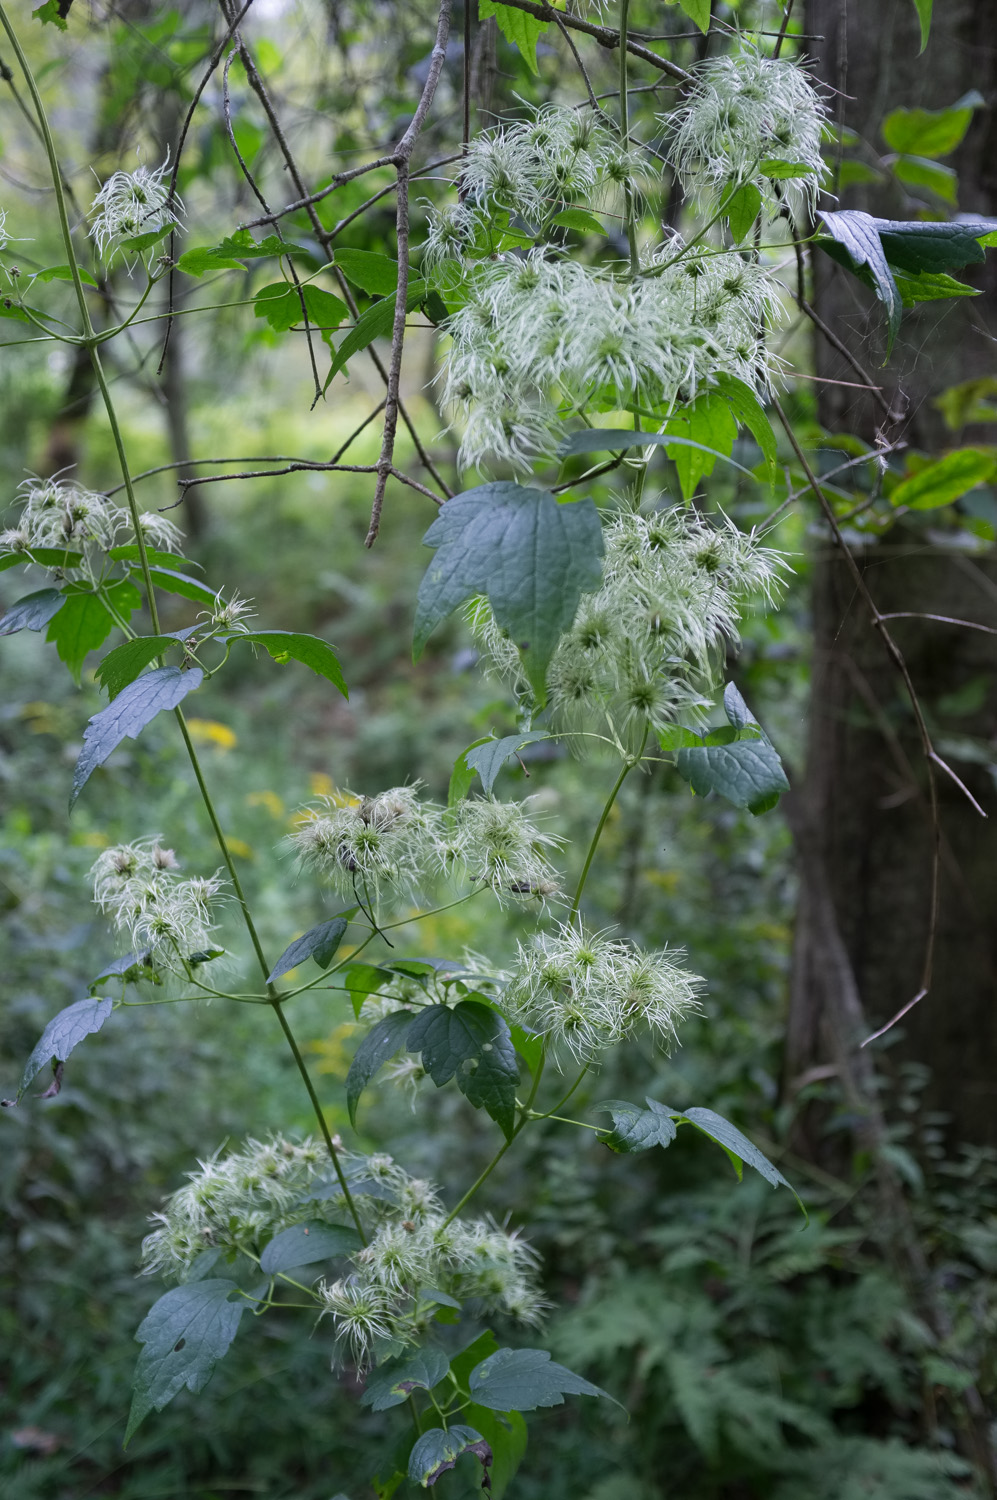
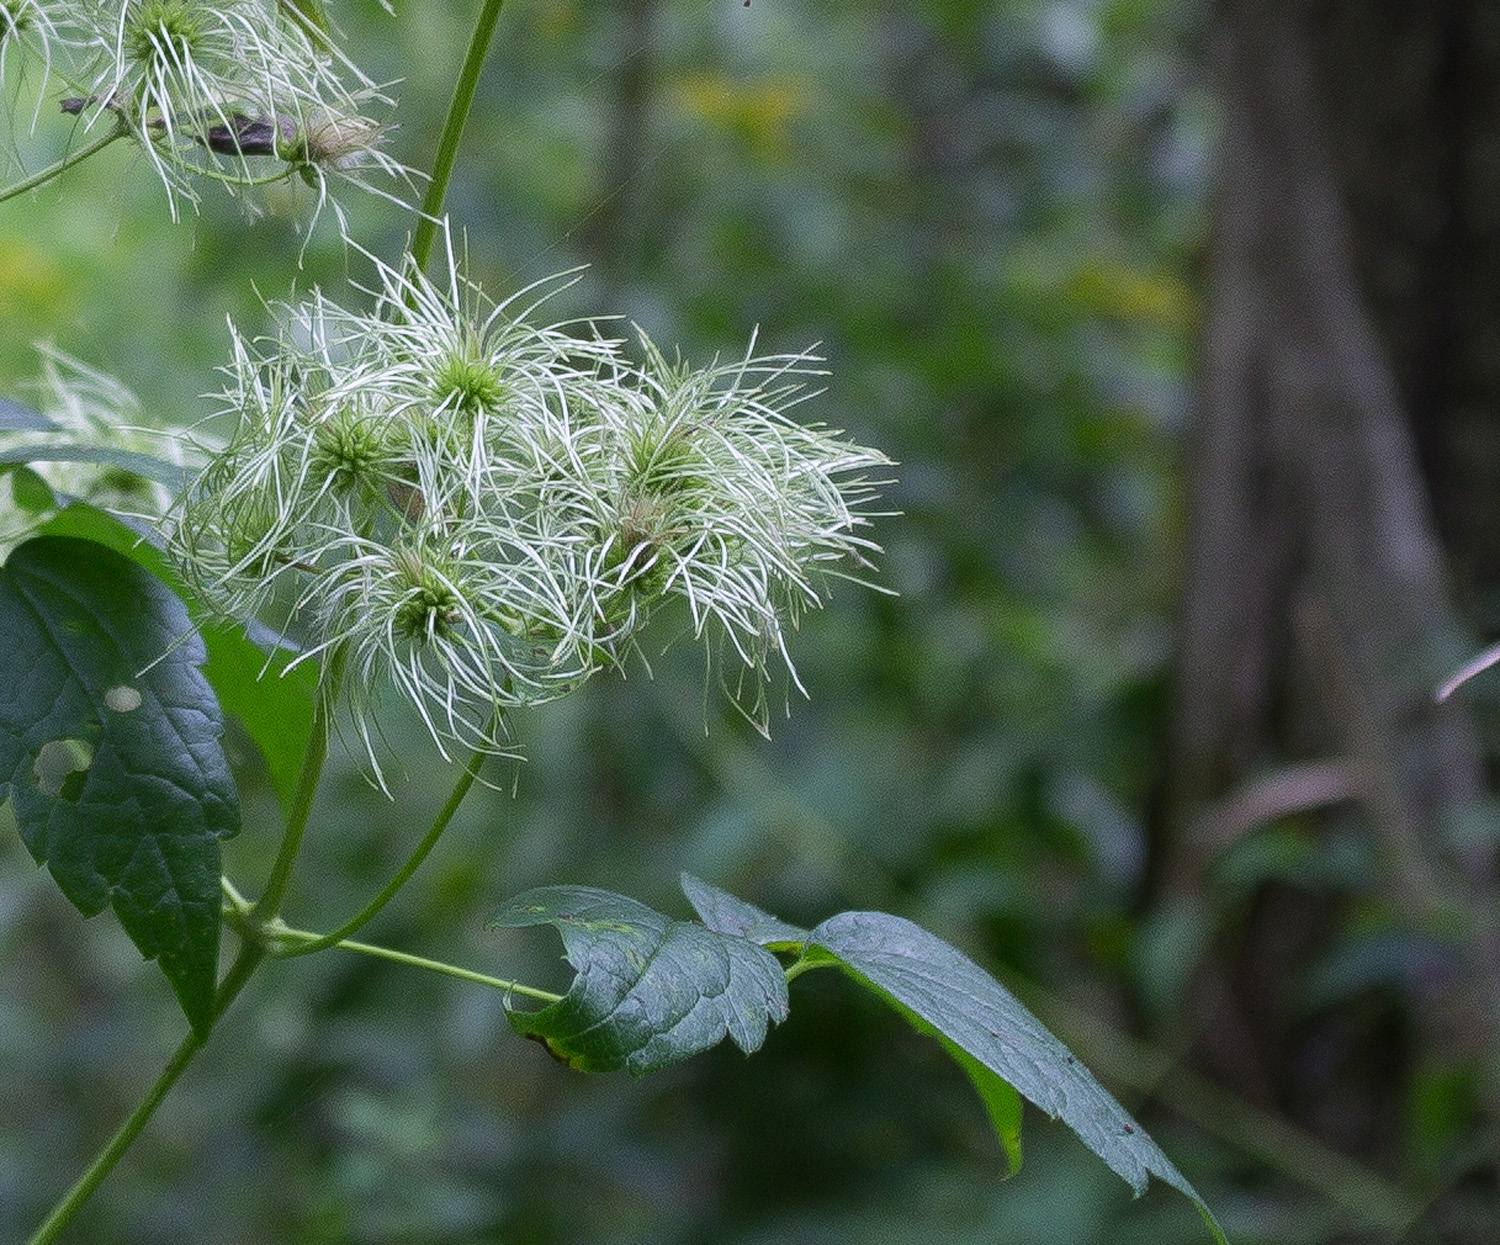
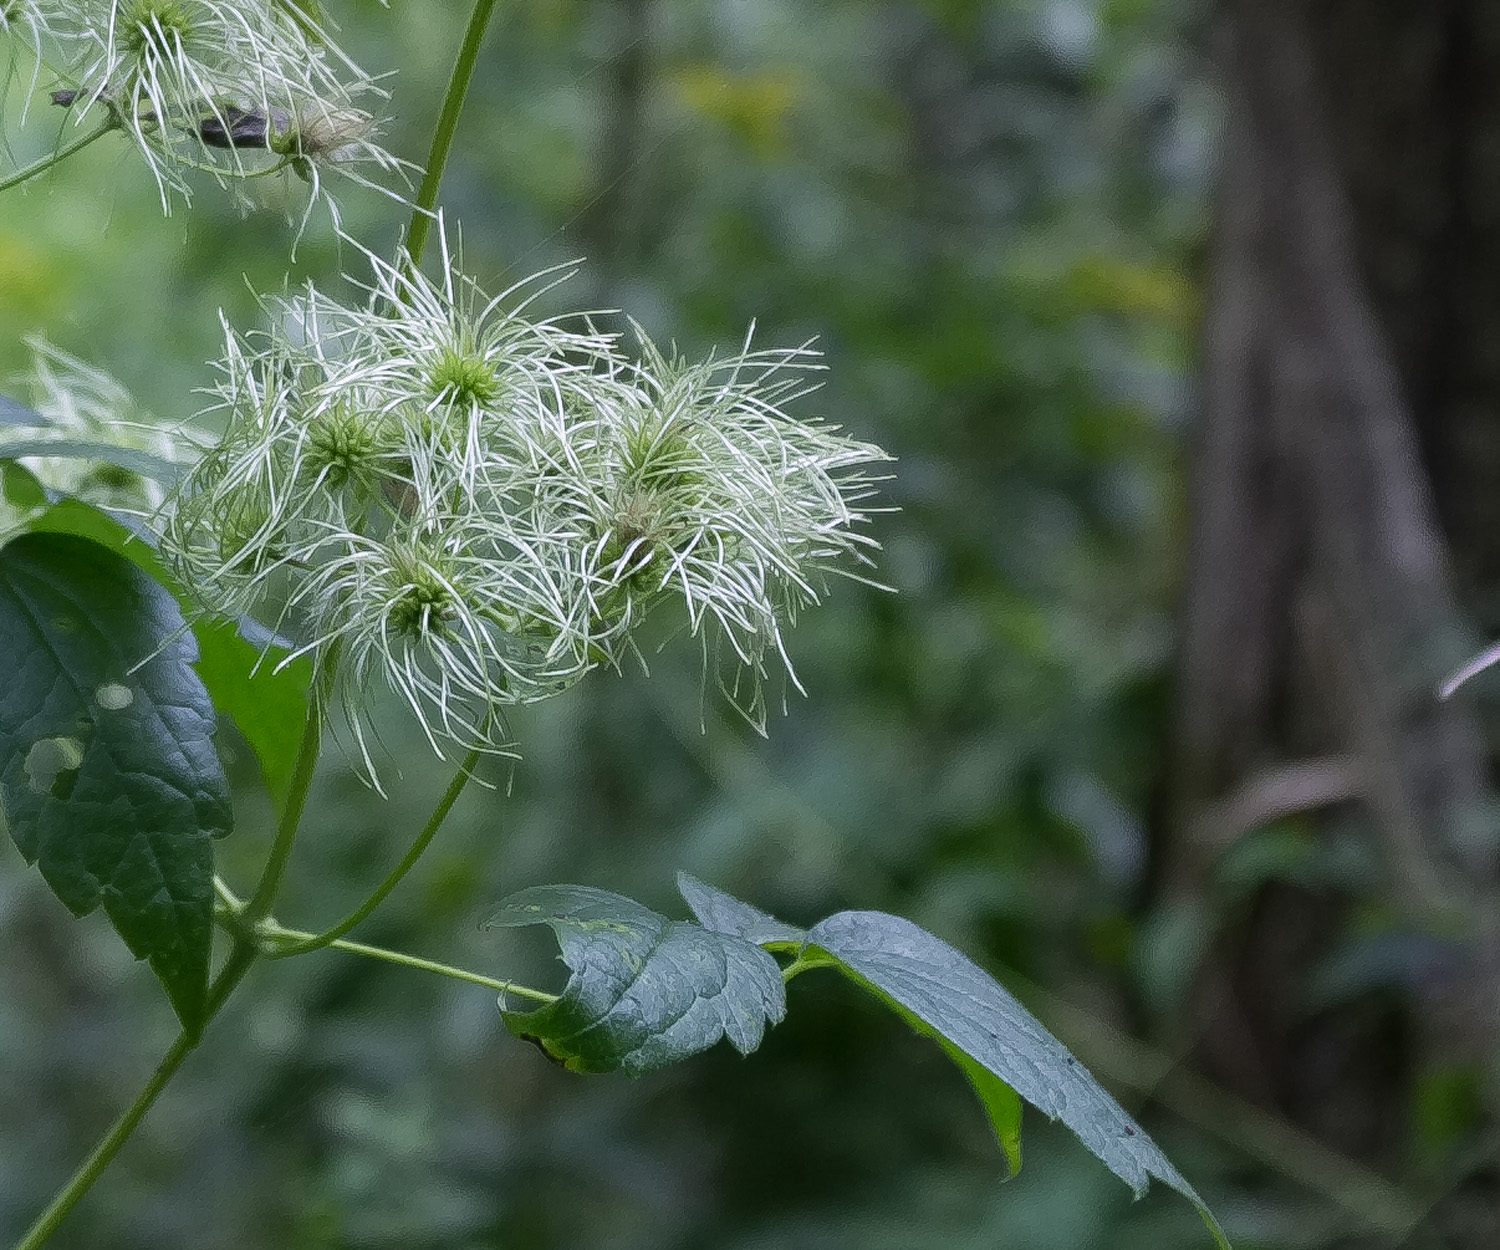
Clematis (Fujifilm X 100)


Among Fujifilm “X” users, the unique characteristics of the Trans-X sensor used in most of the camera line is a very familiar topic. This sensor was developed in 2012, and was one of the first sensors to not include an  anti-aliasing filter,. These filters, which slightly blur the image (thus reducing apparent resolution) had been included in most digital imagers up to that time to prevent the phenomenon of moiré. The Trans-X sensor used a less symmetrical color filter array to prevent moiré effects.

Those a few that are unfamiliar with this topic can find more information here.

Because of  the unique design of this sensor, programs to convert the raw files generated by these cameras have at times struggled to optimize the resultant files. Part of this may have been at least in the beginning, Fujifilm was not particularly forthright with information on the sensor.

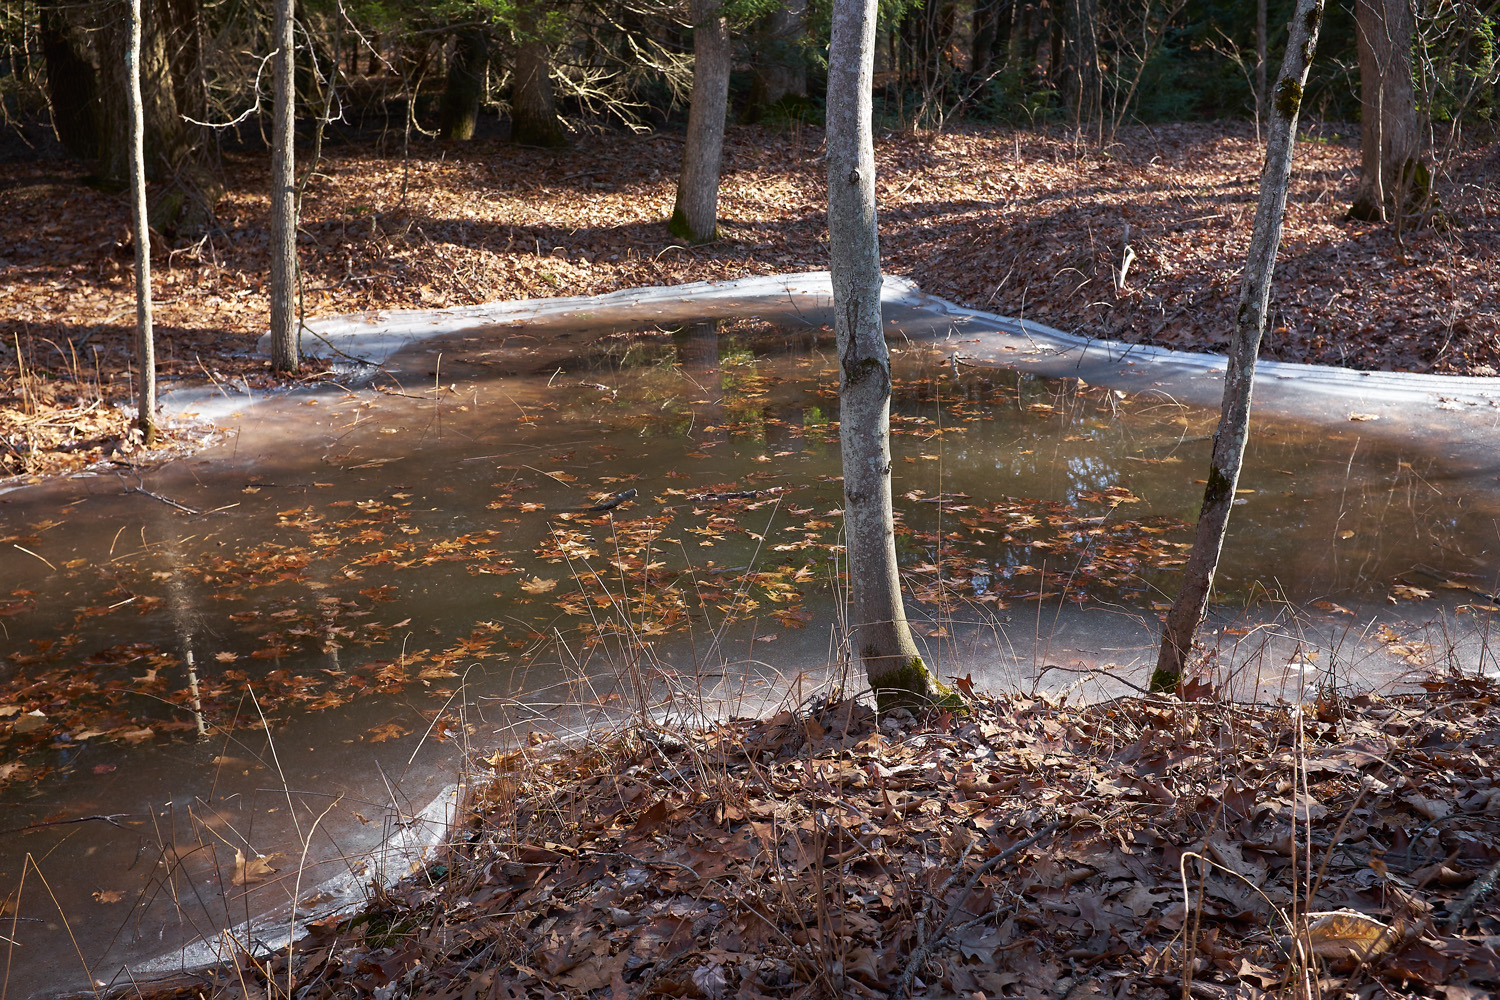
Pond Along the Farmstead Trail (X100t)

Over the years we have looked at the different raw converter options for the  Fujifilm cameras and in my case those compatible with a Windows environment (definitely not a Mac person).

For many years it seemed clear that Phase One’s Capture One software was then programmed to beat, besting Adobe Camera Raw, and even slightly better, then Fujifilm’s on Raw file converter, based on the Silkypix photo management product.

Ultimately Adobe refined its raw conversion process for X-trans, and Photoshop and Lightroom became more competitive. Recently the differences in conversion quality, though still favoring Capture One, have not been worth the workflow interruption required.

Then there was Irident X Transformer. This was a Fuji specific raw file converter, exclusive to IOS, that has long been said to produce the best, most detailed images, from Fuji raw files. But alas, it was unavailable to those of us in the Microsoft world.

Now a version of Irident has been released for the Windows platform. I was excited to give it a try.

This is a very simple product with one mission, to convert a photo file from the Fuji raw format to the Adobe native DNG format( which Adobe understands very well), where it then can be further processed into a Tiff, jpeg or other file type. In the process of conversion, the program also applies a unique sharpening algorithm, as well as noise reduction, and lens correction, all of which can be controlled by the user. There is also Irident developer, a full featured photo program for IOS and Windows, selling for US$99.00.

September on the Lehigh (X Pro 2, XF 90mm f2.0)


X Transformer is roughly analogous to Adobe’s own digital negative converter, a program they offer for users of older Photoshop versions, who now wished to convert files from newer cameras not compatible with their versions of Photoshop.

I was eager to apply the program, to raw files from both the 16mp and 24mp X-Trans sensors, and compare them to Adobe Camera Raw conversion alone. I also converted files from the original conventional sensor X100 to see whether there was any advantage with that camera’s output.  I also converted Raw files using Capture One, and Adobe digital negative converter (which then I finalized in Photoshop much like one needs to do with the Irident DNGs) for comparison.

I tried to pick images with a variety of color mixes mindful of the effect the X-Trans sensor is said to have on green foliage.

I processed all images using equivalent amounts of sharpening. I turned sharpening to low on the Irident converter.

Below is fairly typical of the differences in the 16 mp files, the Irident conversion pulling far more detail than ACR alone, with Capture 1 (version 9) in the middle. So you know, the jpg conversion needed to post these actually tends to minimize the differences.

ACR alone( X100t)

Irident +ACR

Capture One(9)

 
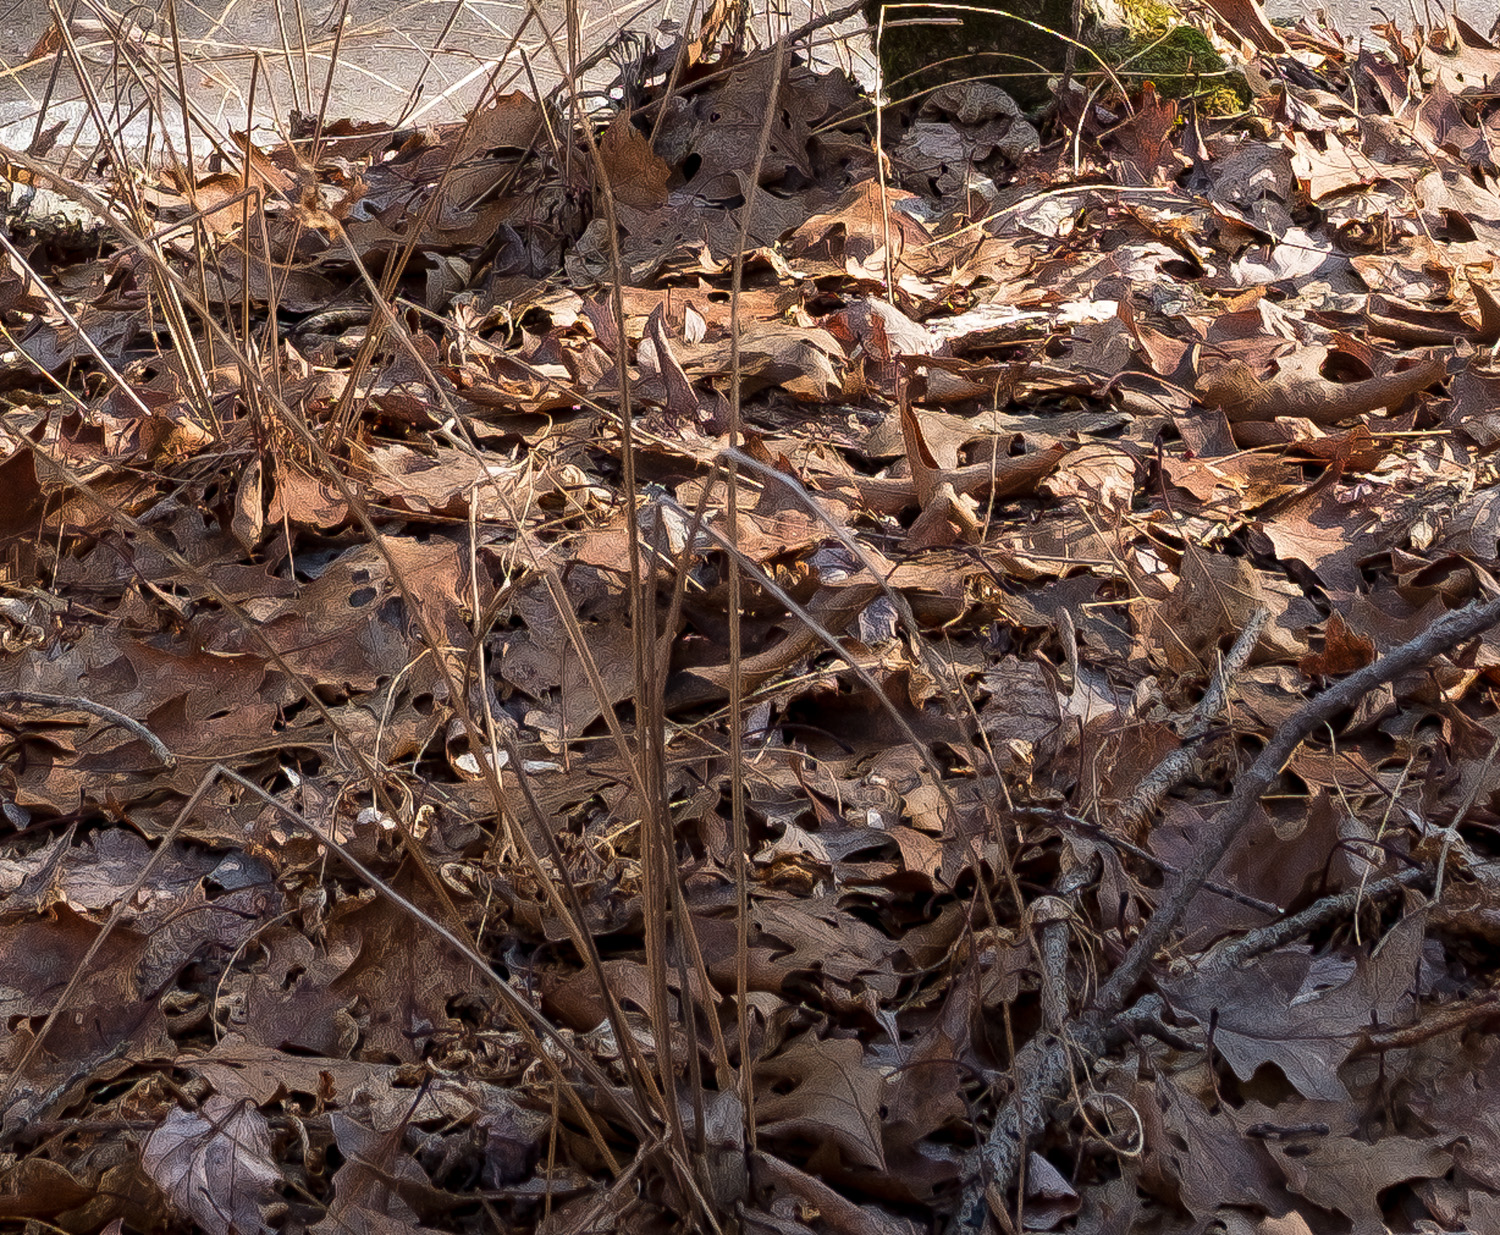
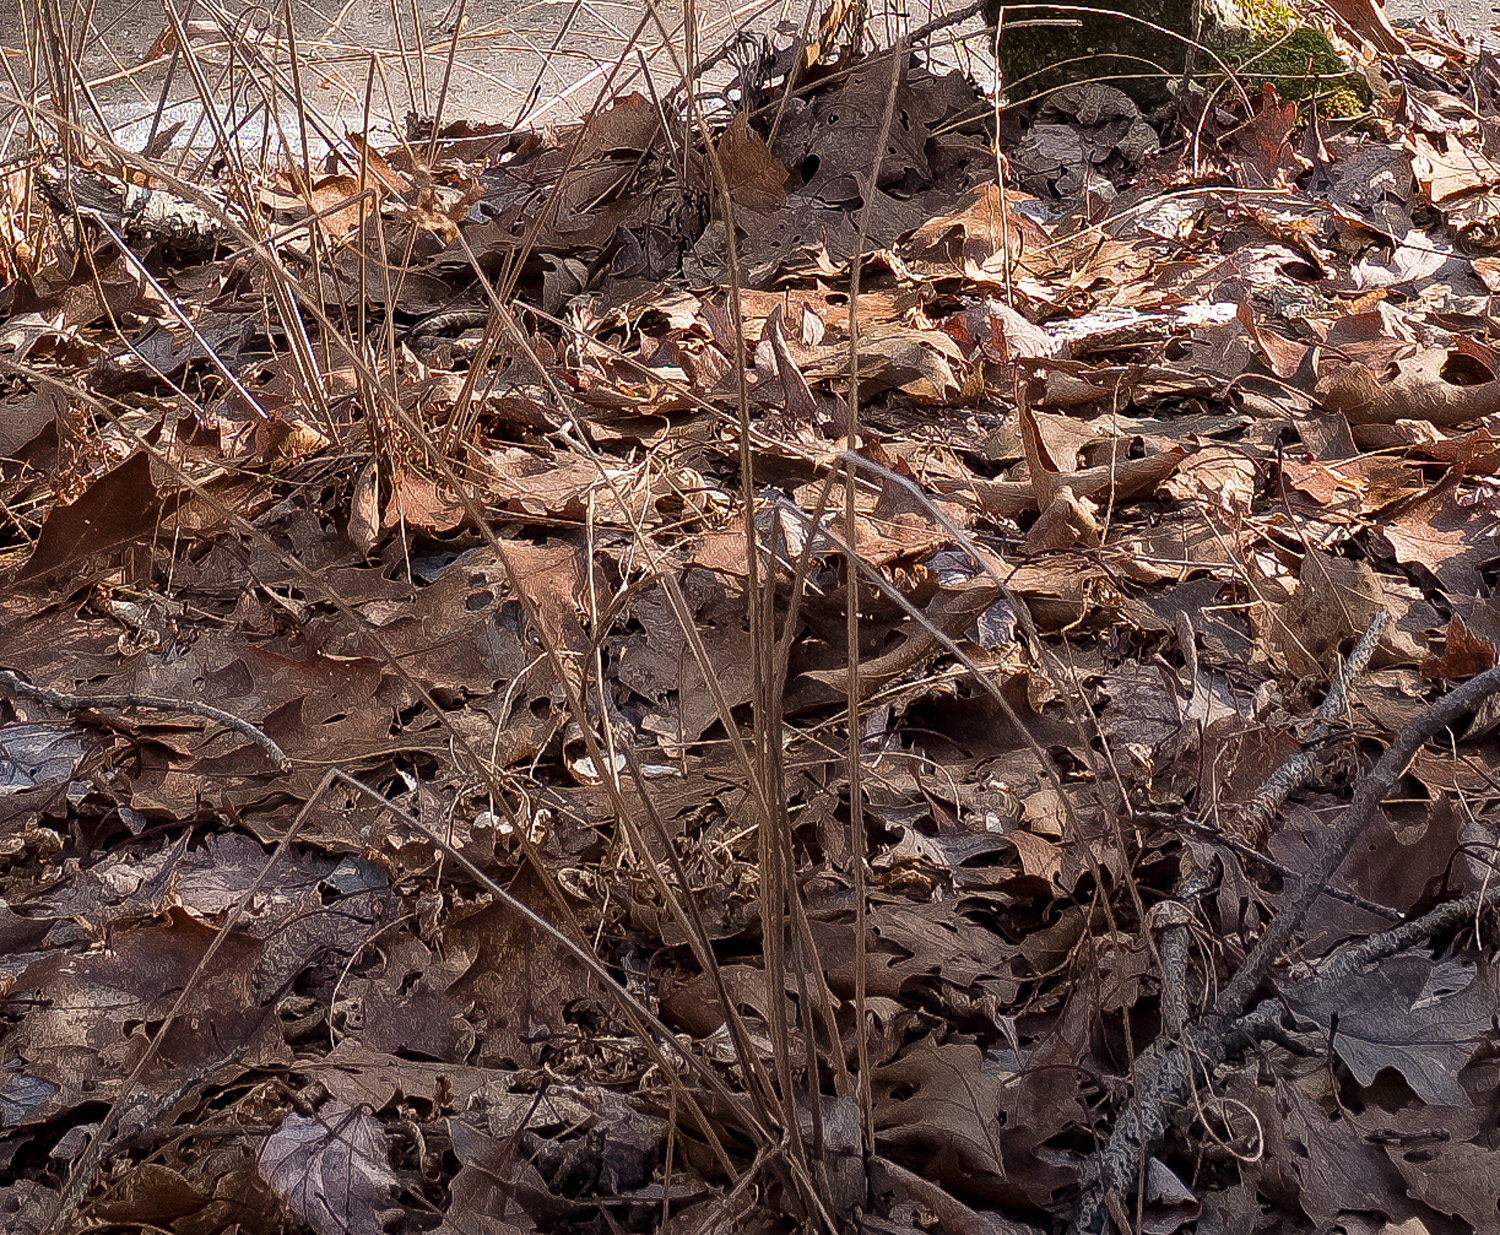
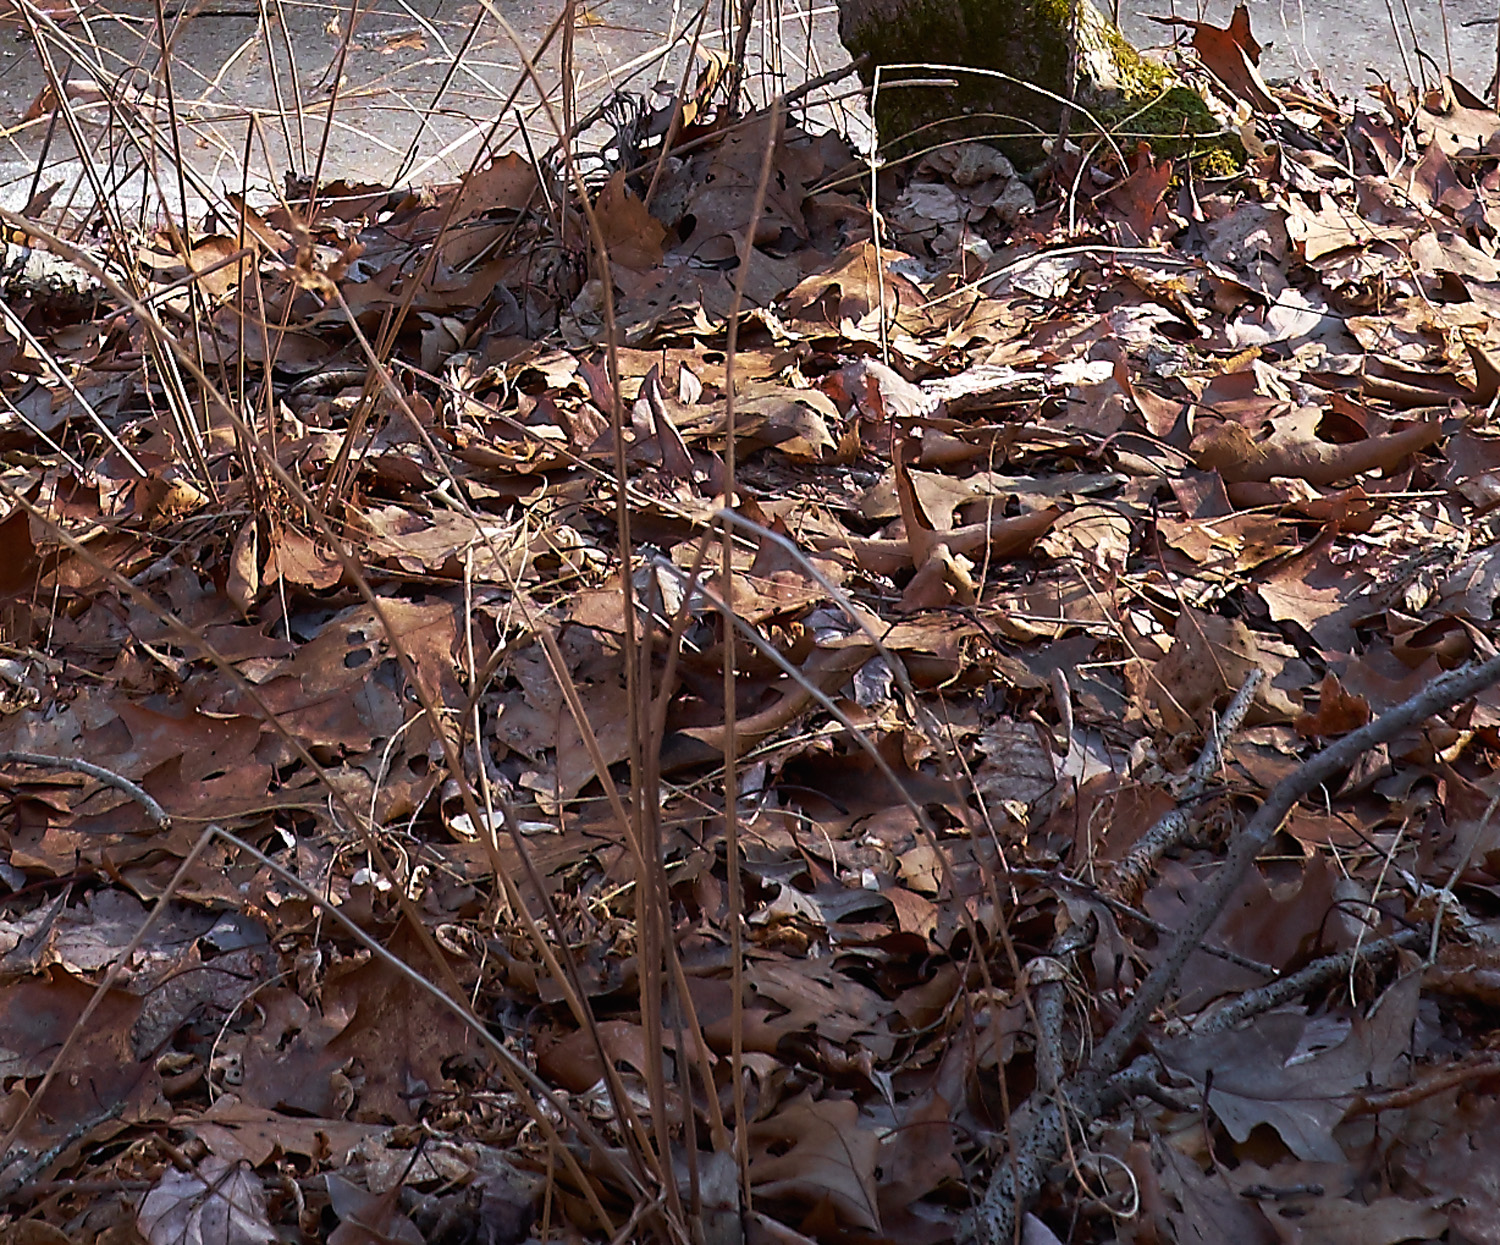
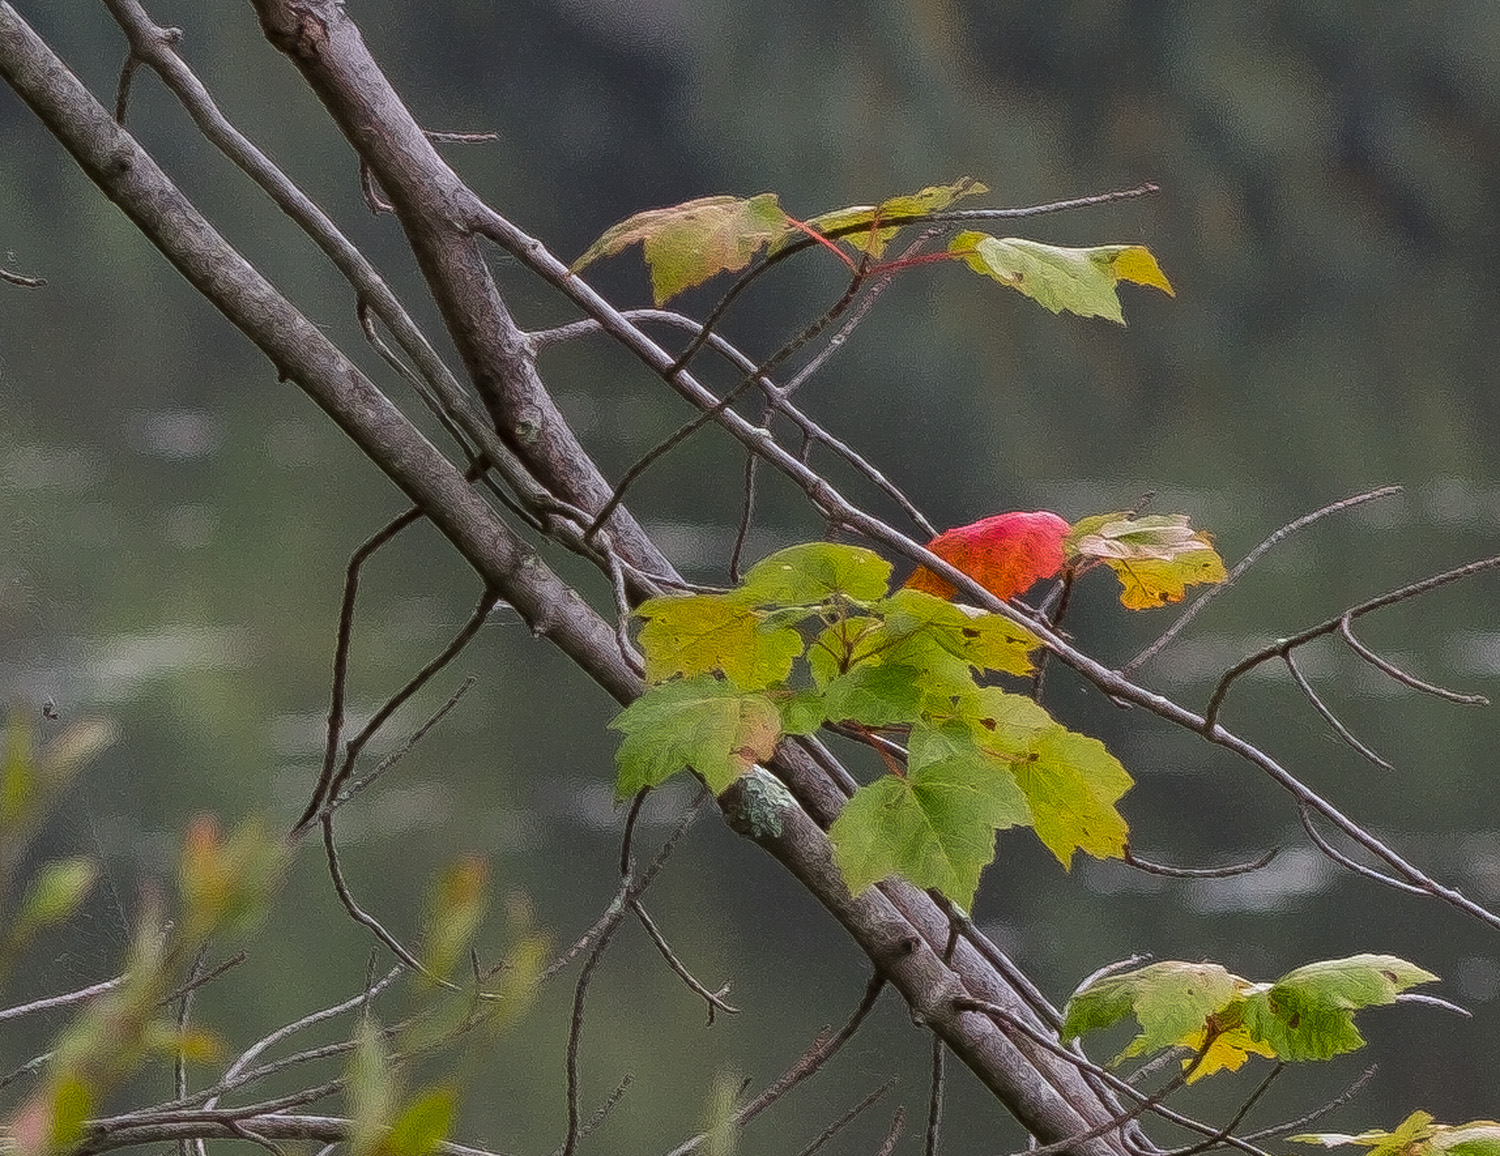
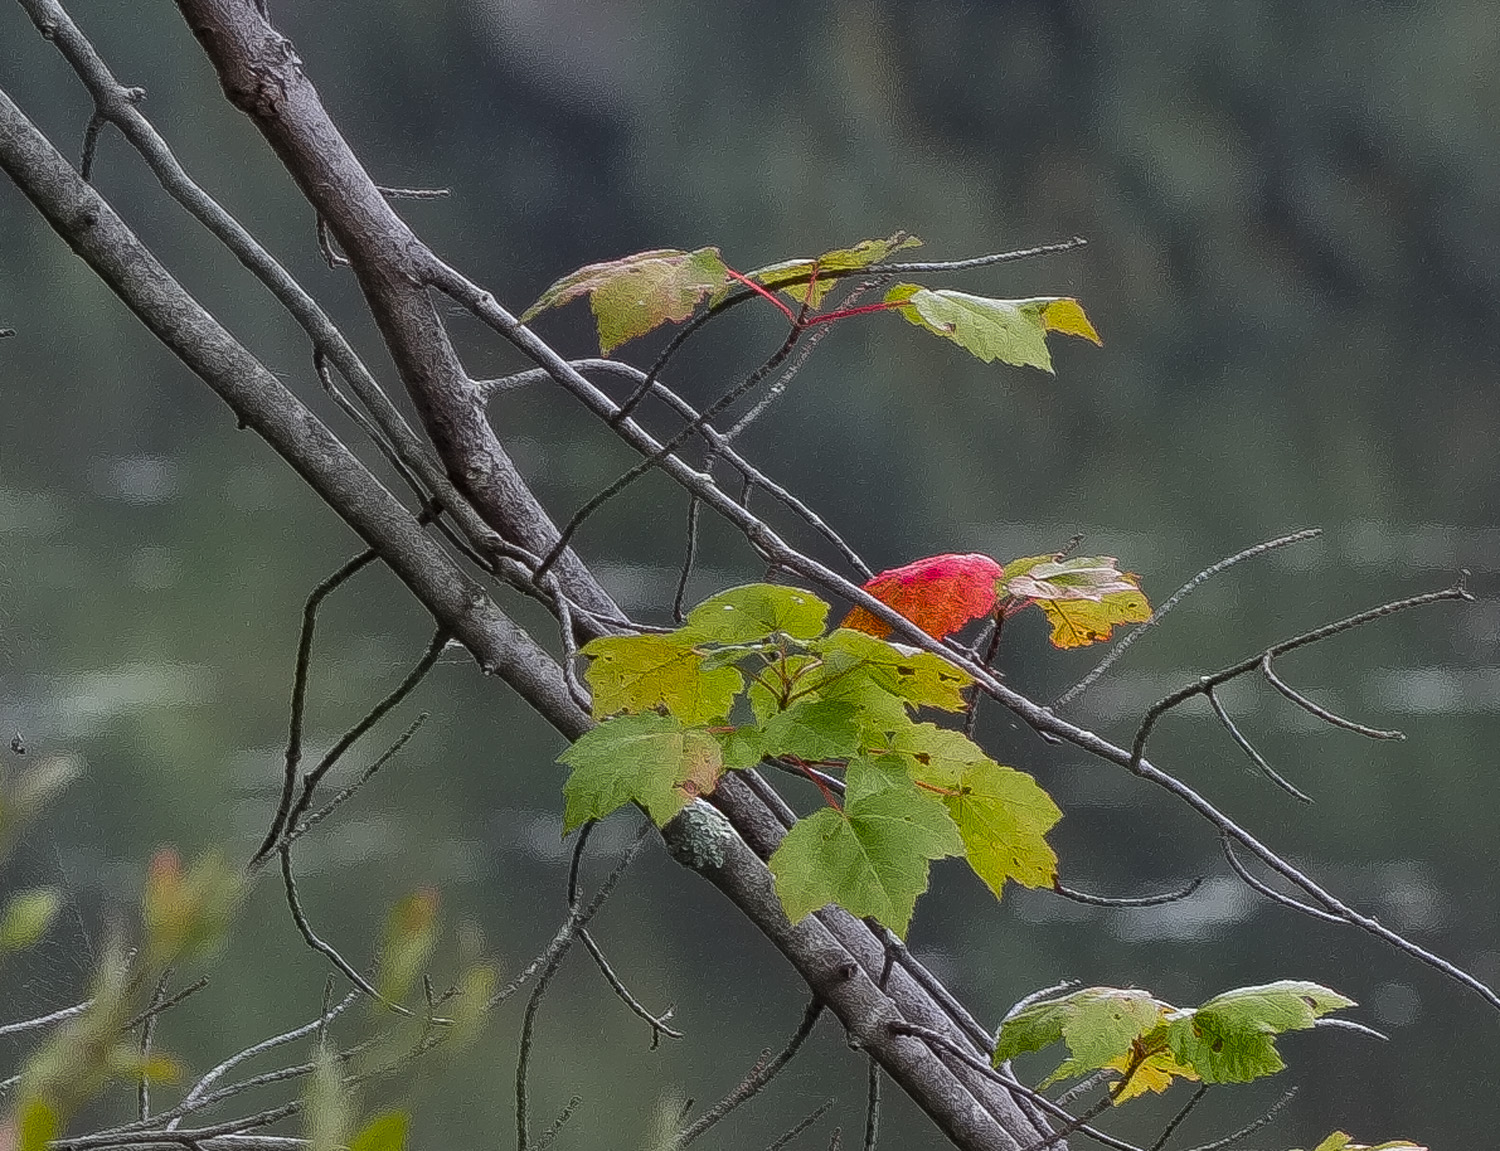
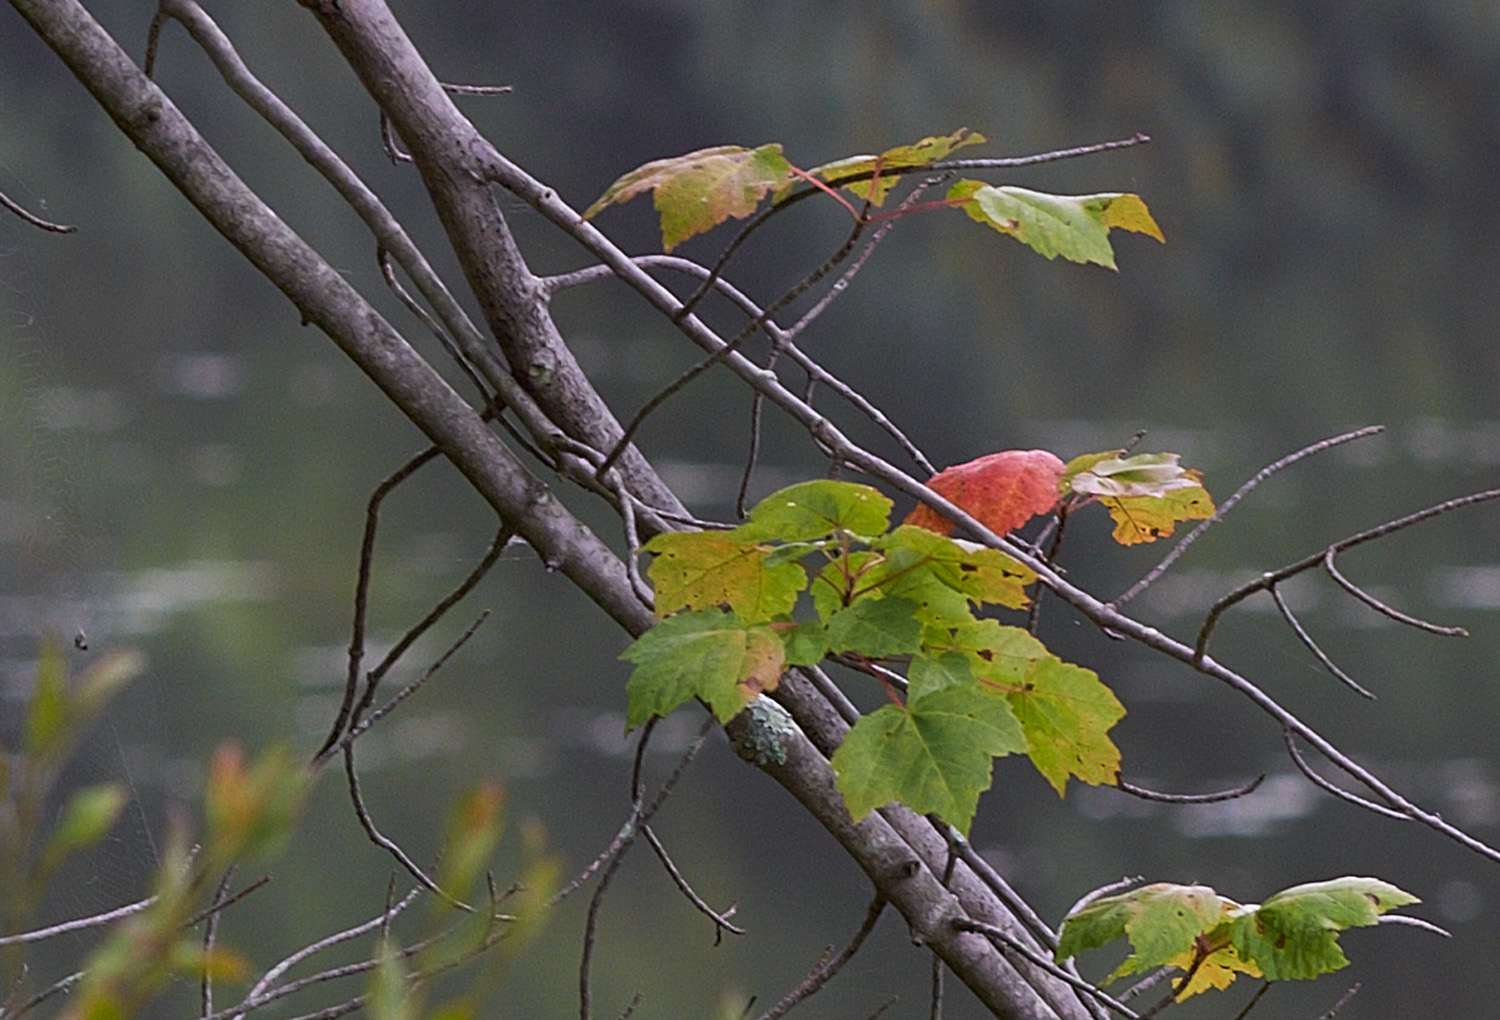
Below is a file from my X Pro 2. Here the differences between the various conversions are more subtle, though the original TIFFs still favor the Irident workflow. Look at the small patch of lichen on the branch which is more detailed on the Irident version. I actually think that the Capture one version lags behind the ACR conversion, but I may have under sharpened that file slightly.

ACR (X Pro 2)

Irident+ACR

Capture 1(9)

Out of curiosity, I dug out a file from the Bayer sensored X100. Here I could detect little advantage for adding an Irident conversion first.

ACR (X100)


Irident +ACR                                                                                                                                                                                                                                                                                                                                                                                                                                                                                                                                                                                            
I set up a final test.  I was curious to see whether an Irident+ACR 16 mp file, would be close to a 24mp X Pro 2 file converted with ACR alone. So I shot my X-T10 against my X Pro 2  using the same lens and my informal test scene. 

First, the 16mp X-T10 with ACR and Irident.

Now the X-Pro 2 with ACR alone. I think a case can be made that the details in this crop are very similar to the X-T10 image.                                                                                                                                                                                                                                                                                                                                                                                                                                 Finally here’s the X-Pro 2 with ACR and Irident. Now it clearly jumps ahead of the X-T10.


Now this is not scientific, but I have formed the following conclusions:

Pre-converting the raw files with Irident X Transformer into DNG seems to be helpful to extract the most realistic and detailed X Tran images from Adobe Camera Raw. This effect, however, is to me, more noticeable for the 16 mp imager where Irident is quite helpful. The advantage of Irident seems to be some less dramatic with the newer 24mp imager though not negligible. Is this because Adobe has done a better job in their algorithms for the Trans-X III? Or has Irident not quite figured things out for this sensor?

Also, Capture One remains a step ahead of ACR for 16mp Trans-X though not as good as Irident +ACR. For the 24 mp imagers is seems to have less advantage though I have not upgraded yet to version 10. All of this suggests to me that Adobe has done a better job with analyzing and coding for the new 24mp sensor. I did not test Capture One with the Bayer-sensored X100 because in the past I have noticed little difference between ACR and C1 with conventional sensors.

Finally, I should say something about the Workflow using Irident X Transformer. It certainly adds an extra step to processing. In my case the program wouldn’t display thumbnails, requiring me to go back to Adobe bridge and get the file #. This is annoying.

So, in summary, I would say if you want the simplest workflow with X-Trans files, go with Adobe products such ACR or Lightroom. Capture One is certainly an alternative with the potential to reveal a smidgen more detail, but for me, it is less streamlined. Finally, for big prints and critical results, adding Irident X Transformer to Adobe definitely allows you to extract more detail from your images.


12