Posts tagged with: Fujifilm

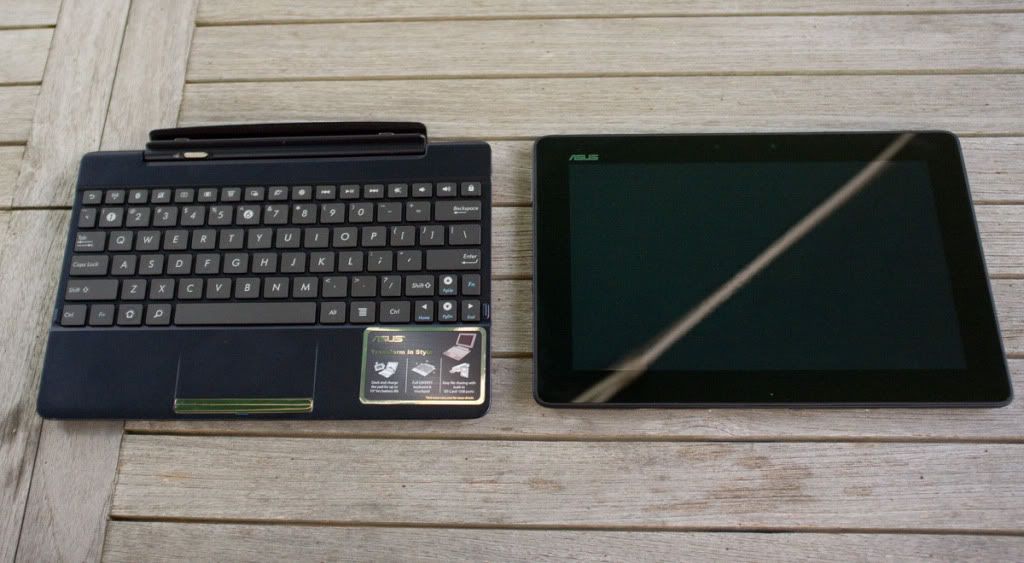
The Gear that I Use: Asus TransformerTF 300

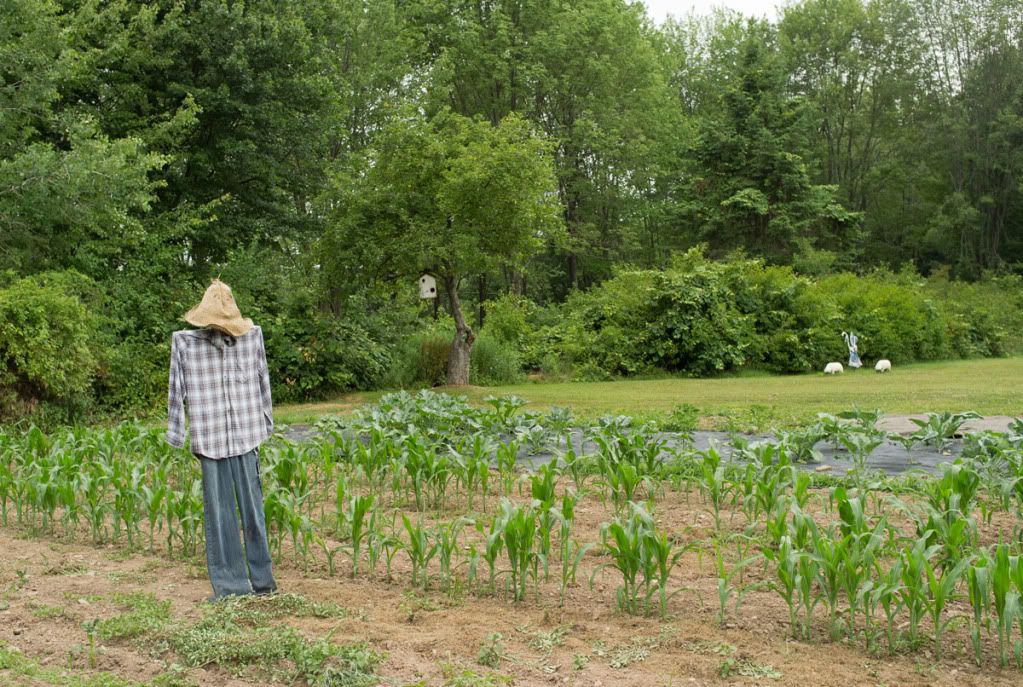
Early Summer Garden (Fujifilm X 100)

 First off, let me say, I’m not really a fan of Apple products.

Now I freely admit that products from Cupertino tend to be beautifully designed and elegantly manufactured. Operating an iPhone or a Mac Book Air, one cannot help but marvel at the pleasant tactile experience they offer. But there is just something about Apple products that bugs me. Maybe it’s just the sense of smug superiority exuded by the employees of typical Apple store, or worse yet, the typical Apple user. Maybe it’s the expense of purchasing and Apple product, vs. competing computing devices. And maybe it’s the touch of inflexibility… the sense that the computer knows better than you do, that seems to be infused into the various Apple operating systems. At any rate, call me a troglodyte, but I tend to be more comfortable with other products.

For instance, rather than the ubiquitous iPhone, I use a Blackberry (albeit a Blackberry 9930 which is considered passé, but is still quite capable). My computers are PC based, running Windows 7. And perhaps my most grievous sin, especially as a photographer, is to own a tablet that is not an iPad.

This is sort of a review of my Asus Transformer TF 300, which I have discovered is an extremely helpful tool in pursuit of photography and a great alternative to its Apple competitor.

Asus Transformer TF 300 (Image by Asus marketing)

How was it that I came to snub the ubiquitous iPad? It started at the retailer. I realized that I needed a tablet to review photography on location and to show images to clients etc. So I visited the tablet display at my local box store, and talked to the 20-something-year-old salesperson about the choices available. He suggested that as I was reasonably computer literate, that I might actually prefer an Android tablet to even the vaunted “new iPad”. After looking all over the various brands, I chose the new Asus Transformer TF 300, which has similar processing power to the new iPad, a micro SB card slot, and the availability of the keyboard that would essentially transform (get it?) the tablet into a net book with an SD card slot, and the USB Port, options sorely lacking in an iPad.

Asus Transformer with Keyboard (Image by Asus marketing)

As I drove home with my new acquisition, I called my younger brother who is a computer consultant, to describe my purchase. He reacted strongly, aghast at my decision to spurn the mighty iPad for such a pedestrian device. Recognizing his expertise (and not wanting to hear about it for the next twenty years if the Asus was a problem), I drove back to the store, and also purchased an iPad ( The store has a two week return policy).

I opened the iPad first. There is no doubt that the packaging of the device was very elegant. It appeared that almost as much care had gone into the design of the packaging of the product, as in the product itself.

The device itself was a typical Apple product. The case was slim, reasonably rugged, and beautifully finished. One cannot help but admire the clever magnetic display cover available for the device. The display was admittedly beautiful with great color, and excellent detail. The device was “snappy”. Moving from screen to screen was quick and responsive. “So far, so good”, in terms of my overall impression of the device.

That’s when I actually attempted to use the device in the manner that I intended. Apple is so obsessive about controlling the content on their iPad that, at least for me, they have destroyed its utility. The simple act of loading photos in the device requires one to use the annoying iTunes program I grew to hate with my iPod. I actually specified some photos to place in the device from my computer, and found that the iPad had made it’s own decision, perhaps preferring some other photos to the ones I had chosen.

Annoyed, I attempted to delete the unwanted files, only to find no way to do so. So I called my brother, the iPad fan, and ask how I might proceed with this. We tried a few things, to no avail. My brother then called my older sister, who is considered the actual Apple “guru” within the family. It turns out that there was no way to delete the files, and once they resided within the iPad, they would be there forever (or until it was formatted). Needless to say, I found this extremely frustrating.

I then addressed the Asus Tablet. I noted that the box was essentially identical to the Apple packaging, mimicking the same high quality materials but rendered in black rather than Apple signature white. So thorough was the mimicry,  I assume that this is a somewhat “in your face” gesture on the part of Asus.

Transformer and Keyboard (Fujifilm X 100)

The Asus Tablet is roughly the same size and as the iPad (slightly larger, but lighter). It is roughly $120 cheaper than the equivalent “new” iPad. It sports a textured plastic back, rather than the elegant metal back of the iPad which helps, as I understand it, to improve its wi-fi and GPS sensitivity.

Comparing the “guts” of the two tablets, they both have roughly similar specifications. In terms of processors, the third generation iPad has a dual core Apple branded 1.2GHz processor, whereas the Asus tablet sports an Nvidia Tegra 3, 1.4 GHz quad-core processor. PC World has done a technical comparison of the competing tablets here for those who wish to see more specific details.

Then there is the issue of the screen, which as a photographer I thought would give the new iPad an unbeatable advantage. The “new” iPad, as most photographers know, has the so-called “Retina” display with a resolution of 2048p x1536p, vs. 1280p x 800p for the Asus and most others. Numerically the advantage of the iPad seems huge. Using photo files I loaded on both devices, I examined each image closely. Though the Apple screen seem to have a slight advantage in terms of crispness and color, the differences were not that extraordinary, and to me, unimportant for the kind of use I planned for the tablet  (rough screening of images in the field).

Although there are laboratory benchmarks available that suggest that in terms of processing speed, the new iPad slightly outperforms the Asus Android tablet, the difference in real life is imperceptible when one operates the tablet side by side. Both are very responsive and react equally quickly to finger flicks. In both, the installed “apps” run quickly and smoothly.

Now I recognize that the number of apps available in the Apple world far exceeds what is available for the Android tablet, but jeeze, how much is enough? When I shop in the various Android stores I can find more than enough applications to suit me (especially compared to the Blackberry app store, which I still find adequate). For instance I bought an app called Photo Mate Pro for $6.69 that opens my all of my RAW files; allow light edits, and conversion to other file formats. It even has a screen calibration feature.

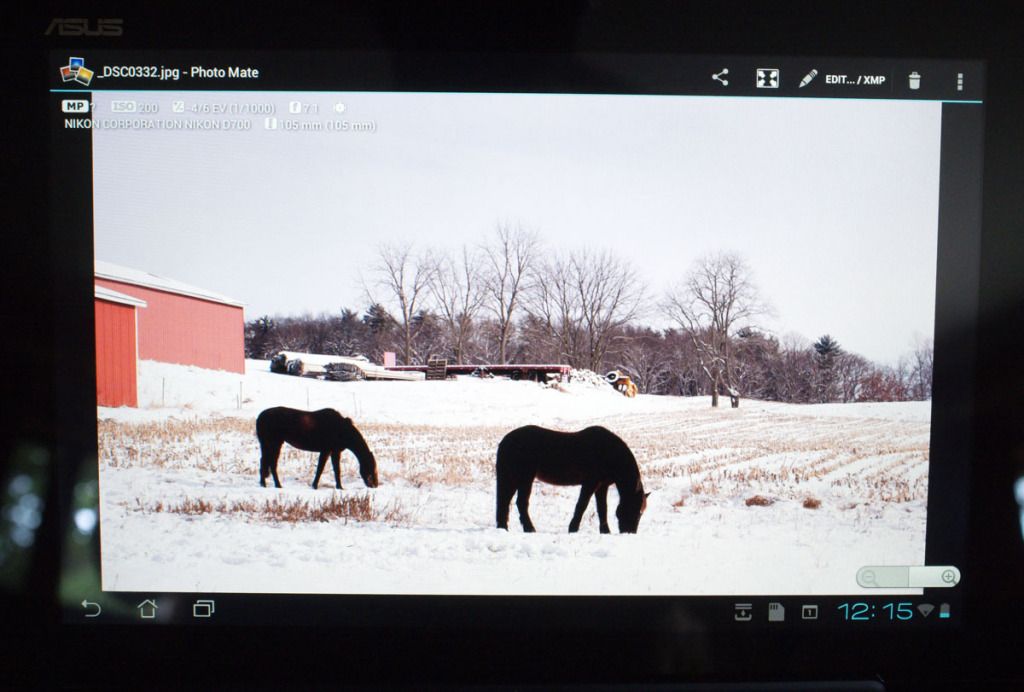
Photo Mate Screen Shot (Fujifilm X 100)

For me however, the most important attribute of each device is the operating system. If anything, I am slightly more familiar with the iOS OS than the Android Ice Cream Sandwich OS that come with the Transformer (I’d never used an Android device), Nonetheless, I found the latter was far more intuitive to me than the Apple OS. There are lots of neat features on the Asus, from the “one click to shut down all processes widget” on the front screen, and the neat way it organizes your apps. I’ve used the device for about three months with no freeze-ups or other maladies.

The deal breaker for me with the iPad was that with the Android tablet, I can hook the device to my computer, root around in the file structure, make new files folders, and then dump images into them, as though the device were part of my computer. I can easily erase files that I don’t want. With the Apple product, I am forced to work through iTunes, which severely limits the control of content I can place on my own device. This annoys me on multiple levels.

Another advantage of the Android tablet is the memory and storage options available. Rather than paying  an outrageous amount for more internal memory, with the Transformer tablet, I can merely buy an inexpensive 36GB micro SD card and insert it in the available slot (not available on iPads), instantly increasing the 16GB in available device memory). I can keep multiple micro SD cards loaded with different files such as photos or video, and interchange them, vastly expanding my options with the device. There’s an available USB adapter for the Asus tablet as well as an SD card reader (much like the Apple products). And again, the available keyboard, it transforms the tablet into and Asus netbook with a full size SD card slot and a USB Port. The keyboard also drastically increases is the battery life of the tablet.

So for me, the flexibility the Asus device, trumps the elegant appearance and higher screen resolution of the “new” iPad. That’s why I ended up formatting the iPad, packaging up all of that elegant white boxing material, and returning it to Best Buy.

It’s why the Asus Transformer is fast becoming an invaluable tool for my photographic pursuits.

The Fujifilm X 100, Second Thoughts

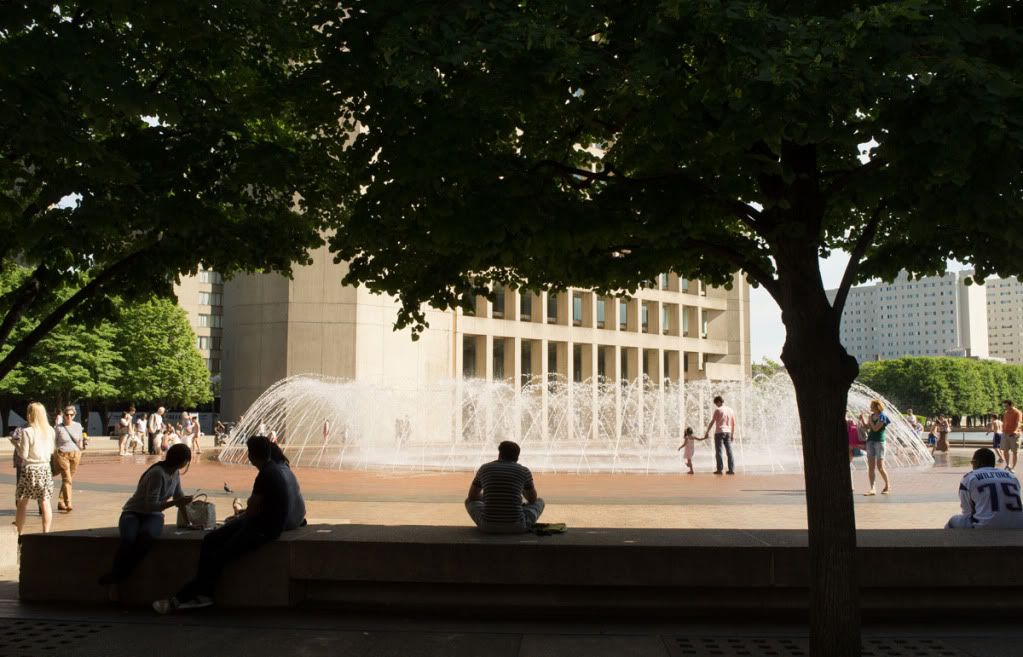
Boston Fountain (Fujifilm X 100)

Last year at this time, I was in the middle of a photographic slump. 

 I wrote about the problem here.  In brief, I felt as though, at least in my usual haunts, I had captured everything photographable.  This plus some environmental issues, rather drastically lowered my photographic output over the Summer of 2011.  I began to wonder whether I was actually losing interest in photography.

 This year it’s different.  My interest in capturing images is back.  And I hate to admit that I think it’s due to a new equipment purchase, in this case  the Fujifilm X 100.

 Roughly a month ago, I published my initial thoughts on the camera after several weeks of usage.  I have now been carrying it for roughly six weeks, and I think I have developed a better sense of its strengths and weaknesses.

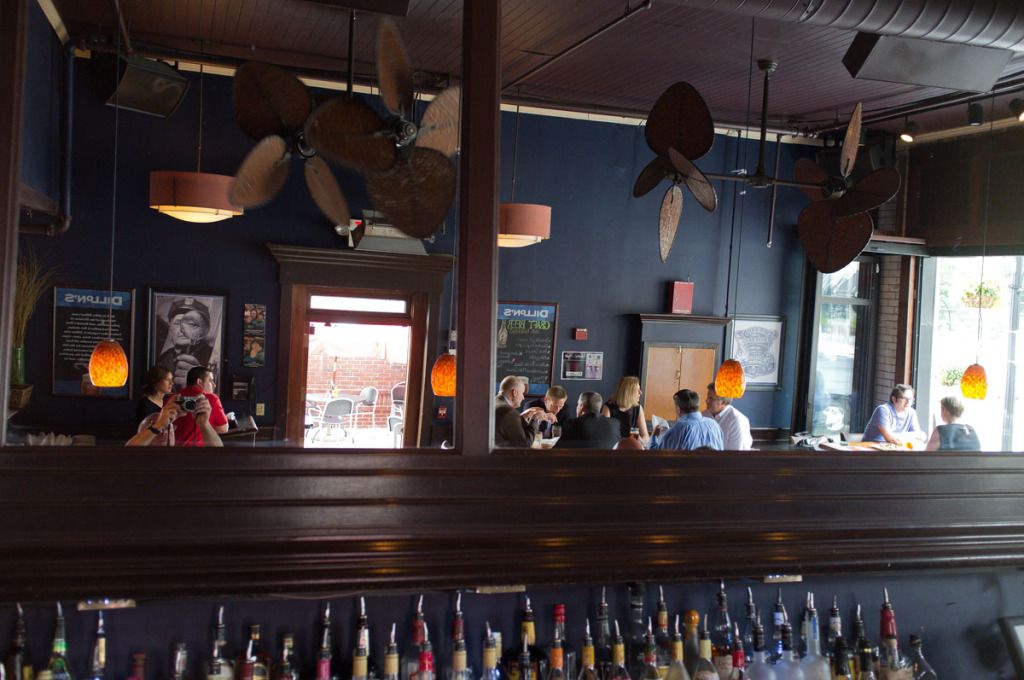
Dillon’s (Fujifilm X 100)

 I do recognize that the novelty involved in any new equipment purchase, can reignite an interest in the activity connected with the equipment.  But that increased enthusiasm can quickly flag, if the results one obtains do not reinforce the initial burst of enthusiasm.  I do think of camera gear that I bought with great enthusiasm, only to be disappointed in the results.  Actually, I made a new gear purchase early last summer.  My disappointment with it probably added to my summer slump.

 This year it’s different.  I find myself looking for reasons to shoot with this camera.  There is something liberating about are relatively compact and discreet camera that produces excellent image quality.  My initial impressions of this camera have only been reinforced.  It has excellent resolution.  The combination of the excellent imager and the fine 35 mm equivalent lens produce rich detail which allows relatively generous cropping when necessary given the limitations of the lenses focal length. It’s not 24 mp, but it’s very adequate. Prints are gorgeous up to the 16”x 22” sizes my printers can handle.

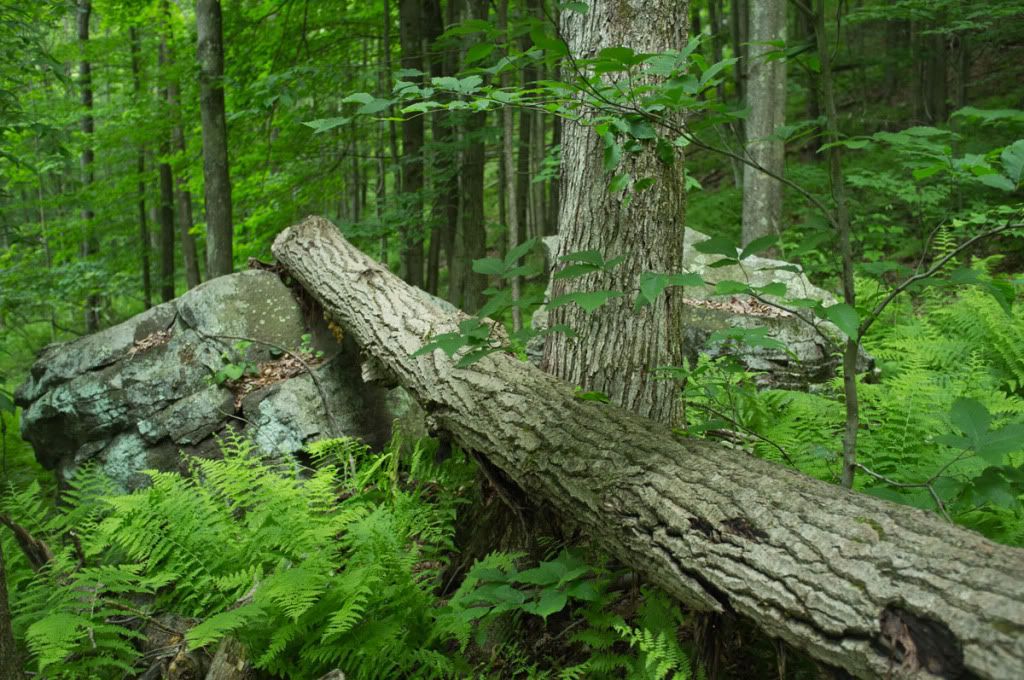
On the Skyline Trail (Fujifilm X 100)

 I love the bokeh this lens can produce.  I find it useful for both shooting portraits, and for landscape work, particularly in close quarters.  At f2 the lens has excellent quality with great sharpness in the center of the field.  Nonetheless, one still has the advantage of an APS sized sensor, which gives wonderful depth of field when stopped down.

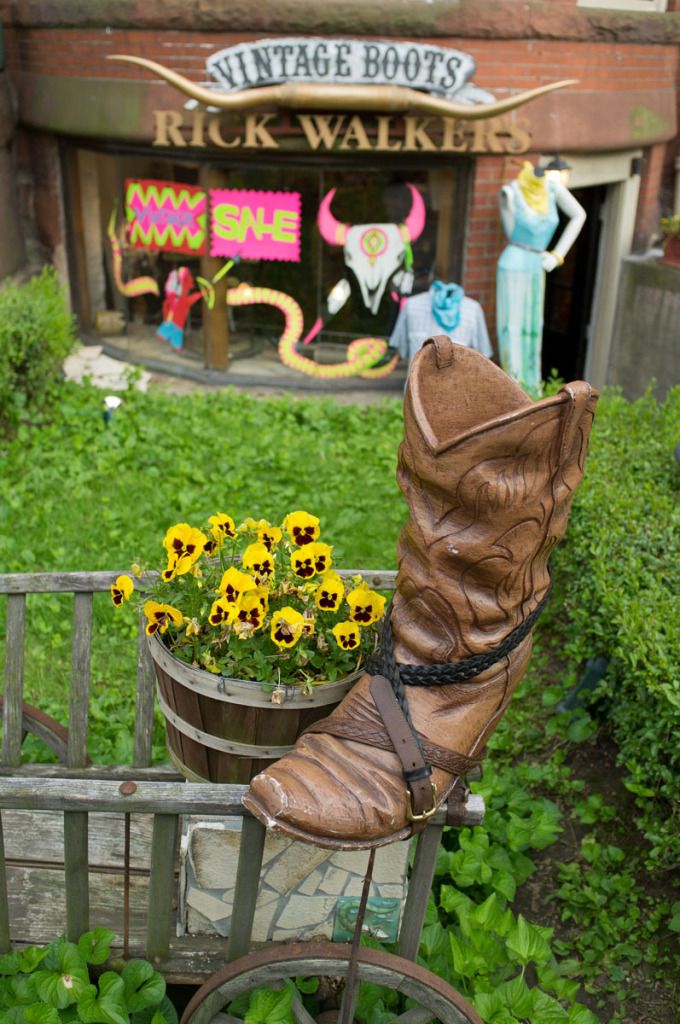
Vintage Boots ( Fujifilm X100)

 It’s low light capabilities continued to delight.  I still have yet to take the camera off of the auto ISO setting.  I have increased the minimum shutter speed somewhat to 1/60 to reduce motion blur during indoor shooting. I do love the low light capabilities of this camera. I continue to notice luminance noise at high ISOs, but it is relatively fine, and adds a charming graininess to the images  especially when converted to black and white. There is very little color noise visible up to ISO 3200 if exposures are right.

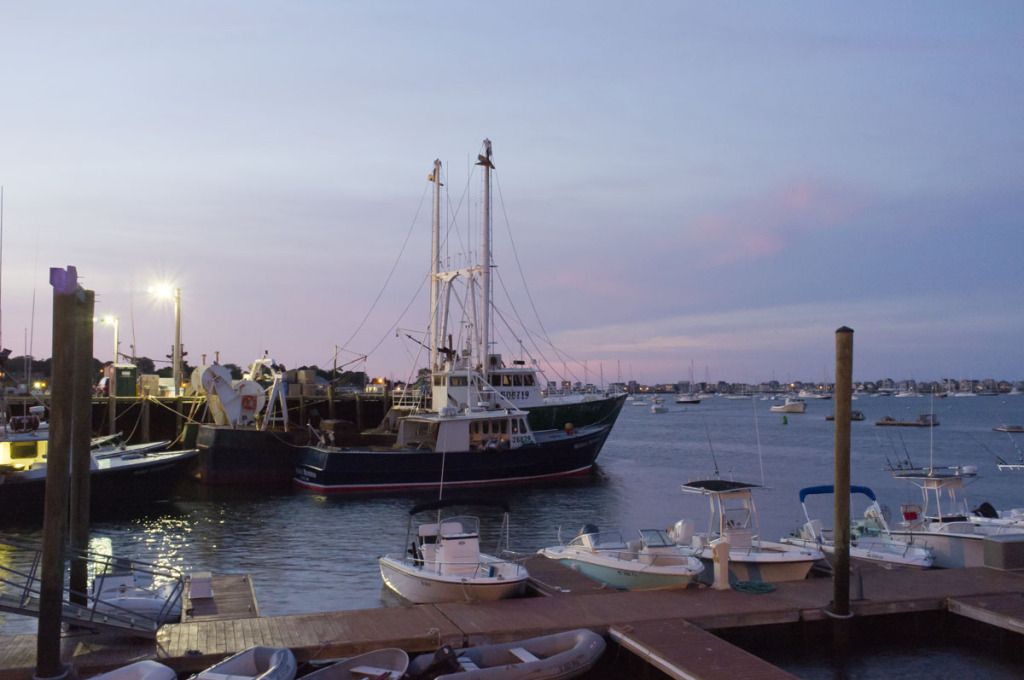
Scituate Harbor at Dusk(Fujifilm X 100, ISO 3200)

 I have been using the camera with the filter adapter permanently attached.  I bought an inexpensive pinch cap to use on a daily basis, and I am storing the elegant magnetic lens cap so to avoid losing it.  I would like to have it available at the point where I eventually sell the camera.

 I wondered whether I would find the 35 MM focal length limiting.  Certainly this is not a camera for sports photography, but when used as a “walk around” camera,  I’ve not felt the least bit limited by the fixed lens.  Other than cropping, there’s not much of a work around when one desires a longer focal length.  A wider field of view however can be obtained by shooting several images of the same scene and combining them in a panorama which also gives you the advantage of higher resolution for printing.

Feeding the Pigeons (Fujifilm X100 cropped to 8.7 MP)

 There are definitely some quirks to this camera that require a “work around”

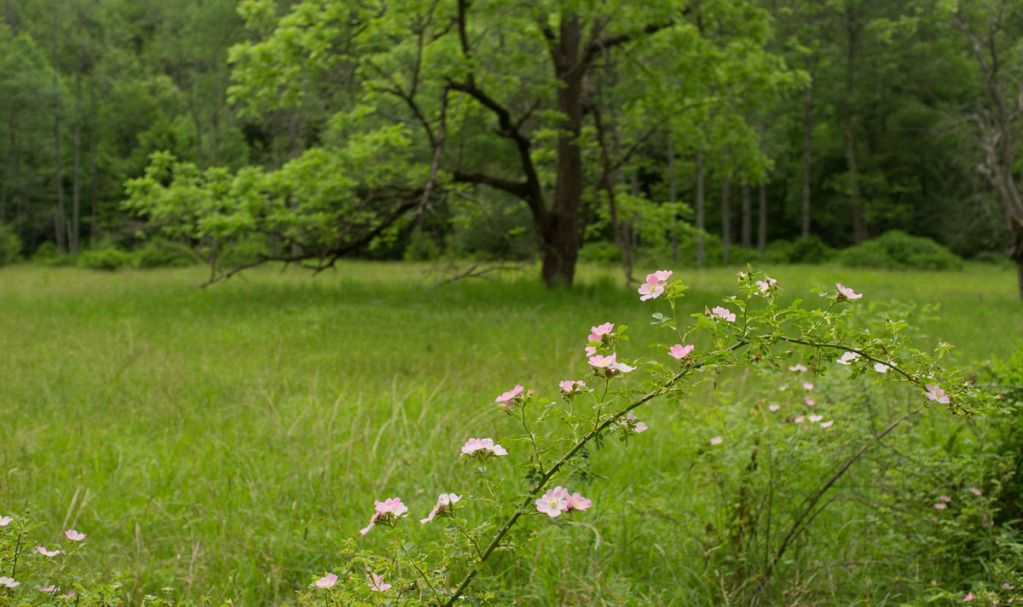
 It took me perhaps 5 minutes to capture the image below because I could not obtain an autofocus lock on the flowers in the foreground (the camera kept focusing on the tree in the background).  I did find the manual focusing to be a bit problematic, in part because I had forgotten temporarily how to use the image magnifying feature.  Most of the time however, the autofocus works fine.  When it does not, it most often means that the focus selector button on the side of the camera has become inadvertently repositioned.

May-apple (Fujifilm X 100)

Dynamic range in RAW files is certainly adequate but less than my Fuji S-5. There is little retention of highlights; one is more likely to obtain additional information from the shadows, similar to the Nikon D 7000.

Yeah, I know that the battery life is not great.  I also resent the point-and-shoot type battery life indicator which only warns you of impending battery failure about a millisecond before the power quits.  Happily the batteries are cheap and of the same model used by my Fujifilm F31, so it’s not a problem to have several on hand.

Green Monster ( Fujifilm X 100, ISO 3200)

I’ve been trying to figure out why this camera makes me want to shoot again.  It’s not nearly as functional and versatile as my Nikon DSLRs which have comparable or even better imagers.  It’s only slightly smaller than my Panasonic GH-1 which at least as a landscape camera has roughly equal image quality.  I have to believe that it has something to do with the quality of the files that the camera generates, which exhibit the rich color palette that I’ve come to expect from Fujifilm imagers.  I think it’s also the characteristics of the lens that I discussed earlier in the article.  I think also I continue to take tactile pleasure in the manual controls and the subjective feel of this lovely little instrument.

I was in a camera shop (remember those?) in Boston this week, and finally got to handle the X100’s bigger brother, the X Pro 1. I actually came away underwhelmed. It felt much less dense and thus, less substantial than the X100, as though the same components were placed in a larger “box”. There no diopter adjustment to the viewfinder, like that on the X100. The shutter on the X Pro 1 is significantly louder. And the difference that I’m seeing in the files is entirely the result of the newer cameras extra megapixels. And of course, the X Pro 1 with a lens, is twice the money of the X 100. For now, I’ll pass.

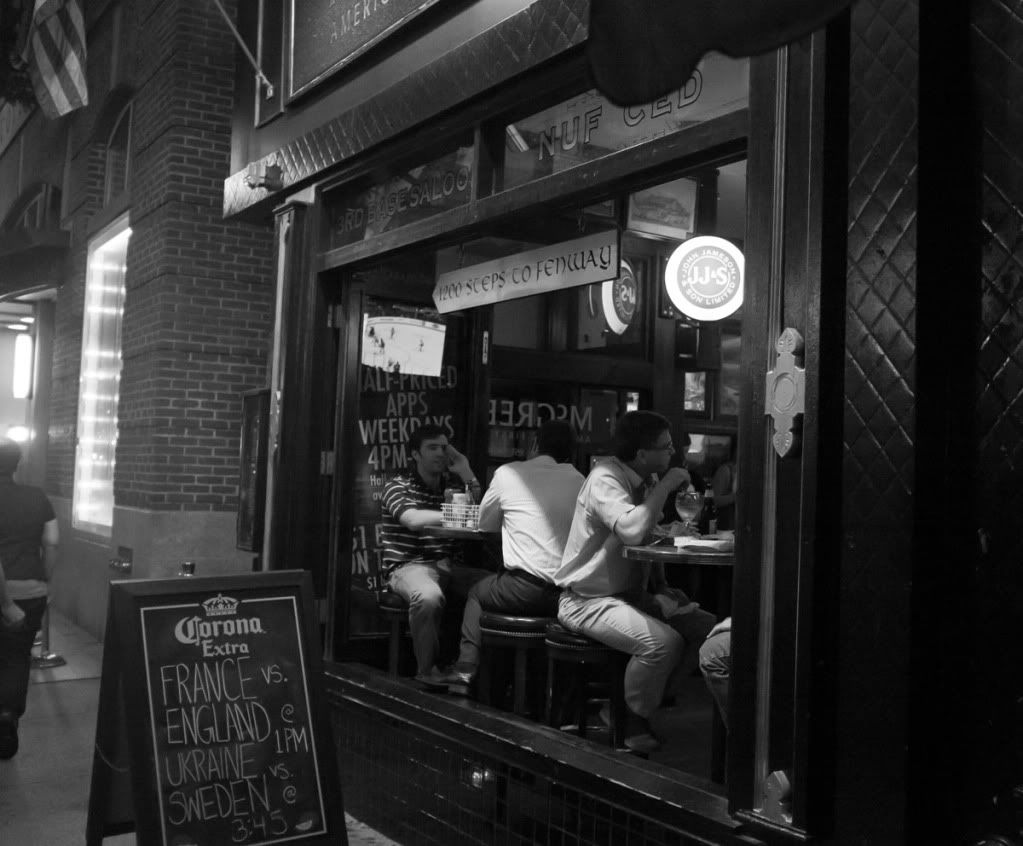
Boylston Pub ( Fujifilm X 100 ISO 3200)

I’ve been telling people who ask my advice about a camera purchase, that they should not favor cameras because of megapixel count or zoom range, as most often, in compact cameras, those features actually reduce image quality. I now realize that the X 100 is a strong validation of this concept.

This camera bodes well for Fujifilm, and I cannot wait to see what they give us as a follow on product. But for now, I’ll just keep shooting.

The Gear that I Use: The Fujifilm X 100

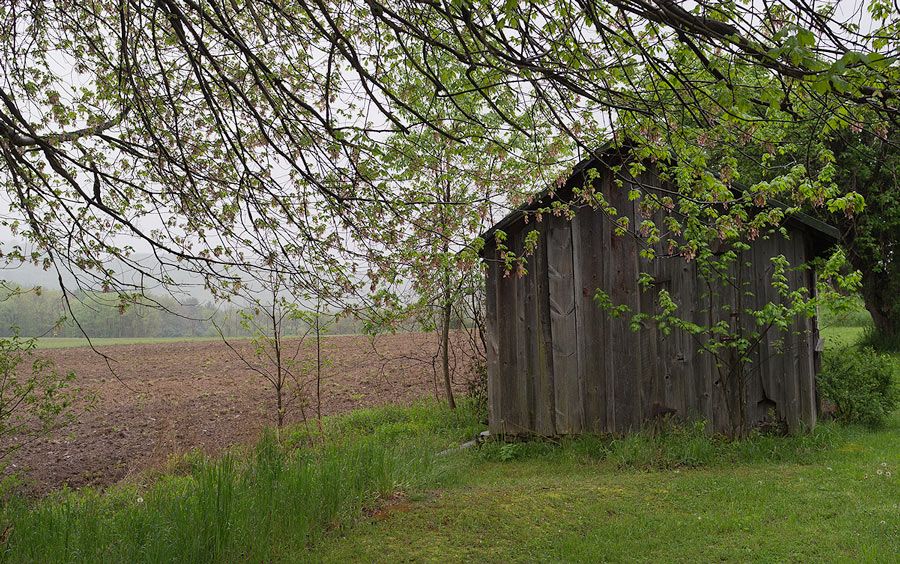
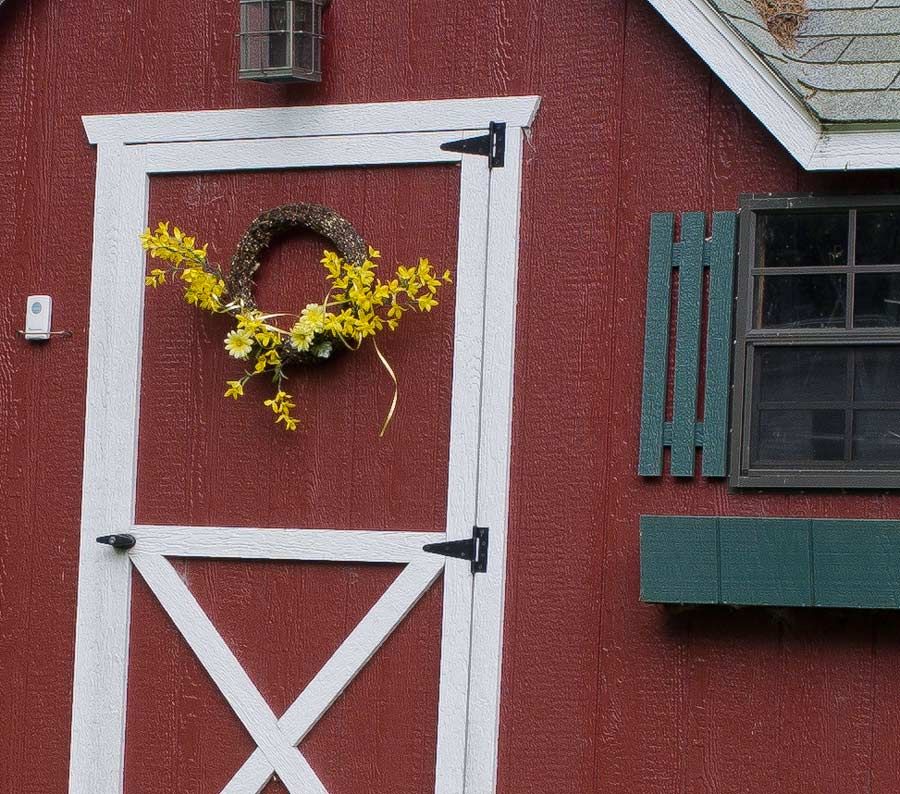
Spring Shed In Drums ( Fujifilm X100 ISO 200)

I’ve long been a fan of cameras made by Fujifilm.

My first digital SLR was a Fujifilm S2 Pro, which was a Nikon N 80-based film camera body, with digital elements “grafted” on.  Compared to the better integrated Canon and Nikon digital SLRs, the Fuji was seen as a “frankencamera”, requiring two different battery sets to control its analog and digital functions.  It was however during its time, quite popular due to two issues: number one, very high-resolution for an SLR at its price point, and number two, a characteristic color palette which accentuated reds and greens and was particularly flattering to skin tones.

The follow-up camera, the S3 Pro, which still resided within a Nikon body, cleaned up some of the dichotomy between the old film camera bits and the new digital workings within it.  Now one set of AA batteries ran the entire camera.  The S3 had another trick up its sleeve.  It used two different sets of pixels to achieve very high dynamic range, designed particularly for wedding photographers who have to capture both the white gown of the bride, and the black tuxedos of the groom.  Like the S2 before it, the camera was quirky and slow but was capable of producing images like no other.  With Fujifilm cameras, it seems,  you learn to work around the problems for the sake of the quality of the  files you can produce.

 I think that people and photographers that gravitate to Fujifilm pro-level cameras (Fuji  point-and-shoot cameras are more normal in behavior) have a certain personality type.  They will put up with indignities that no user of other mainstream camera gear would tolerate.  They do it because they perceive something about the image files that they cannot obtain with other, more user-friendly gear.

With the demise of the Fujifilm DSLR bodies (the S 5 Pro was the last) I find myself shooting Nikon bodies which were, after all, the basis for  the Fuji camera bodies. They inevitably have very competent, color accurate imagers. I love their ergonomics.  I still have an S5 ,which lives in the body of a Nikon D 200, and shoot it occasionally, particularly for portraits. Unfortunately, the lack of resolution of this older camera is becoming more obvious as the years pass.

Now Fujifilm has history of building fine camera bodies (remember the Hasselblad X Pan?). So I watched with great interest as Fujifilm relaunched a new line of cameras,  built entirely on their own, and designed for the enthusiast/professional market.

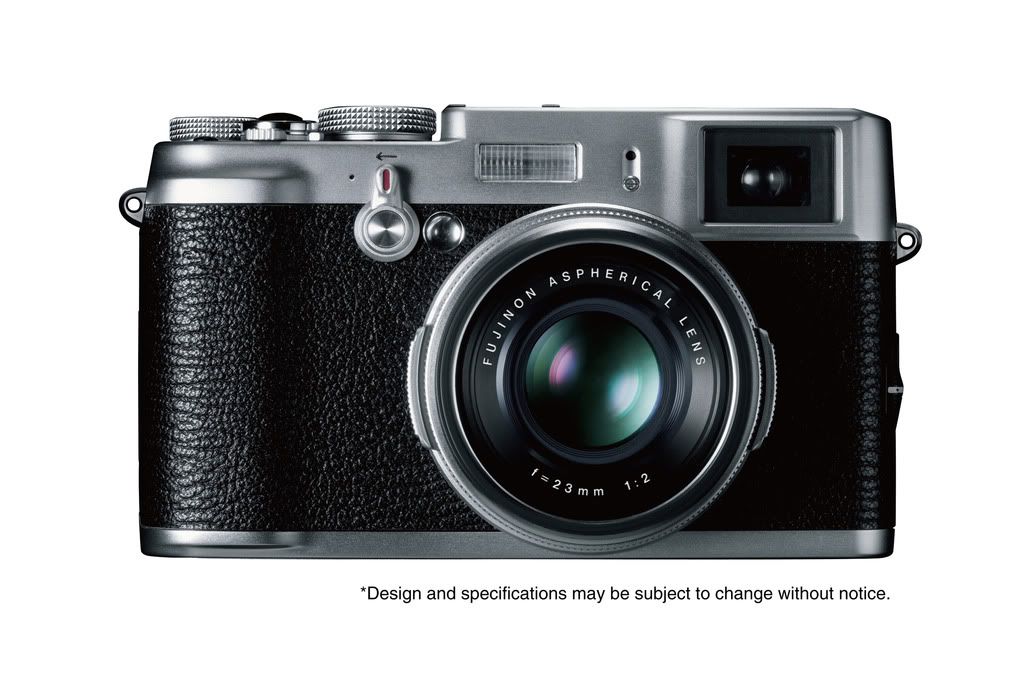
Fujifilm X 100 (image by Fujifilm)

This time the camera form was a range-finder-type camera body.  I ignored the first version, the X100 as I thought its fixed focal length 35 MM lens would be too limiting.  I started to pay attention when the X pro 1 was introduced, with a 16 MP imager and a new line of Fuji built lenses.

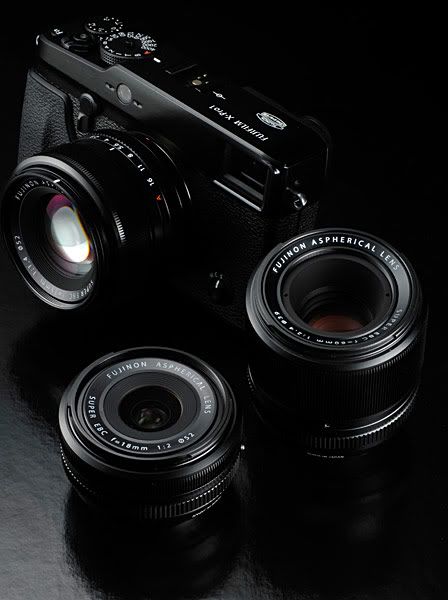
Fujifilm X Pro 1 (Image by Fujifilm)

The camera was relatively expensive, but far cheaper than the Leica M9 that it was designed in some ways to emulate.  Finally it seemed I would complete my search for a small discrete compact camera with superlative image quality.

Then, in an article on the web, I saw a photo demonstrating the relative size of the X Pro 1 compared to other cameras, including its “little brother” the X100.  It seemed to me, that I might just as well carry one of my DSLRs as the new Fuji given the relative sizes.  I noticed in the same picture however, that the X 100 was quite diminutive. Given the reports of its stellar image quality, I thought it might be interesting to give one a try.  I ordered one (along with an extra battery, the filter adapter, and lens hood) on the B+ H website, and in two days the package arrived in my office.

The packaging it arrives in sets a tone.  Within the brown B +H box, surrounded by inflatable bladders, was a smaller Fujibox box, all in black.  Within this are two other packages: one a very elegant presentation box which cradles the X100 on a black silk liner.  This suggests a highly premium product, an impression I’m sure Fuji is trying for with this “X” product line.

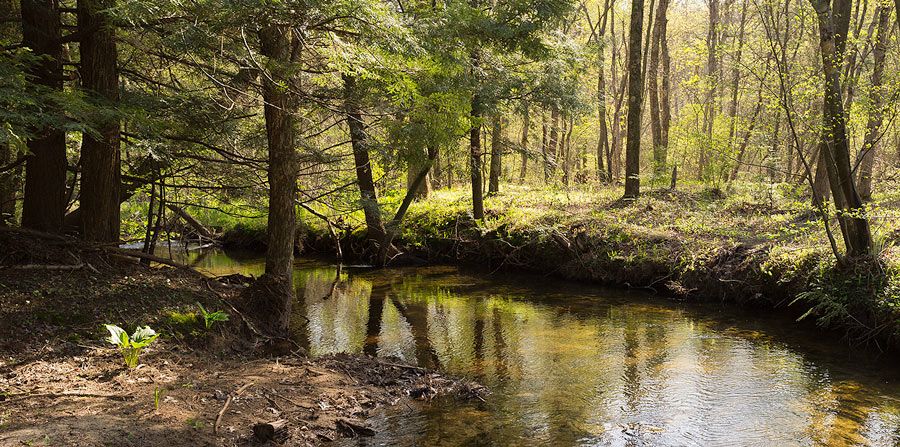
Along the Creekside Trail( Fujifilm X100 ISO 200)

The second box contains all the incidentals, such as the lens cap, the chargers, and the instruction disks and included software.  The whole effect as much classier than finding the camera body wrapped in plastic and surrounded by Styrofoam in a plain cardboard box.

Handling the camera was a tactile pleasure.  Even though I use professional level equipment, I was unprepared for the nice finish and unusual heft of the X100.  The beautifully milled manual controls dials, and the classic design, all create an emotional first response from, ehem… “experienced” photographers.  Given the comments and reviews I read about this camera, I had every hope that the quality of the presentation would be more than skin deep.

My camera came with an earlier version of the firmware than he is now current and I got a glimpse into some of the issues that frustrated early reviewers.  For instance, though I’m no stranger to camera controls, but for the life of me, I could not  find the auto ISO control which turned out to be in a separate part of the menu structure from the manual ISO control. (a problem fixed on the latest update)

I did shoot with a camera for a short time with the earlier firmware, but not enough to form any firm conclusions.  I do believe the autofocus was less reliable before I upgraded the firmware.

Armed now with the version 1.2 firmware, I began to use the camera.  Following the advice of several reviewers whose primary use for the camera was street photography (my intended use also) I set the camera to use the optical viewfinder (the viewfinder can also display an electronic, through the lens image), the focus point in the center of the frame, the lens on f2.2 and the and the ISO control to automatic allow me to drift between ISO 200, and ISO 3200 with a minimal shutter speed of 1/40 of a second.

Amber ( Fujifilm X100 ISO 3200)

I sought out several places where I knew the indoor light would be challenging, either because of high lights and shadows, or mixed color temperatures.

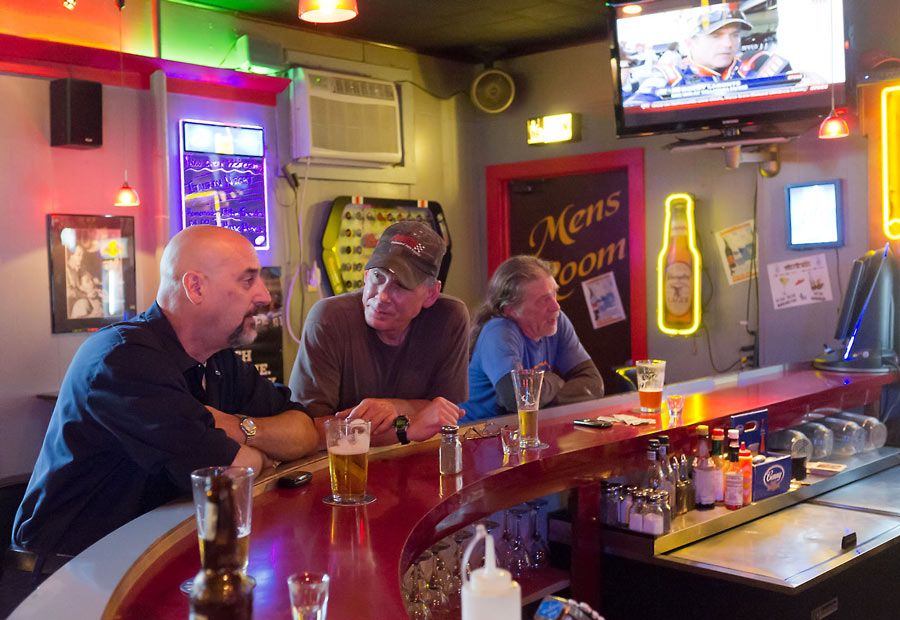
The Joes and Ed at the Ice House( Fujifilm X100 ISO 3200)

The X100 is an absolute delight when shooting indoors in natural light indoors.  Even though it sports a smaller APS – C sensor, it has the among the best low light characteristics of any camera I own, challenging even my D700.  Most often indoors, it defaults to ISO 3200. Still, even at F2.0 it  delivers sharp detailed photographs with a very fine grain structure (mainly luminance noise with very little color noise) which can either be left in color, or converted to very nice-looking black and white images.  It is the first camera I feel comfortable shooting, set on auto ISO.

I did notice when I move to bright light situations, the auto ISO does not always adapt down to lower values.  This may have been some quirk because of how I set the camera up, but I’m watching this nonetheless. Luckily, the camera’s high ISO performance is good enough, that if this happens, you don’t necessarily ruin the shot.

Marquis ( Fujifilm X100 ISO 3200)

 So far, manual focusing seems somewhat difficult, due to the lack of a reliable focus indicator.  The autofocus seems to work fine and reasonably reliably.  If the little square in the viewfinder turns green and beeps, then generally the camera is correctly focused and the image will be sharp.  Moving the focus point around the viewfinder is clumsy compared to the G-series Panasonics, for instance, where while looking through the viewfinder, you can easily activate and move the focus point only using your right hand.

On the X100, the activation button is on the left, and really requires you to take the camera away from your face to move focus. It’s a small issue for me but represents poor interface design. For this camera and it’s  capabilities however, you adapt.

The parallax correction function on the optical viewfinder is interesting, but sometimes it’s easier on close-up images to quickly switch to the electronic viewfinder,which is quite good, and avoids having the right lower corner of the image blocked by the lens (particularly if the lens hood is in place).

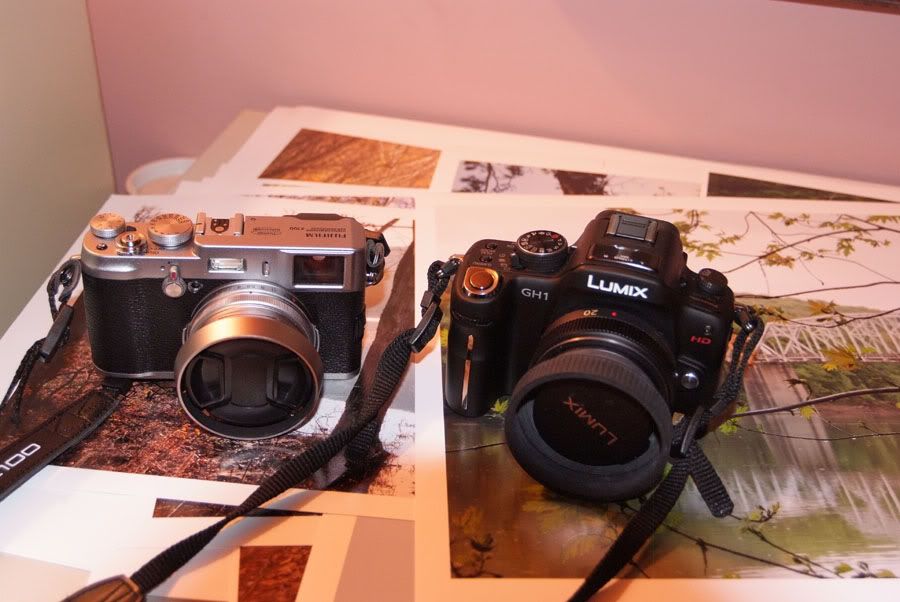
I was curious about the resolution of the camera compared to others with a 12 megapixel sensor.  The most comparable camera that I own is my Panasonic Lumix GH1 for which I have the 20 MM f1.7 lens, a somewhat similer equivalent focal length as the fixed Fuji lens on the smaller 4/3 sensor.

X 100 and GH1 (Fulifilm S5, Nikkor 18-35mm f3.5)

I know the GH1 to have high-resolution and an excellent metering capability though it is not the best choice for low light photography.  Panasonic imagers also tend to have a green sensor cast which I usually correct during raw processing.  I used my usual backyard scene and shot both cameras at their lowest ISO (200 for the Fuji, 100 for the Panasonic) the lenses were set at f5.6.  This yielded slightly different shutter speeds for both cameras.  In fact the first Fuji shots were rather under-exposed but then I noticed that I was using “average” metering.  I switched theFuji to “multi” metering and the exposure became much more in line with what the Panasonic was doing.

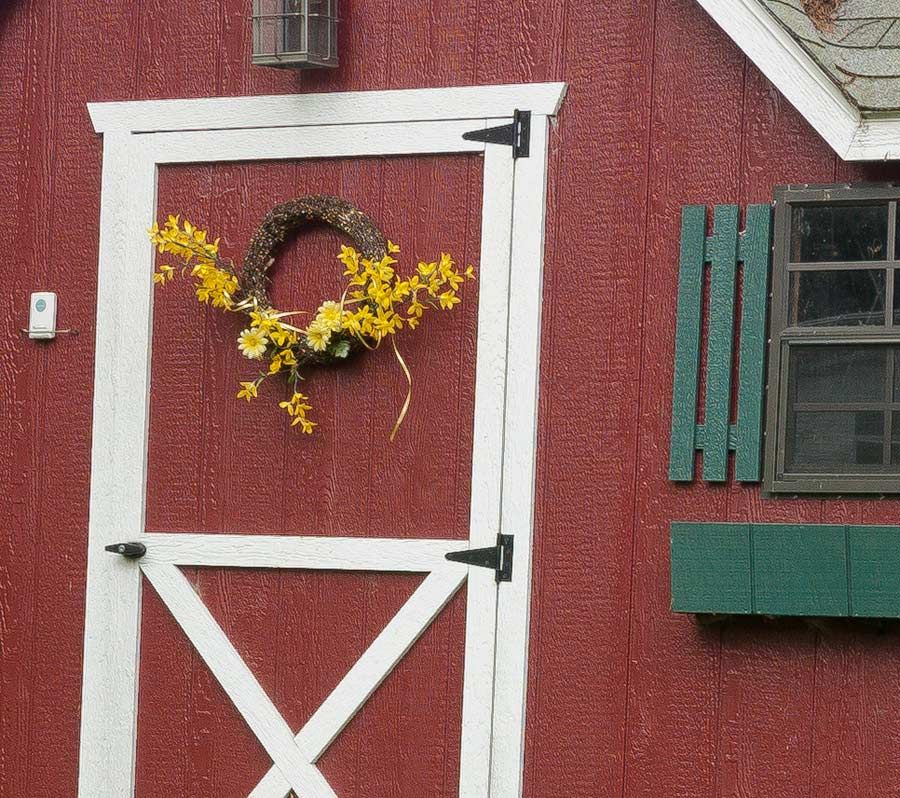
Here are the comparison shots.  I would say that on the main the resolution is roughly equal.  I will say that the Fuji file is cleaner, even  at the higher base ISO (check out the window glass).  It is interesting that when I “pushed” the under-exposed Fuji file to equal the exposure of the appropriately exposed Panasonic file, the noise levels were quite similar. The Fujifilm image tends to be smoother and more “film-like” than the slightly harsher Lumix image. 

Shed 100% ( Panasonic GH1, Lumix 17mm f1.7)

When I think of using the two cameras, I think of the GH1 as a better camera to take for instance, on a backpacking trip, where its small interchangable lenses would give it maximal versatility.  It also has a much better user interface and better video capability, should that be necessary.

But there is just something about the Fuji.  It is somewhat intangible, but the appearance of the files, the low noise levels, the excellent dynamic range, the feel of the camera in your hand, and yes even the quirkiness of the controls, give it an undeniable charm especially to a photographer of a certain age (like me).  I love the quiet shutter, and how stealthy it is in a street shooting situation.  And like all of the Fujiis I have owned, there’s something wonderful about the images that produces.

May Forest (Fujifilm X100)

So I guess I’m keeping this camera.  The two week deadline for its return has passed and I’m still snapping happily away.  It makes me think that the X Pro1 might be an interesting companion purchase at some point.  For now however,  the X100 makes me very content.

For the second part of this review, Click here.

Some thoughts on the old and new. Are more recent cameras that much better?

Rhodora (Nikon Coolpix 4500)

I have an image on my den wall of a rhodora bloom.

It is a flower that grows in the scrub oak barrens adjacent to my community here in Northeastern Pennsylvania. I have been told by naturalists that this is an anomaly, because it’s only supposed to exist much further north.

I shot that image with a 4 megapixel Nikon Coolpix 4500, which some of you may recall, was the final high-end iteration of the original twist body Coolpix. I have printed it at 8”x11” and larger, and love the image. It looks good to me even 7 years after it spit out of the Epson 2200 that I used in those days. And I have become very critical of images over the years.

Now I have owned a large number of compact and bridge cameras over the years. I printed and enjoyed many landscape images captured with non DSLRs in years past. Nowadays, I am somewhat unhappy with using a compact camera for this purpose, even the so-called “premium” compacts such as my Panasonic LX 5. I get many less images nowadays from small imager cameras that I would consider using, let’s say, in an exhibition, whereas in the past, I have used such cameras to confidently decorate gallery walls (and make sales).

Given some discussions I have been involved in various photographic forums, I have begun to wonder just how much better off we are , in terms of small-sensored cameras, than we were in the earlier period in the digital photography, when there were less pixels on small sensors than now.

I shot over the years with many “bridge” cameras in those days, sometimes side-by-side with DSLRs in the 6 MP range. My memory is, that whether it was a Nikon Coolpix, 900/4500 (3 and 4 megapixels respectively), my 4/5 megapixel Olympus E10/E20 or an Olympus C 5050, the files (I shot in those days mainly JPGs) were usable for landscape images, and that the images were pleasing to the eye, even printed at 11×16” or even occasionally at 13x 19”.

Now it seems to me small sensors seem lousy, not only relative to larger sensored DSLRs but even compared to older imagers with half the resolution. I can’t tell if I’ve become spoiled by the likes of my D 700, or whether packing those tiny sensors with as little as 10 MP is having a deleterious effect on certain,  intangible measures of image quality.

Obviously, this discussion should be limited to base ISO. Even a 2/3” sensor such that came with the Olympus E 20, was horrible above ISO 200. A Canon S 100, LX5 and certainly the new Fuji X10, would wipe the floor with them at higher sensitivities.

But I do wonder whether there are other advantages of bigger pixels, even big old technology pixels, have characteristics that make up for the advances that have come since.

Boulder in Chubb Pond (Olympus C-5050)

This is a 100% crop of an image shot with my Olympus C 5050 from a kayak in 2004. It makes a nice 11’x 16’ print, like many others from that camera. And, it was shot in RAW at ISO 200, miraculous for a bridge camera of that era. My other cameras at the time included a Fuji S2 pro. I often printed and sold images from the Olympus, again limited somewhat  in size relative to the Fuji. In this image I particularly notice the lack of noise, and reasonable detail.

Here are two images: one from my 2005 vintage Fujifilm E 900 which at the time was considered a marvel at high-resolution, High ISO (800 ASA max) shooting in a compact

Test Image Fuji E 900

.

It sports the same size 1 1/6” inch sensor as the LX5 which I used to take the other image. These were shot at ISO 400 in raw format, had the same exposure settings at f4, were corrected with the same settings in ACR, and sharpened with the same unsharpen mask settings in Photoshop.

Test Image, LX5

I’m not saying that there’s no difference. I think the Fuji noise is coarser, and there could be a smidgen more color noise. Detail seems about the same. Now the E 900 sensor is 9 MP and of the so-called “SuperCCD” design, so famous in the F 30/31 Fuji compacts These were the cameras that arguably started the craze toward lower resolution, higher sensitivity sensors ( I still have one). I do feel however, that given the 5 years between models, the differences are modest. I’m pretty sure that the E 900 would compete nicely with many other modern imagers.

It should also be said the ergonomics of the LX-5 are significantly better than the older camera making it much more usable. Oddly enough the E 900 may have the first compact that disappointed me with it’s image quality (maybe because the size of the megapixels).  I did get some keepers( see December 2013)

Now that having said all that, the Panasonic can render details nicely, if shot right. Here’s a 100% crop of an image I took with the LX5 recently, also at ISO 400 .

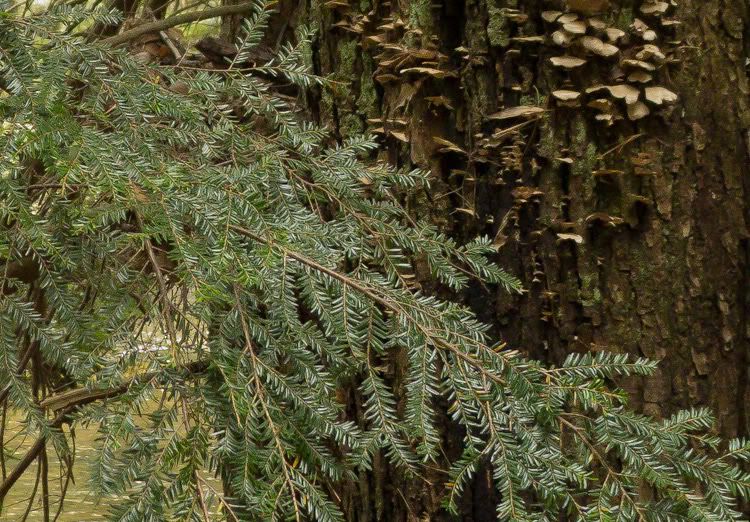
Hemlock and Bracken (Panasonic Lumix LX5)

What’s my point? I ‘m not sure there is one, except perhaps that as photo gear enthusiasts, we are seduced by the power of industry marketing,  which is aided at times by enthusiast websites who are connected to photo gear suppliers. Imagers are getting better, but perhaps more slowly than we think.

If you’re going to buy a new camera or camera body, make sure it functions better for you. Test it against the gear it’s set to replace. If it’s not truly more functional, don’t be afraid to send it back. And make sure that you buy  from reputable dealers that will allow you the privilege.

Also once in a while, If you have an older camera on your shelf, pick it up and shoot it. Print an image. You might be shocked just how much you like it.

D 7000 dynamic range

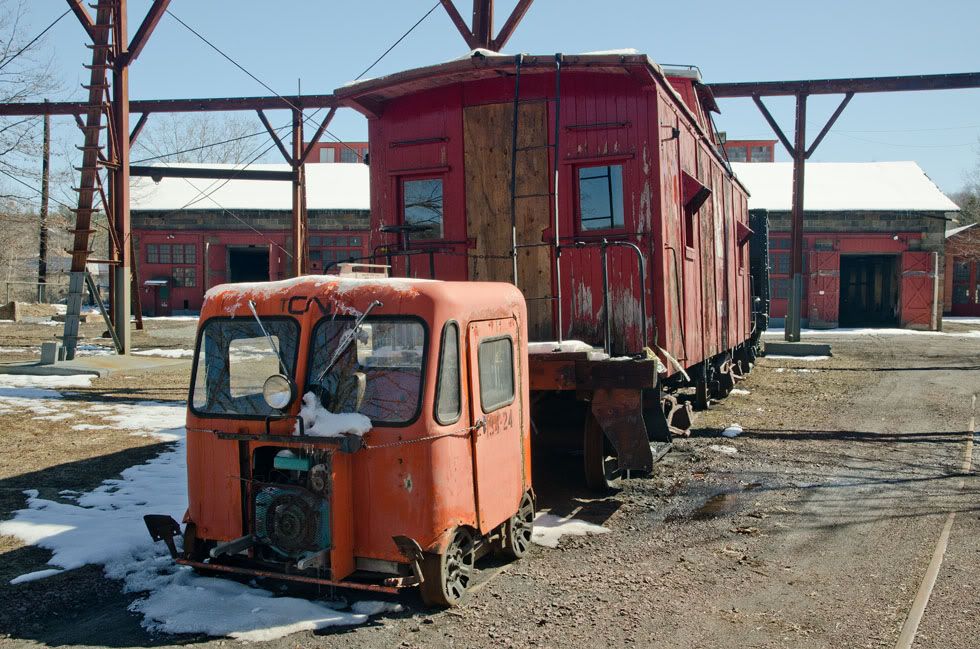
Car and Caboose (Nikon D 7000, Nikkor 16-85mm @iso100)

Last Sunday, I found myself on a drive in the farmland between White Haven, and the town of Weatherly, near my home in Pennsylvania. This is a rural area, and I was hoping to find scenes featuring the rapidly melting snow, hopefully contrasting with subtle signs of spring.

Once I reached Weatherly, I drove to the area near Black creek, where there exists an old railroad yard with a roundhouse and foundry, used to build and repair steam locomotives.

From signs on the site,  could see that there was an effort underway to restore and preserve these venerable structures. From what I could see of the buildings current condition, this would be a formidable undertaking to say the least.

The largest building was open, so I thought I’d explore. I grabbed my D 7000, mounted the only “fast” lens I had with me (a 35mm f 2.0 Nikkor) and my  monopod, and entered the structure.

The building was huge, largely empty, but still there were artifacts of the past scattered about. A huge press, undoubtedly too big to move, sat near one of the huge doors.

The Press (Nikon D 7000, Nikkor 35mm f2.0 @iso 1600)

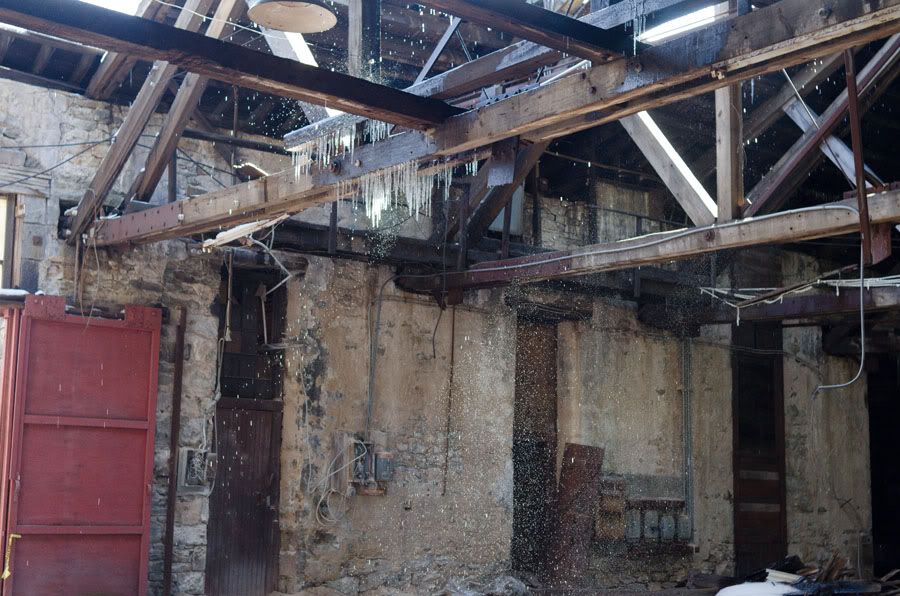
The cantilevered roof had collapsed in the center and water from melting snow cascaded over the huge support beams and showered the center of the interior. I began to shoot, mildly concerned about the potential for falling debris.

Leaking Roof (Nikon D 7000, Nikkor 35mm f2.0 @iso 800)

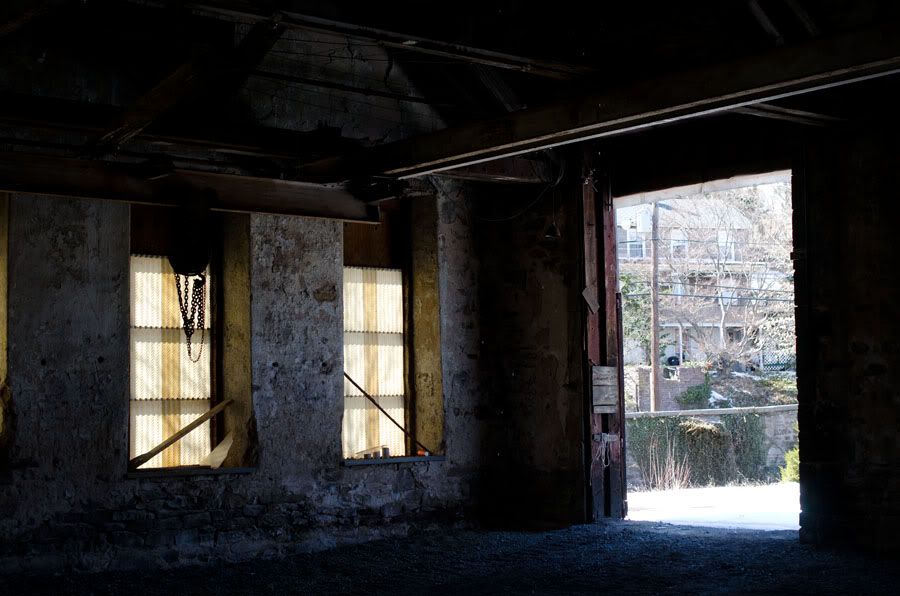
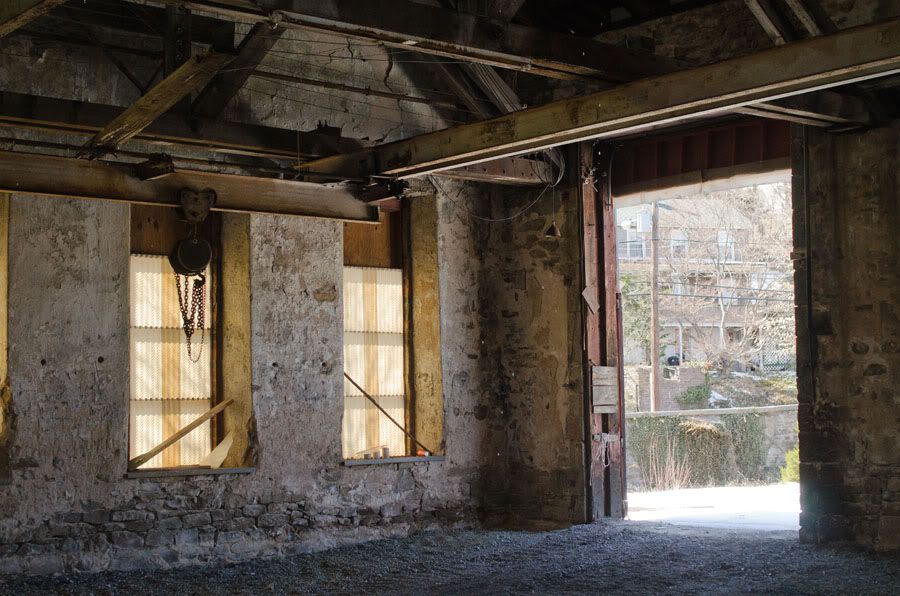
I realized that this would be a good opportunity to test the dynamic range of the D-7000.

As an owner of a Fuji S-5 I am spoiled.  This camera has an extraordinary ability to record a wide range of brightness in a single shot. The D 7000 however, is supposed to be even better.

To take advantage of this attribute you have to shoot each camera differently.

With the S-5, one exposes to the left; or in other words, one sets the exposure so that the darkest regions are reasonably exposed , but leaves the highlights be just a bit “burned out”. Given the dual-pixel design of the Fuji sensor, you can “pull back the highlights in Photoshop, and still find detail.

With the D 7000 the exposure is set in the time-honored method of exposing to the right, setting the camera so that  the brightest part of the scene is well exposed, but the darkest areas look black.

In Photoshop, one can then use the “brightness” and “fill light” sliders (working as always, in RAW) to bring up the dark portions of the image.

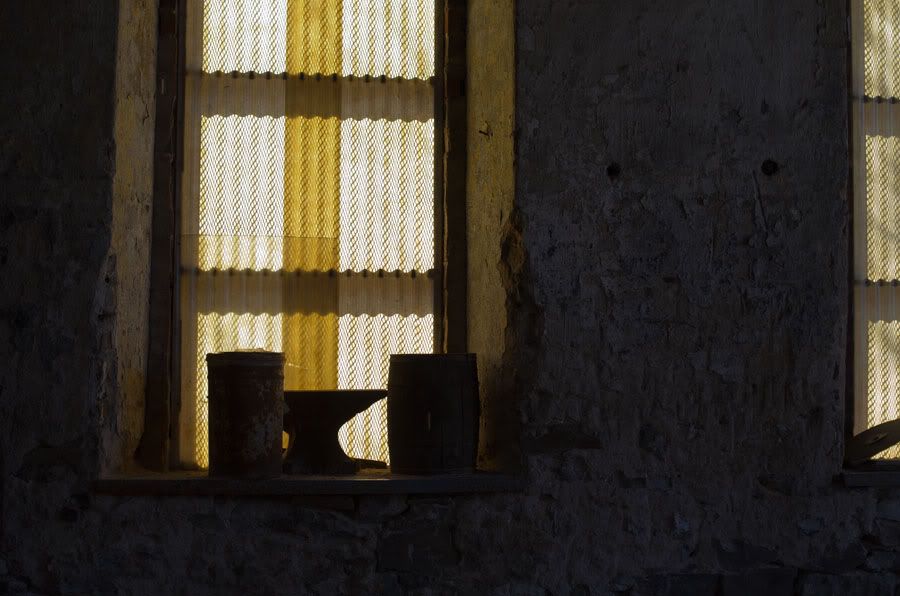
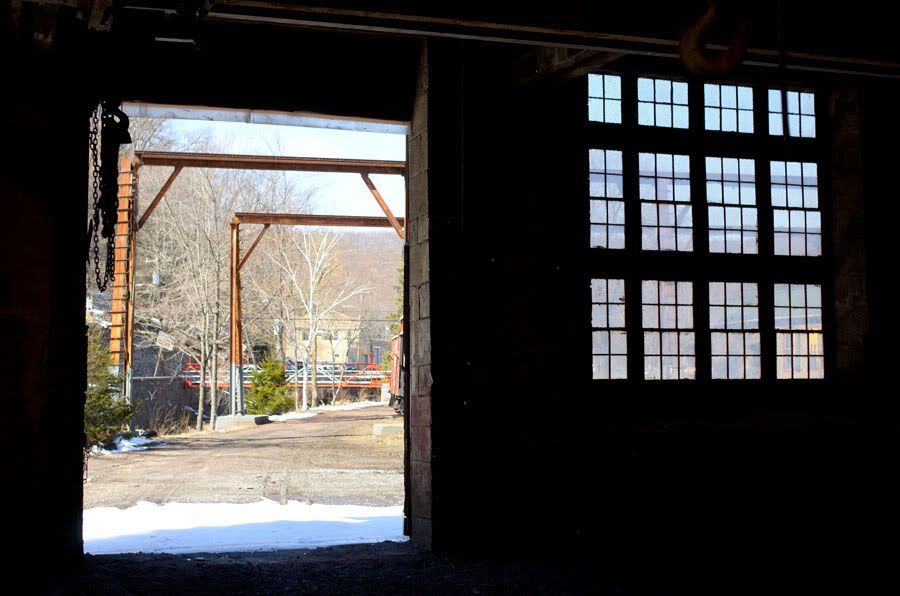
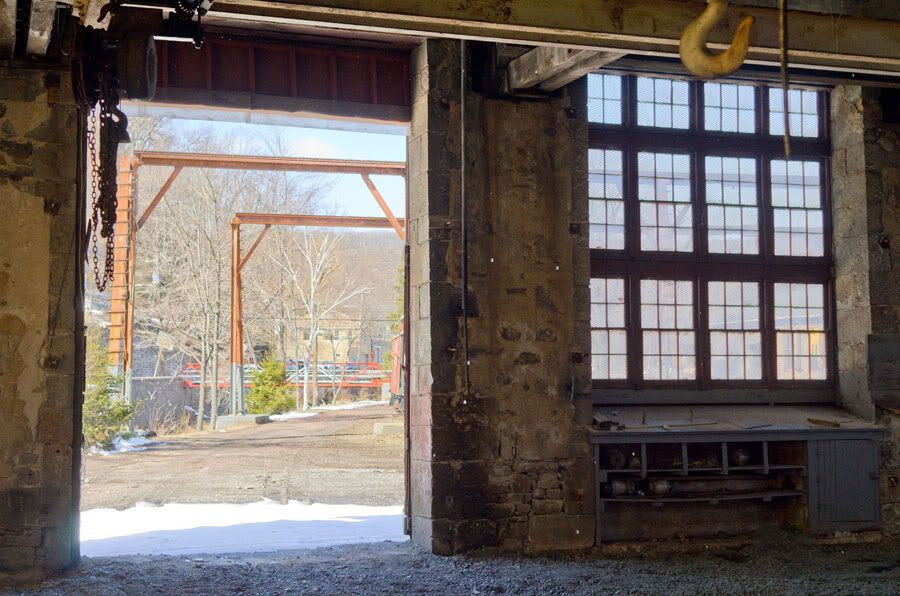
The Window (Nikon D 7000, Nikkor 35mm f2.0 @iso 200)

The problem usually is, that when one “pushes” the dark areas, you usually end up with noise, which limits what you can do.

With the D 7000 however, you seem to be able to push hard on the dark areas without creating the luminance and color noise that plagued earlier designs. I’m not sure why the lower-noise Fx Nikons wouldn’t be even better for this, but apparently they’re not (except at higher ISOs).

Yellow Windows and Door (Nikon D 7000, Nikkor 35mm f2.0 @iso 200)

On the image above, there was some snow at the threshold of the door that I couldn’t help overexposing.

Here’s one more shot, from a different vantage point.

Towards the Yard (Nikon D 7000, Nikkor 35mm f2.0 @iso 200)

All in all, I am rather impressed with this little DSLR.

Anybody want to buy an S-5? (They still shoot the best wedding Jpgs around.)

Thoughts on Photography: Camera Support


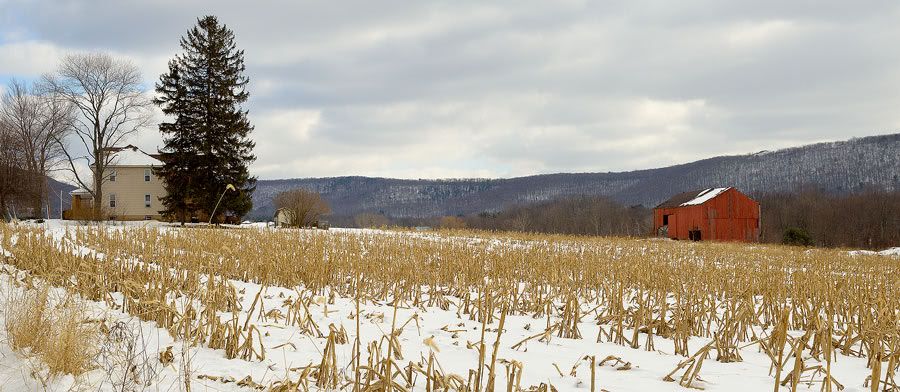
Pennsylvania Winter Farm (Nikon D7000, Nikkor 16-85mm f3.5)


Occasionally, a budding photographer will approach me for advice on how to capture better images.

I think that my answer must disappoint them. I’m sure most beginners really hope that I can direct them towards the purchase of a particularly sexy piece of gear, such as a camera body, or a particular lens that will set their photography afire.

They want to talk about gear. I want to talk about composition, and technique. Particularly, I want to talk about rather mundane basics such as the nature of optics, shooting discipine, and camera, and lens support.

Not that there aren’t some great photographs blurred by subject motion, or camera movements.

Most great images are sharp, even if it is at a narrow point of focus selected by the shooter.

 Generally, for an image to be sharp, the camera and lens need to be still relative to the subject, as the shutter is released.

Now, there are many ways to properly stabilize a camera.

My first rule would be: the human body unaided, is at best, only a fair camera support.  Now true enough, a practiced pro shooter can hand-hold, and certainly achieve great results, usually far better  than an amateur. There are reasons for this. First, the pro is practiced at taking still images, much in the way a fine marksman, can draw a bead and hold very steadily on his target. It takes concentration and lots of repetition. There are places to learn this: here, and here.

 Most amateurs have lousy technique. They think that they can hold a camera, arms akimbo, far out from the body, trying to shoot a telephoto shot through a slow zoom lens, at an impossibly slow shutter speed, and still achieve Sports Illustrated quality shots of their precious soccer-playing offspring. It doesn’t work that way.

A pro understands that the proper shooting technique is to hold the arms close in to the body elbows braced against the chest or abdomen, and the viewfinder pressed against the face. Holding as modern digital camera out away from you while you frame with the viewfinder, is generally going to lead to fair snapshots, but lousy fine art prints.

Also, often pro camera gear, is heavier. This means that the poke of the finger on the shutter, and the movement of the mirror and shutter, on an SLR, is working against the greater mass of, for instance,  a heavy, metal-bodied  camera such as a Canon 1Ds mark II, rather than a diminutive plastic consumer grade Digital Rebel. It thus creates less blur-inducing movement.

 Most landscape purists use tripods… period. Many shoot large-format cameras that are too unwieldy to be practical for anything but tripod mounting.  The true purist would use, very heavy tripods with equally beefy camera mounts that add mass to the camera body and couple it rigidly to the floor or ground, essentially eliminating camera movement.

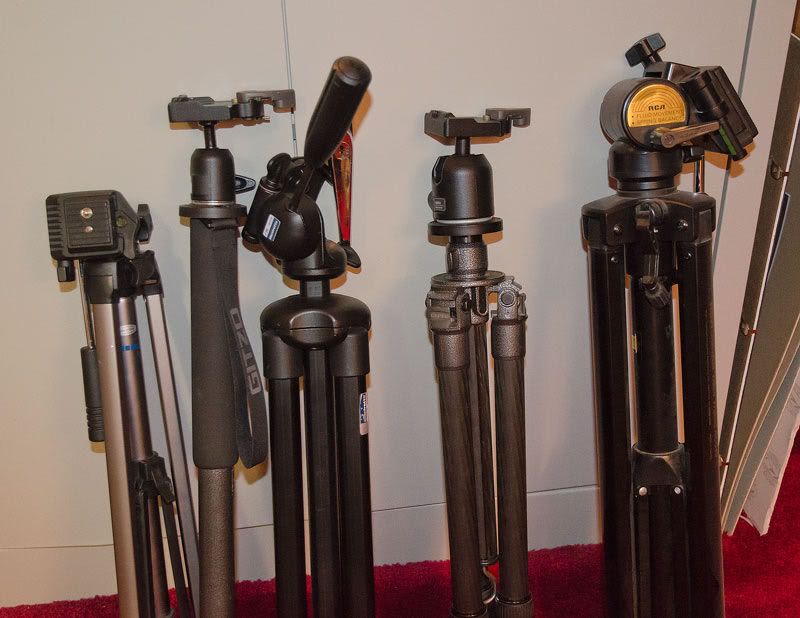
Camera Support (Nikon D7000, Nikkor 16-85mm f3.5)

Tripods are great for detailed images. They are less useful when for hiking long distances, for discreet shooting and sometimes, for spontaneity.

 Obviously, there are available, stabilized lenses, known as IS lenses for Canon,OIS for Panasonic, and VR lenses for Nikkor. These can partially make up for camera shake. Modern Sony, Olympus, and Pentax SLR lenses are generally stabilized by the camera body itself. Whether in the lens or body, stabilization is a useful feature, but can only be counted on to compensate for modest camera movements at reasonably fast shutter speeds.

Coppras Pond Shore (Olympus 510, Zuiko 11-22mm f2.8)

Combining a heavy tripod with a remote shutter release (or releasing the shutter by using the camera self timer) is still the best way to obtain sharp, enlargable landscape prints.  This is especially true when shooting moving water, or in low light situations.  We should probably all do this, all the time.

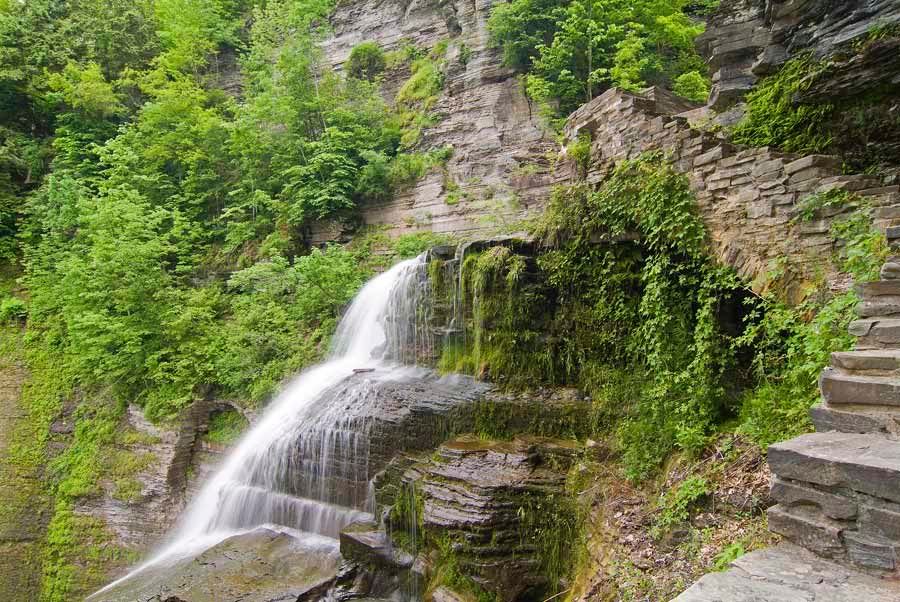
Lucifer Falls (Fuji S3, Tokina 28-80 f2.8)

In fact, good technique and less megapixels, will sometimes trump bad technique with more megapixels in terms of fine detail reproduction.

I have walked, snowshoed, and skied many miles with a tripods strapped to my pack. In a target-rich photographic environment, I sometimes leave the body and lens attached to the tripod, and travel with the combination over my shoulder, much like the way Huck Finn would carry a fishin’ pole.

 Lately though, I have changed tactics.  I found that sometimes setting up all the gear to work as a purist means that there are shots you won’t take because, it’s too much trouble. I still do use a tripod on formal shooting days. But for more casual opportunities, or for situations where I think that the neighbors will react badly to my presence, I use other techniques.

Cross-country skiing is one example. I have two ski poles in hand, and often, no where convenient to carry a monopod. I will then have to improvise.

Holding crossed ski (or hiking) poles with my thumb and third to fifth finger, I can improvise a bipod with the pair. My index finger can then encircle the barrel of the lens which rests in the cross. This works pretty well.

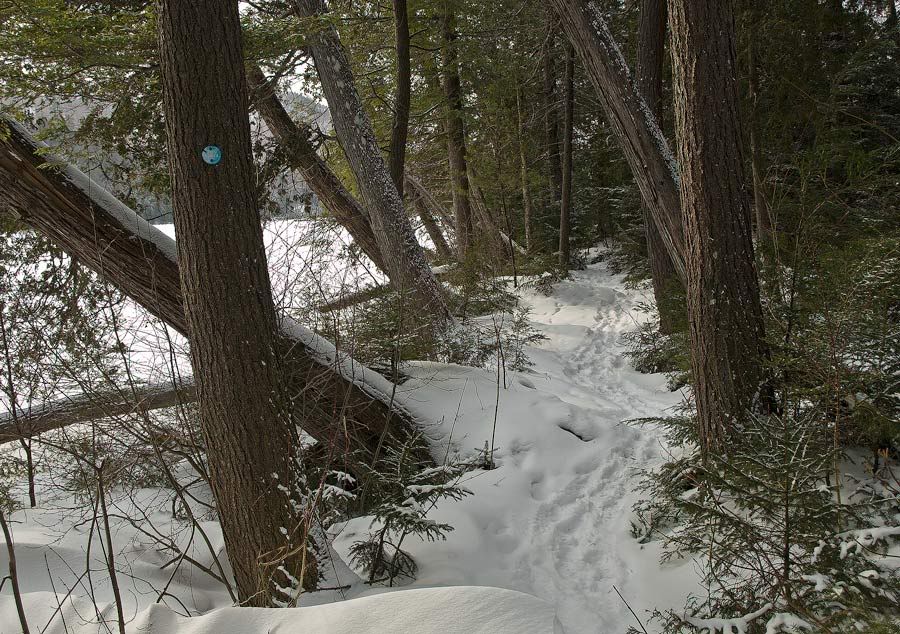
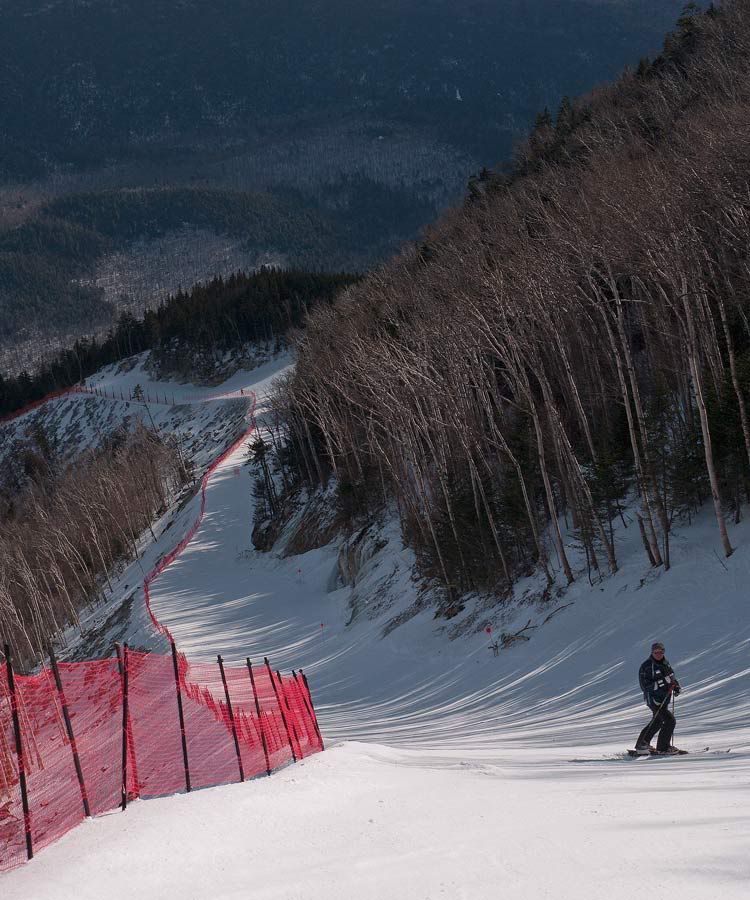
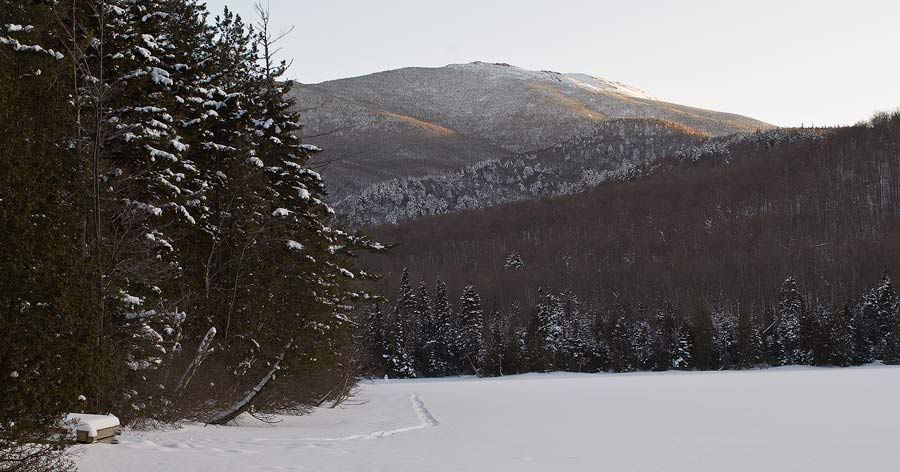
Whiteface Mountain,Wilmington Trail (Panasonic G1, Lumix 14-45 f3.5-5)

Trees when well located can be used to stabilize things, either by leaning against them, or bracing the camera hard against the bark. A small sandbag in your bag is helpful to facilitate the latter.

Any firm stable object can be useful. Fence post and bridge rails make fine camera supports. With SLRs, it is useful to press the camera into the support, to damp the movement of the mirror. Again a sandbag is useful to position the camera on a hard surface.

Logs, the hood of your car, your mountain bike seat, even rocks in the middle of a stream, can offer a shooting platform, as well as a non-intuitive, but unique shooting viewpoint. The Panasonic G 1-G1h- G2h-series cameras are great for this as they have an articulating view screen for framing at weird angles, are physically small, and have no mirror, and thus no “mirror slap” to dampen.

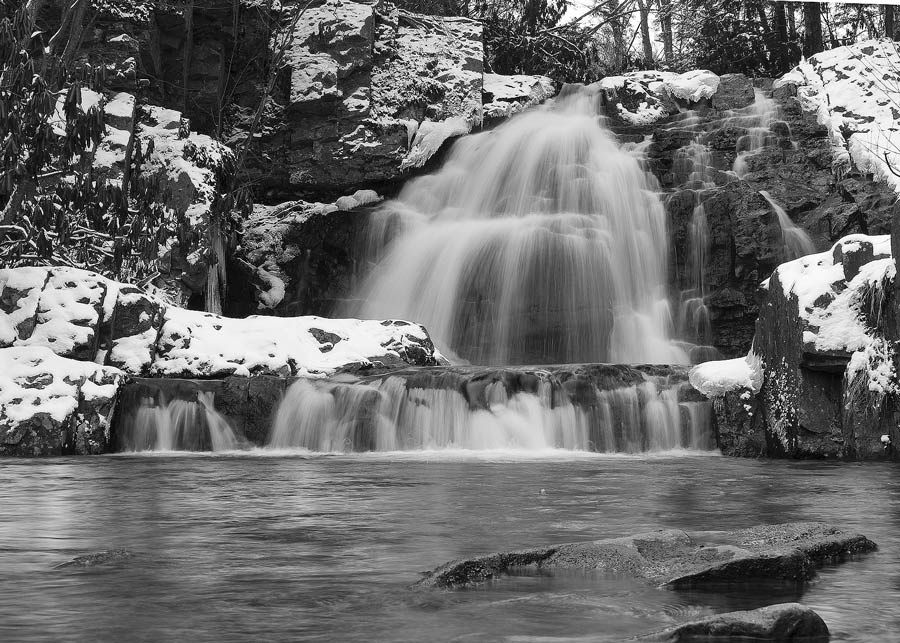
Hawk Falls, Winter (Panasonic G1, Lumix 14-45mm f3.5-5)

Finally, most often lately, I use a monopod.  Mine is a steel Bogen-Manfrotto unit with a sturdy ballhead mounted, a ballhead similar to, if less robust than the one on my good Gitzo tripod. Both ballheads use the same camera shoe so that I can switch back quickly between support options.

The monopod is a solid, heavy steel unit. The weight is an advantage when mechanically coupled to the camera, and then to the ground. There is a rubber foot, which can be slipped off to reveal a metal spike.

Wright Peak, from Heart Lake (Nikon D2x, Tokina 28-80mm f2.8)

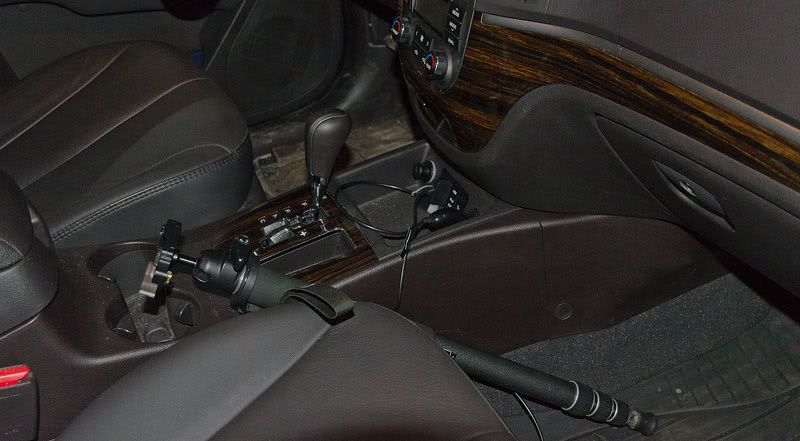
It makes a robust hiking pole. I keep it in my car wedged between the passenger seat and the console where it is readily available for “grab shots”. I have also suspected it would make a formidable self-defense weapon.

Monopod in my Car (Nikon D7000, Nikkor 16-85mm f3.5)

For landscape photography, I extend the monopod to the length I need. I make sure all of the joints are tightly locked. I position the camera with the ball head and then lock it down tight. I find that placing some weight on the camera-monopod assembly and making sure it if firmly engaged with the ground before tripping the shutter, allows me to take very sharp images even at marginal shutter speeds. I can grab good shots very quickly with a monopod in situations where a tripod would be slow and cumbersome.

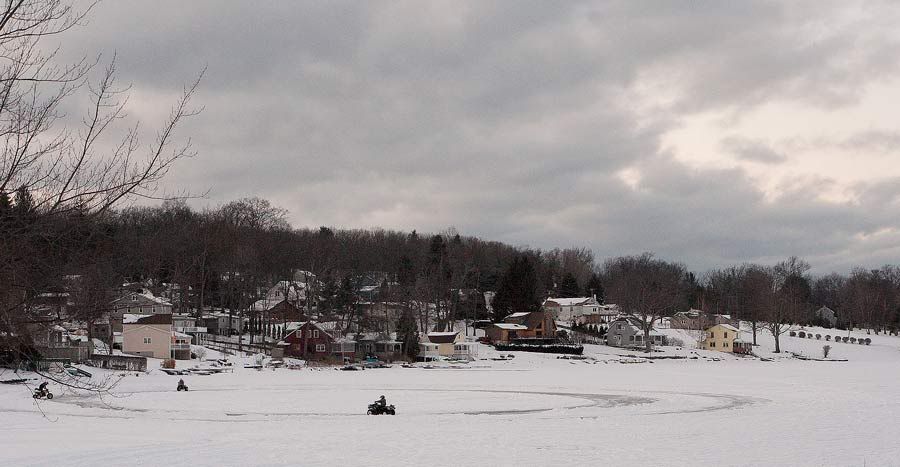
Circling at Lake Silkworth ( Panasonic G-1, Lumix 14-45mm f3.5-5)

If you aspire to create photographic images beyond the average, you need to spend time learning the basics. 

These methods may seem tedious and even stifling. Always remember that good camera technique and save you from opening your compositional masterwork, the one you hiked hours to capture, only to find is a blurred, unprintable mess.

Take the time and trouble.

It’s worth it.

Another Thought on “Bleak Times”

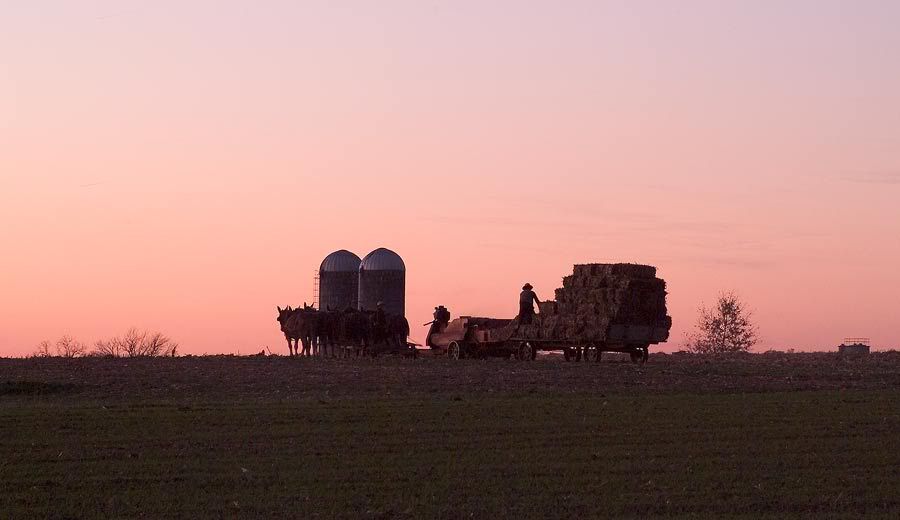
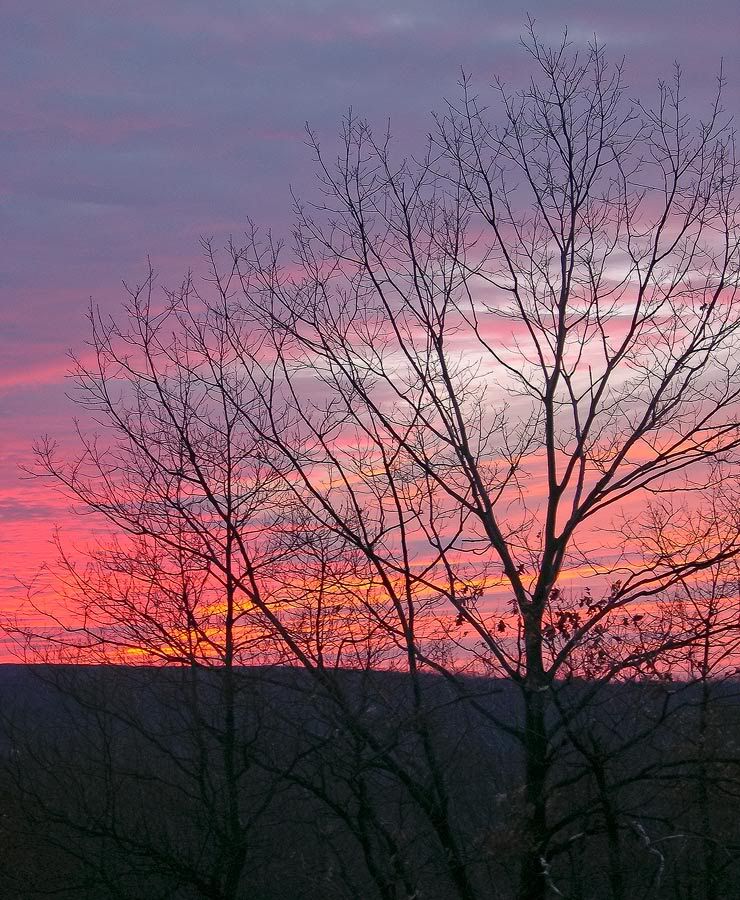
Lancaster Farm Sunset ( Fuji S2, Tokina 28-80 ATX f2.8)

In my previous article: The Bleak Times of Year , I attempted to discuss the difficulties of shooting landscapes in our Appalachian late fall season.

 I neglected to discuss another strategy to obtain interesting images (though I  did, I believe, post an example of this strategy as the article’s original header image).

As it fall drifts into winter, the air gets colder… and drier, as the atmosphere at lower temperatures cannot hold as much moisture as when it is warmer. 

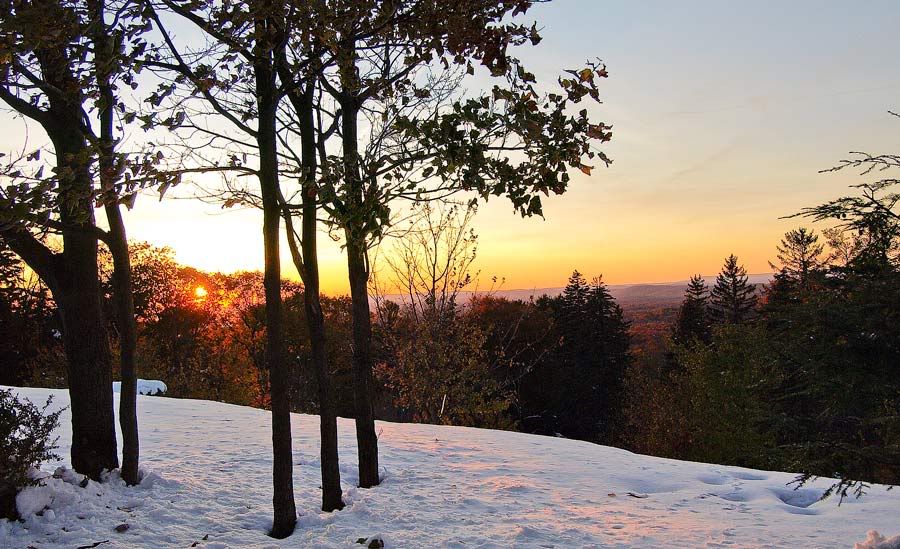
The “crisp fall air” has a striking effect at dawn at dusk, producing colorful, vivid sunrises and sunsets. Given the shorter daylight hours, they tend to occur at times more convenient for us sometimes lazy photographers . Add ice, or fall snow, and the effect is even more striking.

Late October Sunset, Glen Summit ( Olympus E-520, Zuiko 14-42mm f3.5)

 I t goes without saying that you need to steady the camera in the kind of low light situations presented at the very beginning, and end of the day. Tripods are the usual answer, but I have used diverse solutions.

One morning on the Monday of after American Thanksgiving  I sat in my tree stand in the crisp pre-dawn stillness, waiting for the sun to rise and hopefully, a trophy buck to wander within rifle range. It was very cold that morning, and I remember hoping that the small amount of coffee in my thermos would be enough to keep me warm until the our break at lunch.

There are many different kinds of trophies however: I watched as the skies slowly brightened over a nearby ridge: the clear air and complex cloud patterns conspired to create a spectacular display that caused even the most ardent hunters in our group to lose focus on the task at hand, and gaze at the sky. 

In those days good gear took up a lot of space in my backpack. I had only a very modest Nikon point-and shoot camera with me which I sat on the top rail of my hunting stand,  and released the shutter with the self timer, to avoid camera shake.

Hunters Sunrise (Nikon Coolpix 4300)

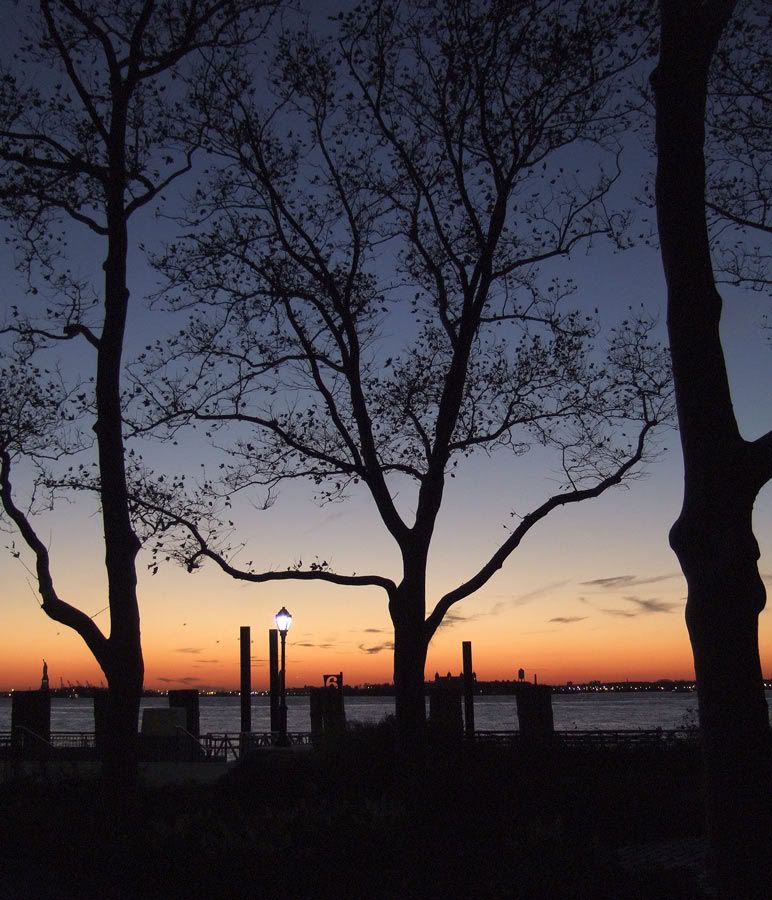
Shooting horizon and sky in the low light period between day and night, you need to focus carefully, mindful of the fine filigree of leafless branches often silhouetted against the sky. You need to keep the ISOs low to avoid noise in the shadows.

November Evening, New York Harbor ( Fuji F-10)

This gives you something to do for the short run.

Soon the holiday decorations will be put out, the winter snow will fall, and the world will become visually interesting again.

Until then, if the earth’s scenery is dull and lifeless, shoot the sky.

The Bleak Times of Year


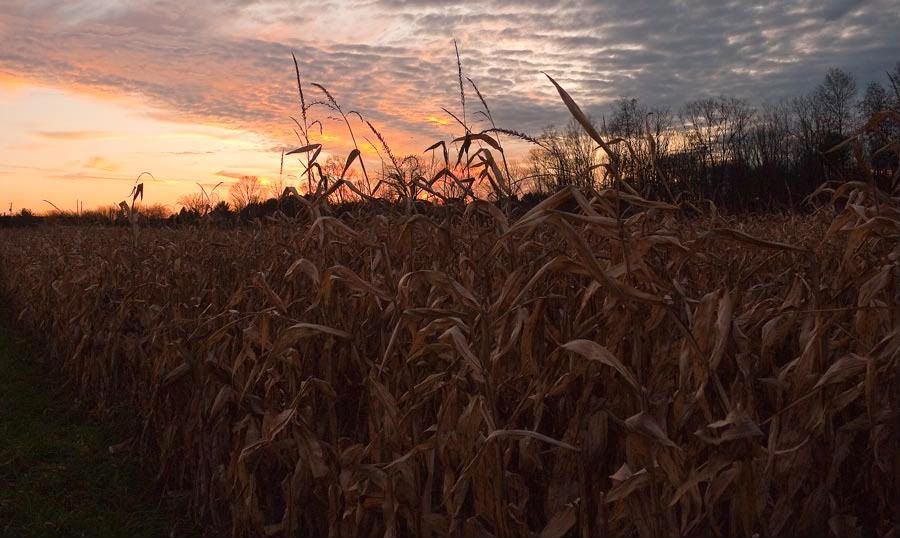
November Evening Corn ( Panasonic G1, Lumix 14-45mm f3.5)


The leaves have mostly fallen. The forests, viewed from afar now reflect the grey of  tree bark, the light tan of beech leaves, which will stay on the trees till spring, and dull brown of spent foliage on the forest floor. 

At first glance, late fall in the Northeastern U.S. offer slim pickings for landscape photography.

After the blazing colors of mid fall, which occur in mid-October in the mountains of eastern Pennsylvania, Late October, and November can be an imaging challenge.  I’m the photographer for a calendar we publish every year. Shooting November’s image is a definitely feels more difficult than for other months (except perhaps March, and August).

The transition from autumn splendor to the dull scenery of late fall can occur fairly quickly. One good windy storm after “peak leaves” occur, and suddenly the colorful forest canopy is gone.  What had been a “target rich” photographic environment can vanish overnight.

Early Sunset, Jamison City Road (Fuji S5, Nikkor 16-85 VR f3.5)

 Still and all in some ways, I like the late season.  You need to be observant to be successful. You can’t always rely on the cheap thrill of iridescent sugar maples and crimson oaks.  No more cheerful outdoor scenes with people happily playing touch football, because in November, it’s getting cold, and the people are all inside watching football. To be effective and compelling, late fall photography needs to focus on subtle things.

Contrast is a wonderful theme for this season. If you look hard enough (and know where to look) there will always be residual color, even into the early winter.

First, in cool dry air of fall, sunsets become more spectacular even as the foliage fades.

 In our area, some maples and oaks delay their fall color, and hold their leaves until later in the year. Tamaracks can have brilliant yellows late in the year.  Shrubs such as Blueberry and Hawthorne retain their brilliant reds long after the main foliage has disappeared. One strategy is to find these stragglers, and feature their beauty in a way that juxtaposes it against the dull post-foliage background. Longer focal lengths and wider apertures can be useful to help isolate these small remaining patches of interest, and blur the background.

Hawthorne in the Sand Springs Valley (Fuji S5, Nikkor 16-85VR f3.5)

It’s helpful if your images depict a seasonal tradition, and hopefully for the audience, a pleasant memory. Scenes involving holidays are an obvious possibility.

November Snow in Glen Summit (Olympus E-510,Zuiko 11-22mm f2.8)

  In our part of Pennsylvania, hunting, particularly deer hunting, is a deep-seated passion, and for many evokes strong memories of fellowship and traditions enjoyed in late autumn. I often rove the on the day before “buck season” to scout for interesting scenes among the hunting towns in the “Endless Mountains” region to the north of my home.

Hunting Cabin at Red Rock (Nikon D2x, Tokina 28-80mm f2.8)

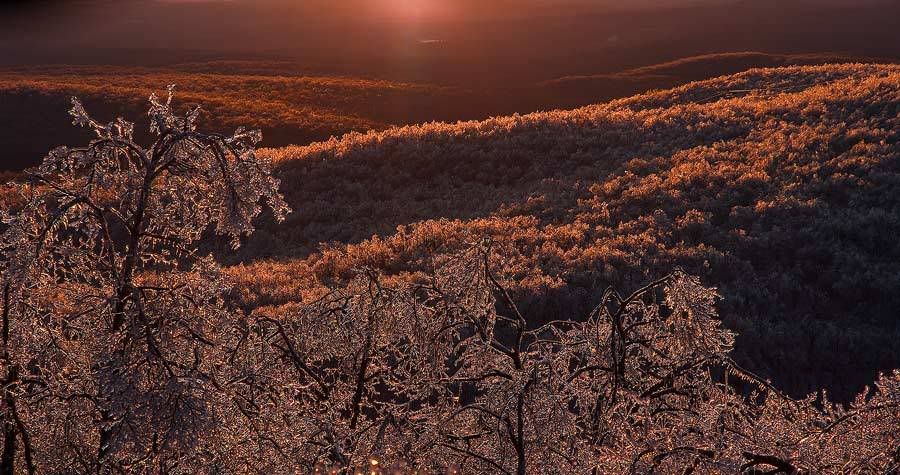
 Another opportunity involves the transition between seasons, and the scenes at the cusp can be worth recording. The first frost, a late fall dusting of snow,  the first freeze up of a forest pond, or an unexpected ice storm, offer opportunities to the alert photographer.

Ice Storm on Penobscot (Fuji S5, 16-85mm f3.5)

As always, good landscape images should tell a story, in this case of a natural world that is “battening down” to endure the cold months to come.

I believe, that the care and imagination one needs to find beauty in relatively bleak periods during the year, can make us cleverer photographers when seasons cooperate.

Fog


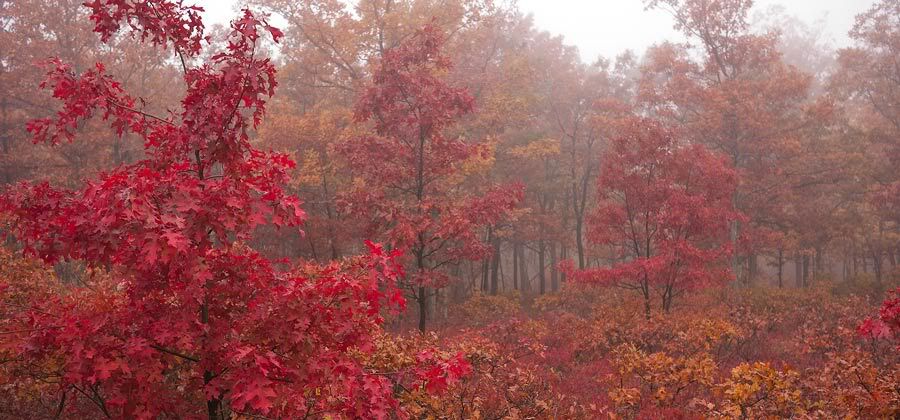
Red and Orange (Panasonic GH1, Lumix 20mm f 1.7)


On a day off, especially if I am awakening in the morning during a photogenic season, or in a scenic place, I have to make a decision.

Do I get up, grab my photo gear and go out early, or do I “sleep in”. This is a decision that I usually make based on the weather.

If it’s cloudy, I stay in bed, knowing that the same shooting conditions that I would encounter at 6 AM will exist at 11. I can sleep a bit, have breakfast and coffee, and still get good light.

If it’s clear, I think about it. You have to get up very early, arguably before sunrise, to catch the very best light. If I can look out the window and can already see that it’s clear, I probably already missed the best shooting. Have to wait until sunset.

If it’s foggy however, particularly if there’s no rain, I’m up instantly. For fogs, or mists, in many ways and in their many forms provide a wonderful backdrop for landscape photography.

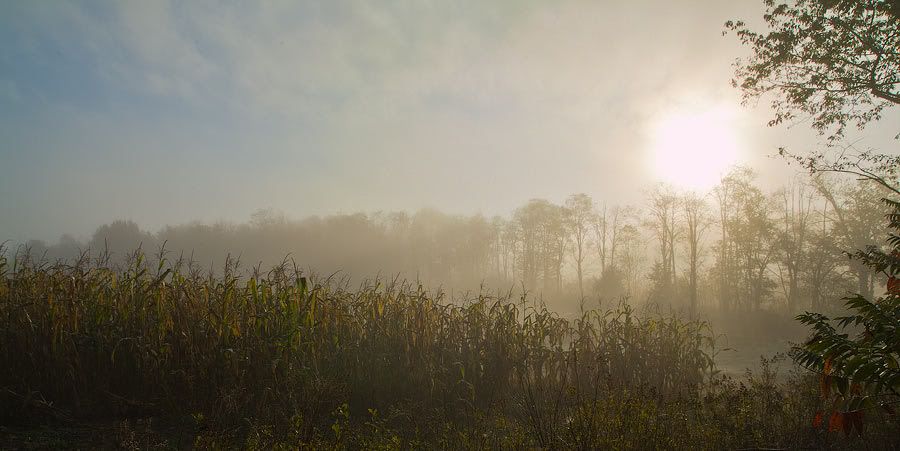
Sunrise and Corn ( Fuji S3, Tamron 17-50 f2.8)

Landscape photographers need to try to understand the weather. It’s helpful to anticipate the atmosphere’s behavior in order to be present for the best shooting conditions. I’m not a meteorologist, but I know a few things:

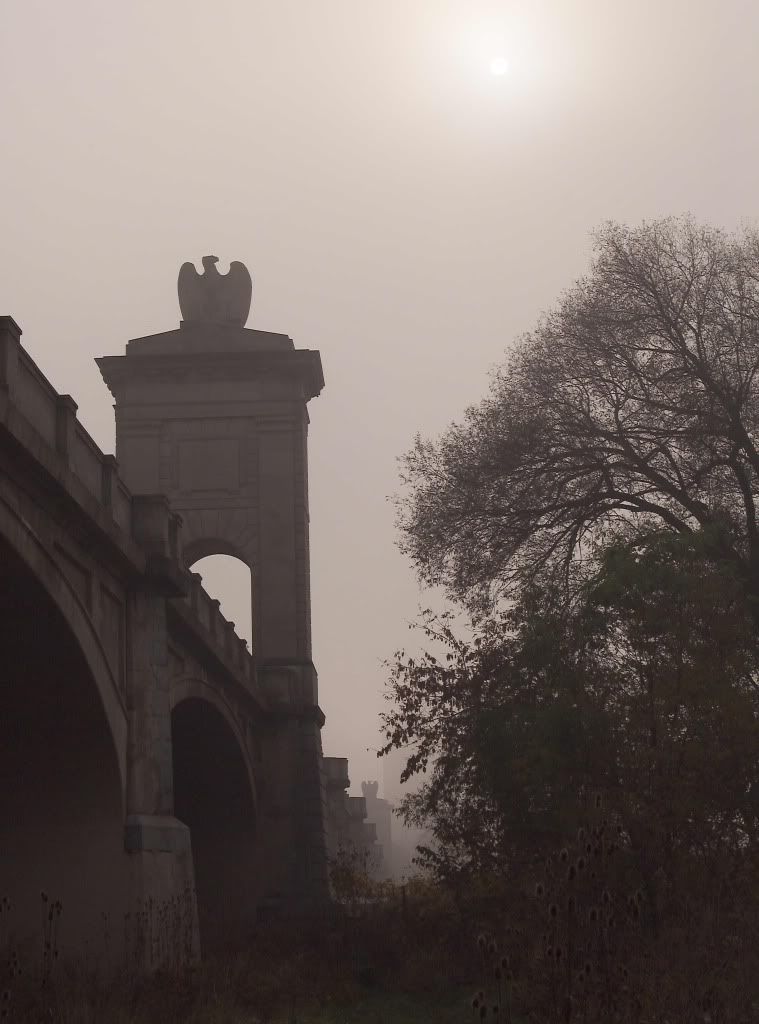
I know that in the fall of the year, when a cold front passes after a period of warmth, fog will form in valleys, particularly in river valleys, while the surrounding ridges will be clear. The amount of fog will depend on the “dew point” of the atmosphere.

Market Street Bridge, Fall Morning (Fuji S2, Nikkor 18-35mm f3.5)

I know that a similar phenomenon occurs anytime cool moist air passes over warmer surfaces.

I know that it is not unlikely to have fog, when there is an ice storm in the winter.

I know that fog will occur at times I cannot predict.

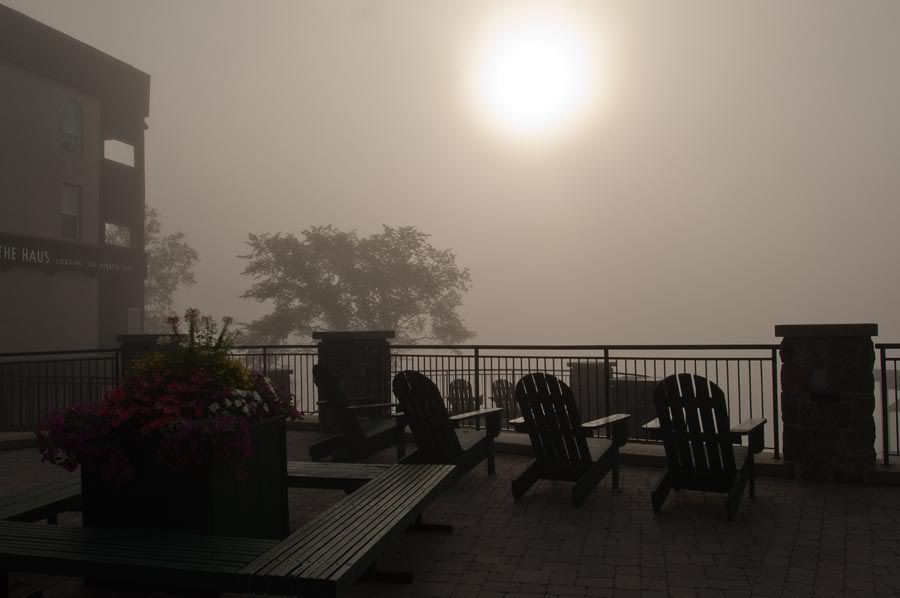
Fog is like free bokeh (see definition here) provided by the atmosphere. When it is thin, it blurs and deemphasizes the background detail, focusing one’s attention on the subject.

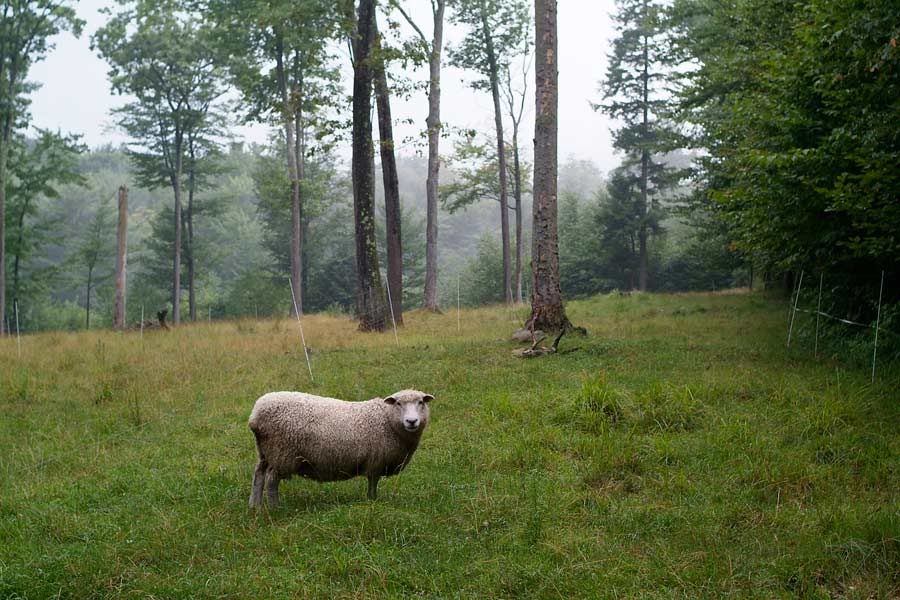
Betty the Sheep (Fuji S3, Nikkor 18-35mm)

When it is thick, it can transform the commonplace into the abstract. It can change a pedestrian scene, into a more magical vision.

Lake Placid, Foggy Morning (Nikon D2x, Nikkor 17-35mm f 2.8)

It helps to have equipment that is relatively moisture resistant. Don’t underestimate the pernicious effect  of water vapor on electronics. Don’t bring warm cameras out into cool moist environments. If you do, water will condense onto the electronics, and lenses will fog. At the least, it helps to have a lens cloth available.  

Better yet, let the equipment equalize to the ambient temperature (I usually leave my gear overnight in a place where that can happen). Typically then, there will be few issues.

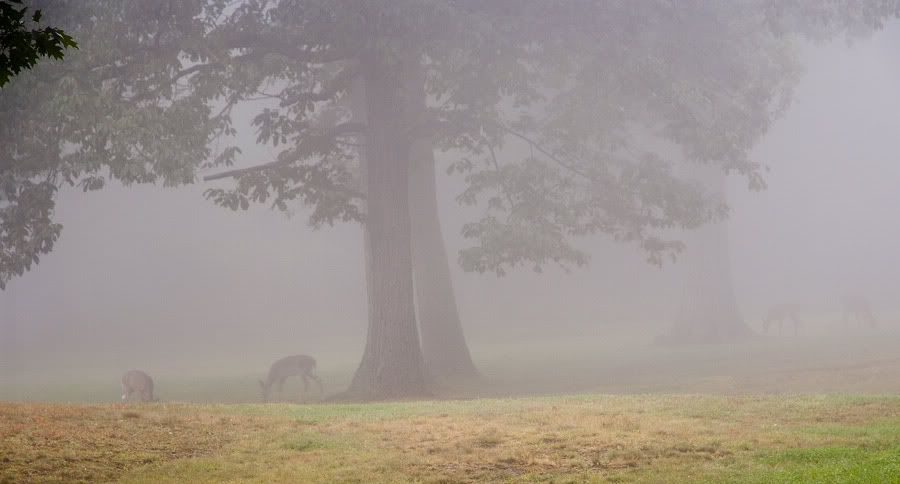
Deer in Fog (Panasonic G1, Lumix 14-45mm)

Every once in a while, Mother Nature helps us with our craft.

Take advantage of it.

October 18, 2010

Alright , I admit it. I screwed up A number of our readers pointed out that the real danger of condensation on camera lenses, and in camera bodies occurs when cold equipment is brought into warm environments. Bang, you got me. In my own defense however, I would say that I was trying to warn my gentle readers about the perils of using electronic equipment, in ultra-humid environments.

I am greatful that people are paying attention.

 I hope you’ll continue.

Weekend at the “Glen”


Ford Lola Can Am   Nikon D2x, Nikkor 70 200mm f2.8

I’m not one for crowds.

I generally despise waiting in line, long walks from the parking lot, long waits to use the “facilities” and the other indignities of being “in the crowd” at large sporting events.

Usually, you can view the proceedings, just as well if not better, on television; all the while sitting in your comfy chair, just steps from a refrigerator and bathroom.

One event I do enjoy attending however, occurred last weekend in the Finger Lakes region of New York.

   I’m referring to the Vintage Car races at Watkins Glen International raceway, situated on the hills overlooking beautiful Lake Seneca.

   The drive, from my home in Pennsylvania is beautiful. There are early signs of fall in mid September that accentuate the gorgeous Finger Lakes scenery.

On the Way (Panasonic GH1, Lumix 14-45mm f3.5-5)


  This is a neat event. It’s run by the Sports Car Club of America, which means that the beer-swilling redneck NASCAR fans are replaced with beer, wine, and scotch-swilling masochistic amateur mechanics.
   These tend to be happy people, with perpetually sunny outlooks that delude them into thinking that it is actually possible to keep old British, Italian,  and even French cars, not only running, but running well enough to actually race. These are people who believe that the notoriously unreliable Lucas and Marelli electrical systems of their vehicles can actually be made to function properly. They tend to be hardy and upbeat and very hard to discourage. They dream of the day when the windshield wipers on their Austin Healey actually function at the same time the headlights are on…and actually in the rain.

MGs on the Track (Nikon D2x, Nikkor 70-200mm f2.8)

   The weekend- long event feature a broad range of race cars, from ultra high performance Formula One and Can Am cars that scream around the track, to Bugeye Sprites and MGA’s that seem barely faster than a good garden tractor.

There can be some aggressive racing on this wonderful road course with good views from multiple locations.

Another attraction of the race is the accessibility of the pits to the fans. I suspect that a lot of the spectators are ex-participants; my group for instance included multiple former racers who seemed to know a lot of the current drivers. This leads to a clubby atmosphere. You can see a lot of interesting machinery in pit lane.

Toy Shop (Fuji S3, Nikkor 18-35 f3.5)

  People also bring their vintage cars for the car show that is held, and  afterwords, park them next to their camp sites.  Walking through the spectator areas, it is commonplace to stop and chat with a car owner about his 289 Cobra, or his lovingly restored, Daimlier Saloon.

   There are lots of interesting people, including Elliot, a fellow from Boston who with four other friends drove 5 very valuable cars: two hyper-expensive current exotics and three historic vehicles to the race.

Five Exotics ( Panasonic GH1, Lumix 14-45 f3.5-5)

They then parked them next to the track, and not only let people explore them…but encouraged it.
Elliot with Girl in Ferrari (Nikon D 700, Nikkor 17.0-35.0 mm f/2.8)

 Elliot, at one point in the evening, wanted me to appreciate the engine sound of his $250,000 Mercedes SLR. He insisted I start the car (which was not, I suspect “broken in” yet) and rev it furiously to the redline. What a neat guy. I have to suspect that Elliot understood the good-hearted and knowledgeable nature of this crowd, and knew no harm would come to his property.
  At night the racing stops and one by one campfires dot the camping areas trackside. People seem to move from site to site. Traditionally there is a bonfire near turn 7 with a lot of inebriated people and loud music. About 11:30 things turn quiet.

Night at the Glen

Night at the Glen (Nikon D700, Nikkor 35mm f2.0)

   If you love cars, and like me came of age in the sixties and seventies, this event is a wonderful way to connect with our automotive past, to see vehicles either restored or in racing trim that you haven’t thought of, let alone seen, in years.

It’s an opportunity to meet some very nice folks with a deep knowledge of, and love for autos and racing.

People with the optimism to believe, that if it rains on the way home… the wipers might work.