The Lasr Snowfall? (Samsung Galaxy S8)
I am nothing if not a tightwad. I can’t help it. Nonetheless, after approximately 20 years in digital imaging, I have finally broken down and acquired my first specifically-designed photo editing computer display. This turns out to have been a really good idea, and one that was long overdue.
When I got started in computers back in the early 1990s, I bought what was for the time, a very nice computer desk, with a hutch and a matching printer stand. It was quite modern and stylish for the times. And just sufficient in size for a single CRT monitor. I have spent a lot of time at this desk. More important yet, it was the place my two graduate computer engineer kids learned their craft. I think I developed a slight sentimental attachment.
Over the years I went through a variety of computer displays. Cathode ray tubes, gave way to flat panels, which were certainly more space efficient. When I became interested in digital photography, the display quality became more critical, and I would seek out IPS (in plane switching) panel displays of good quality. This technology allows one to view at wider viewing angles without a significant change in the appearance of colors.
Dedicated photography monitors, such as those made by companies such as Eizo, were just prohibitively expensive. Plus, my little desk from the 90s limited my choices and prevented me from running dual monitors which would be very helpful both in photo editing, and for my work tasks.

Spring Flow on the Nescopeck (Fujifilm X100s)
My latest monitor was an 4/3 aspect ratio NEC panel circa 2008 that came highly recommended. In the last several months, I noticed during calibration that it was losing its luminance. Given that pretty much all available monitors are now wide-screen format, I was finally forced to bite the bullet and upgrade my situation.
Ultimately this led not only to new furniture, but to a significant redo of my home office/photo editing space. I got rid of the old standby, and obtained a large Hon desk for the work-space. I painted the walls a more neutral gray, and changed the carpeting in attempt to match. My desktop computer was already robust, so I merely needed a better display. I looked at a variety of panels recommended by various websites, specifically wide gamut panels that could display nearly 100% of the Adobe RGB color space.
For the uninitiated, there are multiple so-called “color spaces”. These refer to the different “languages”, a digital device uses to interpret color information. Most monitors can display all or part of the more familier narrow “gamut” sRGB color space. This is the “language” for instance, that your smartphone uses.
Photographers, particularly those that will print their work, will generally prefer to work in Adobe RGB, a broader color space. Better digital cameras can generally be set to capture this more vibrant “dialect”. Relatively few monitors however are capable of displaying this wider range of colors accurately.
There are some that do, most of which come in at a fairly high price point. I ultimately chose the Ben Q SW2700PT, a very well-reviewed full gamut display for roughly $550 (a comparable Eizo professional display costs $2900 US). Despite its reasonable cost, it performs in a way comparable to higher price products.
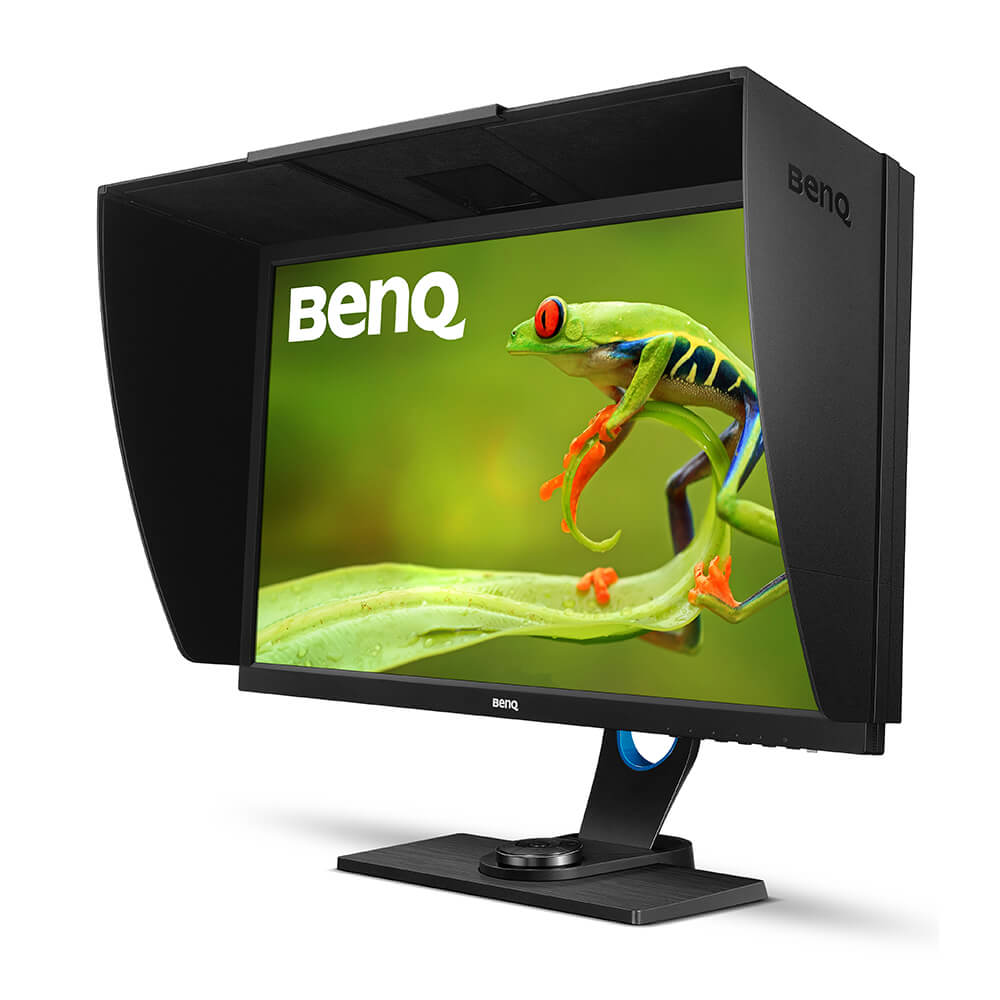
Image by BenQ
The display comes very carefully packed with its stand. Included in the box is a monitor hood, the mark of a serious piece of kit designed for critical photo editing. It includes a handy remote control with a sufficient cord either to sit on your desk or in its cubby, on the monitor stand.
It was easily assembled. For the time being I am partnering it with my NEC monitor which is still functional, but no will no longer be used for any serious photography work.
Please bear with me on the technology, for I am hardly an expert. For serious photographers there are multiple advantages to this monitor compared to a more generic display. First, as I understand it, each SW2700PT has its color profile carefully calibrated in the factory prior to its delivery. The individual monitor’s profile is included in the box.
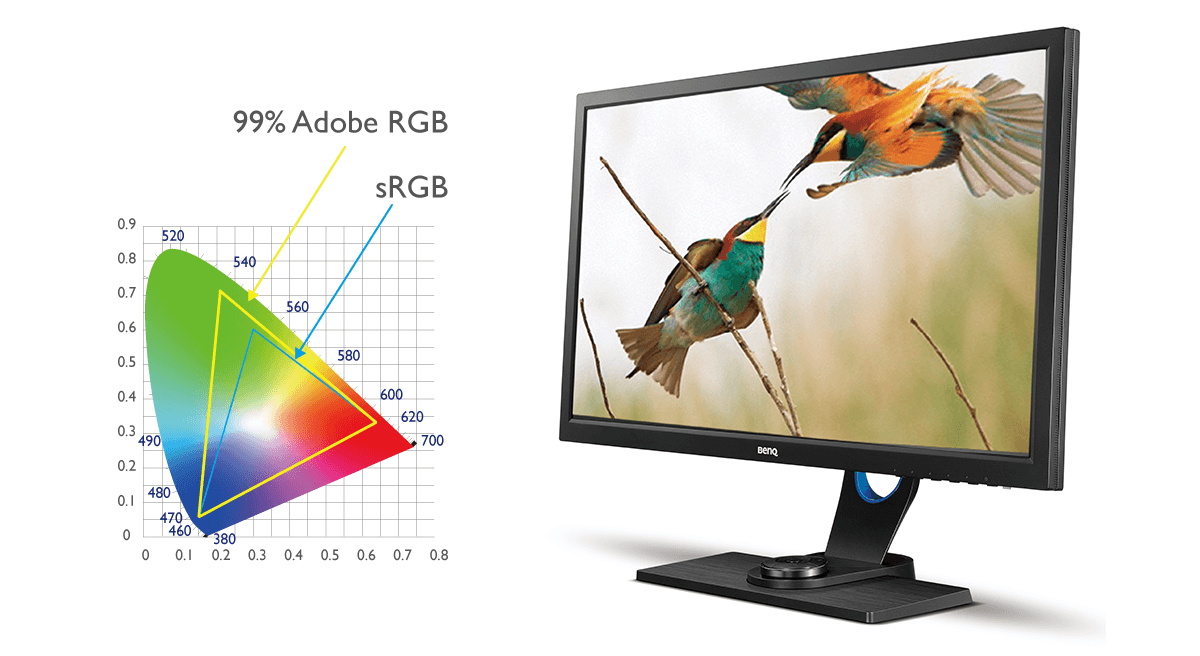
Color Space Comparison ( Image by BenQ)
Monitors used for photography need frequent calibration to known standards, using specialized on-screen sensors, and software. Once calibrated, the resultant “profile” is stored on the computer’s hard drive. This allows you to send files that will look the same on other calibrated devices (i.e. printers)
The SW2700PT has sufficient memory that it can retain the color profile within its own hardware, rather than requiring it to be stored on the computer’s hard drive. You can download BenQ’s own calibration software from their website, which used with your own color calibrator, will store profiles that are directly accessible to the monitor’s remote control. Using BenQ’s software makes re-calibrations much more straightforward then using aftermarket software which are generally designed to accommodate multiple types of displays.
If you have ever reviewed images on a dedicated professional photography or printing workstation, you know they tend to look dim. Most of the time we intuitively set our monitors to be brighter, and higher contrast, than actually is appropriate in a calibrated printing work flow.
Unfortunately, if you use your computer for both printing and casual use, you can end up viewing the online world in a less vibrant way. I put up with this for years. If I did brighten the screen, I had to remember to set it back to a more appropriate brightness/contrast levels prior to a print job. This was generally a guess, and resulted in a lot of wasted paper and ink. Until things were dialed in, my prints generally came out too dark.
This is where the remote control comes in. There are 4 buttons. One is used to access the display’s menus. The others access three color profiles: sRGB, Adobe RGB, and monochrome. More importantly, because everything resides within the monitor, you can also set a brightness/contrast setting for each.
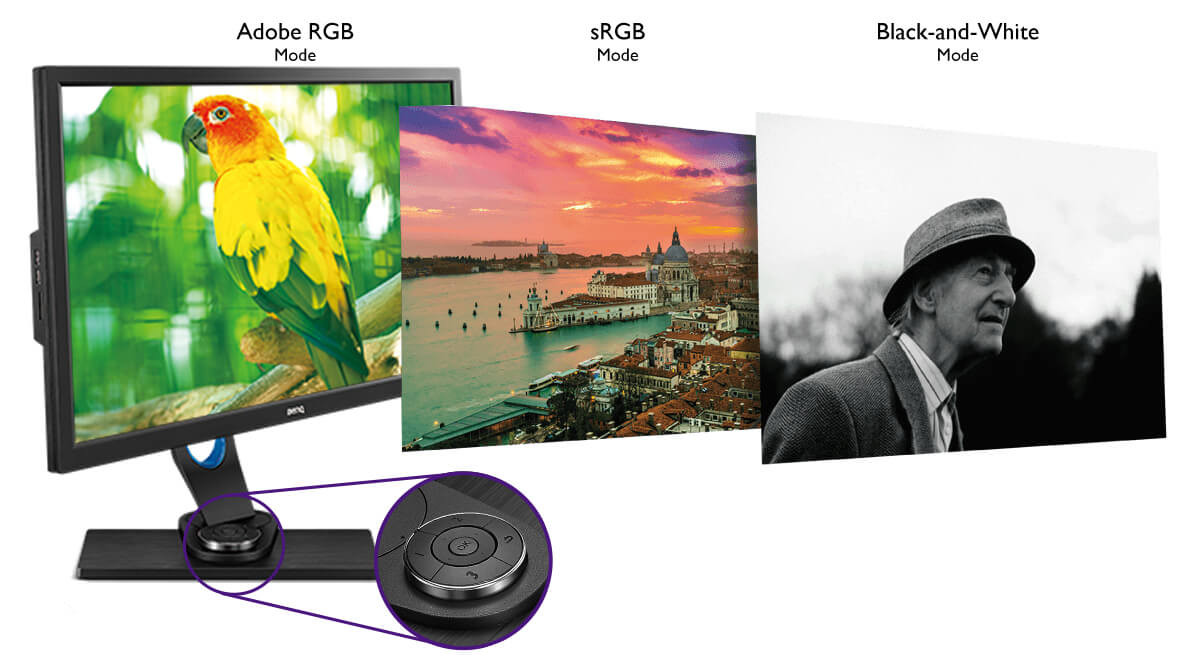
Color Space selection (Image by BenQ)
Thus, for normal web viewing, I naturally use sRGB, which I have set for a pleasantly bright viewing screen and color reproduction that aligns with the web. Switching to AdobeRGB dims things down to allow accurate photo editing and printing. It is interesting to me that although AdobeRGB images reviewed in photo editing software look really nice, web content is overly saturated and unnatural.
The appearance of the monitor in Adobe RGB is striking, and for the first time I was able to see onscreen, the full spectrum of color, and nuance that modern cameras imagers acquire. It also has a fairly high resolution at 2560 x 1440 (not quite 4K) which allows you to view impressive amounts of detail. This turns out to be not only important in photography (for accurate sharpening), but makes it much more pleasant to view text and waveforms, which is a part of my online medical work.
The monitor has a variety of other nice features including multiple inputs ( DVI-D, DisplayPort 1.2, HDMI and multiple USB ports). There is also an SD card reader.
I’ve been using the BenQ now for multiple months. This is a situation of “I had no idea what I’ve been missing”. As I scan between the new display and my old NEC monitor, there is no comparison in terms of color reproduction ( particularly in AdobeRGB), and resolution.
I note that there is a new version from BenQ, the PhotoVue SW271 featuring full 4K resolution for roughly $1100. I’m sure that this would be a striking display, but for me at least, I’m not sure the improvement would justify doubling the cost.
If you’re serious about your photography, particularly if you are printing your work, this monitor is well worth a look. If you’re coming from a more generic display, I think you will wonder how you did without it.