Posts tagged with: Pennsylvania photography

Chestnuts and Ash

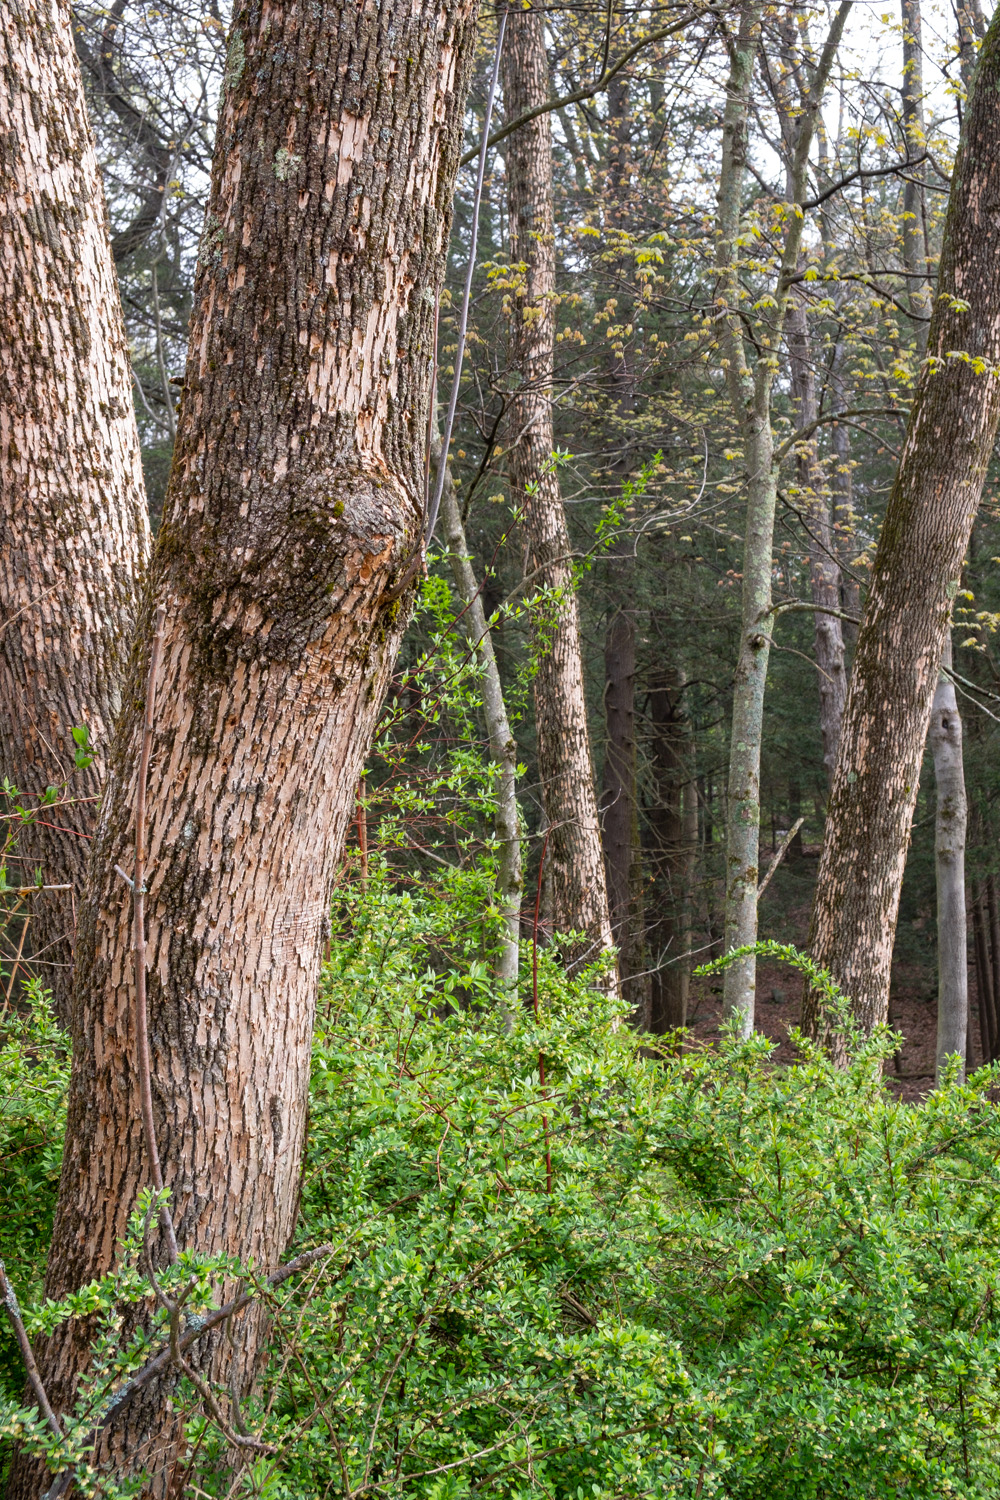
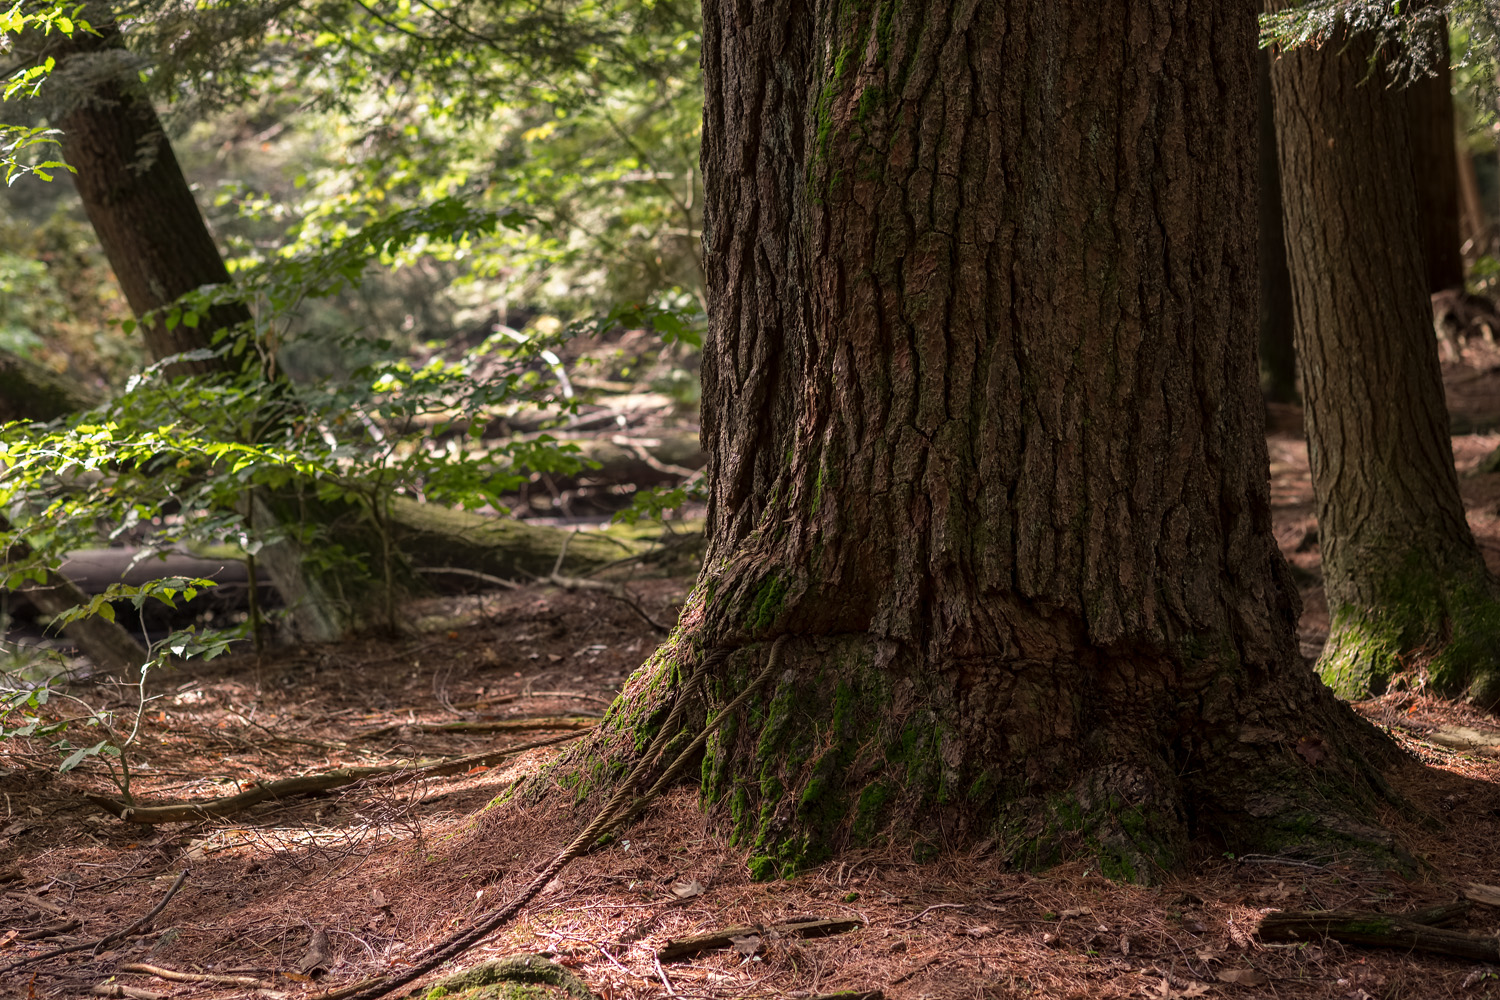
Dying ash trees
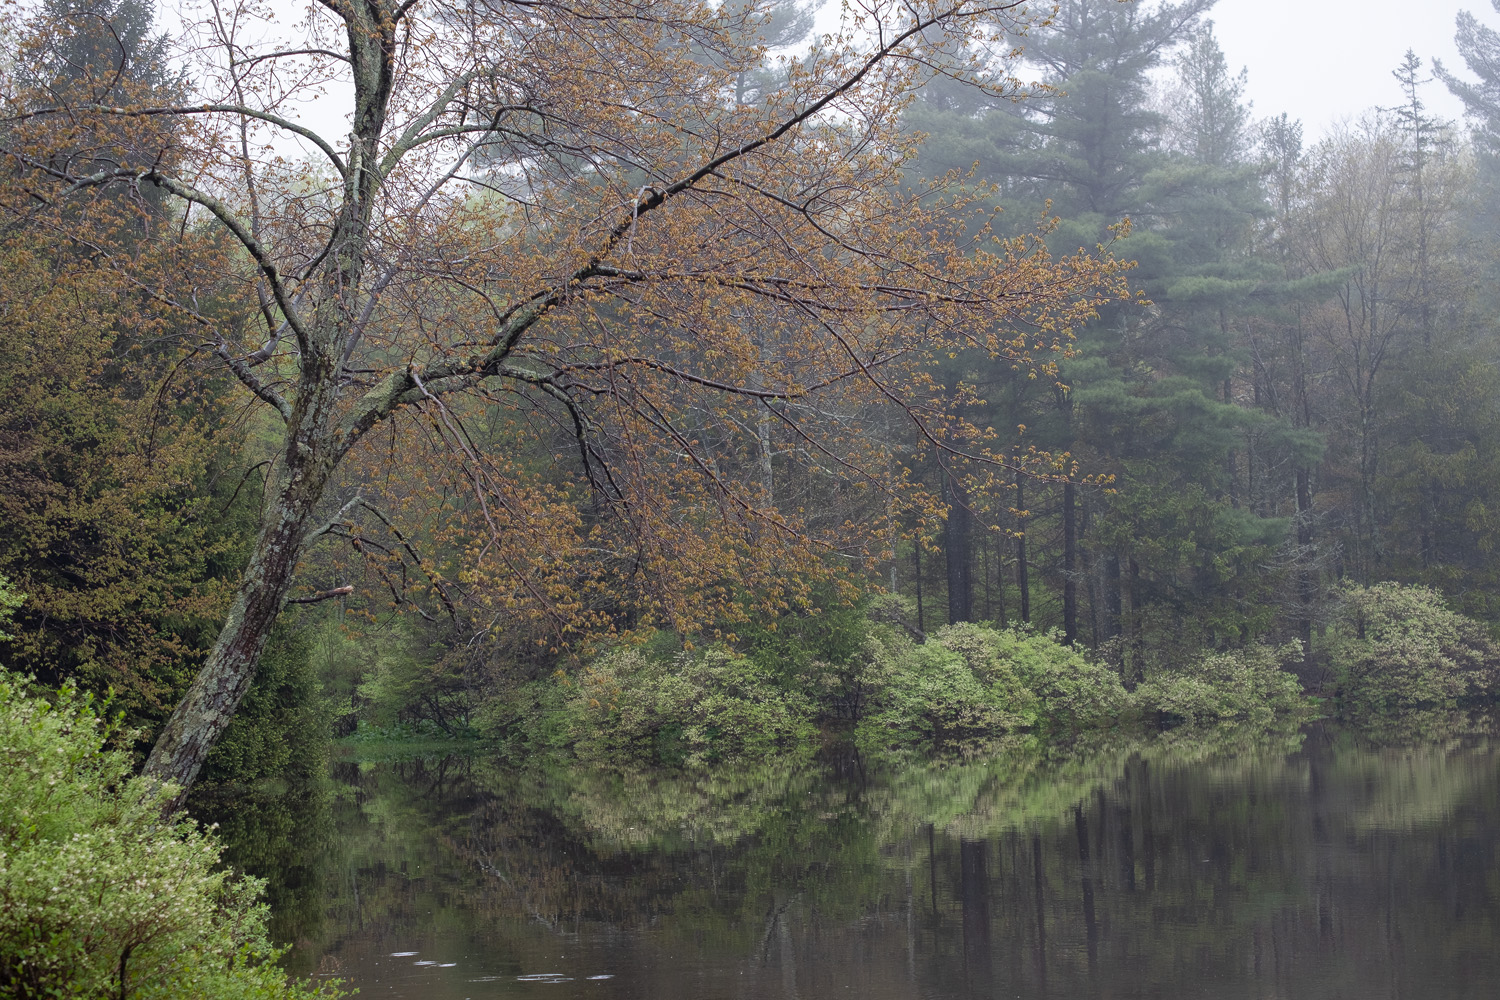
Dying Ash (Fujifilm X-E3, XF 18-55mm f2.8-4)

The forests in my neighborhood are dying.  Well not maybe the whole ecosystem, but sometimes it seems that in that at this time in history, there is an unprecedented onslaught against the eastern forest.

But it’s not true.  Such events have happened before. 

The American chestnut was arguably the most important tree species in the eastern forests of the 19th century.  It was a large tree, at full maturity as tall as 120 ft., with the base of some tree 5 to 6 feet in diameter.  Its wood was light, yet strong and rot proof; useful in many functions including railroad ties, and house framing.  Its yearly crop of mast or nuts were an important food source for multiple species, including our own.   

In the early years of the 20th century, a fungal pathogen known as the chestnut blight, arrived in the city of New York riding along on A shipment of Asian chestnut trees.  This blight quickly spread, and in 30 years, wiped out millions of chestnut trees throughout the east.  This extraordinary organism, many times serving as a node tree in what we know to be our interconnected forests, became virtually extinct.

If you walk along the trails around our community, you will periodically observe a cluster os sapling sized trunks interspersed with dead or dying snags. These will bear the distinctive serrated leaves of the American chestnut. There may be long strands of catkins in the spring, and a few nuts in the fall. These are the withered descendants of their once magnificent species. Each sapling will live a few years until they are girdled by the fungus, The roots, which are unaffected, will desperately send up more shoots. Thus they have existed for perhaps a century.

  A few mature trees still survive, either under the protection of humans in horticultural collections, or isolated in the backcountry.

  I have stood beside one such tree that exists deep in a draw on the west rim of Pennsylvania’s Grand Canyon.  There it has escaped, for now, the blight that has wiped out its relatives.  As I stood there alone, under its broad canopy, I was transfixed.

 There are currently efforts To revive the species using several techniques, including backcrossing the vulnerable Americans species with its resistant Asian cousins. Still, the loss of this magnificent species leaves me wistful in that I never was able to witness the beauty of the so-called chestnut-oak forest that was so much a part of our region.

Then there was Dutch elm disease, This was another Asian fungus that arrived by way of the Netherlands in the 1920s, and devastated our majestic American Elms. Some Elms still survive.

There certainly been other threats to forest members over the years. Our oak trees are constantly under attack by another Asian immigrant, the gypsy moth, which can cause multiple defoliations over time, killing even robustly healthy oak trees. We lost two magnificent roughly 150-year-old specimens several years ago due to an outbreak.

Our magnificent hemlocks, Pennsylvania’s state tree, is at risk due to the Hemlock Wooly Algedid, another imported pest.

Yet in both cases, the species are persevering.

Now over 100 years after the blight was introduced, we are once again faced with a similar situation.   

The ash tree is in a way, an unheralded species of tree common in Pennsylvania’s forests.  Its wood is light but strong, rather famously used to create the baseball bats used by major league baseball over the years.  Yet it’s an unassuming tree, without any flashy blooms, or plentiful fruits or nuts to remind us of its presence.

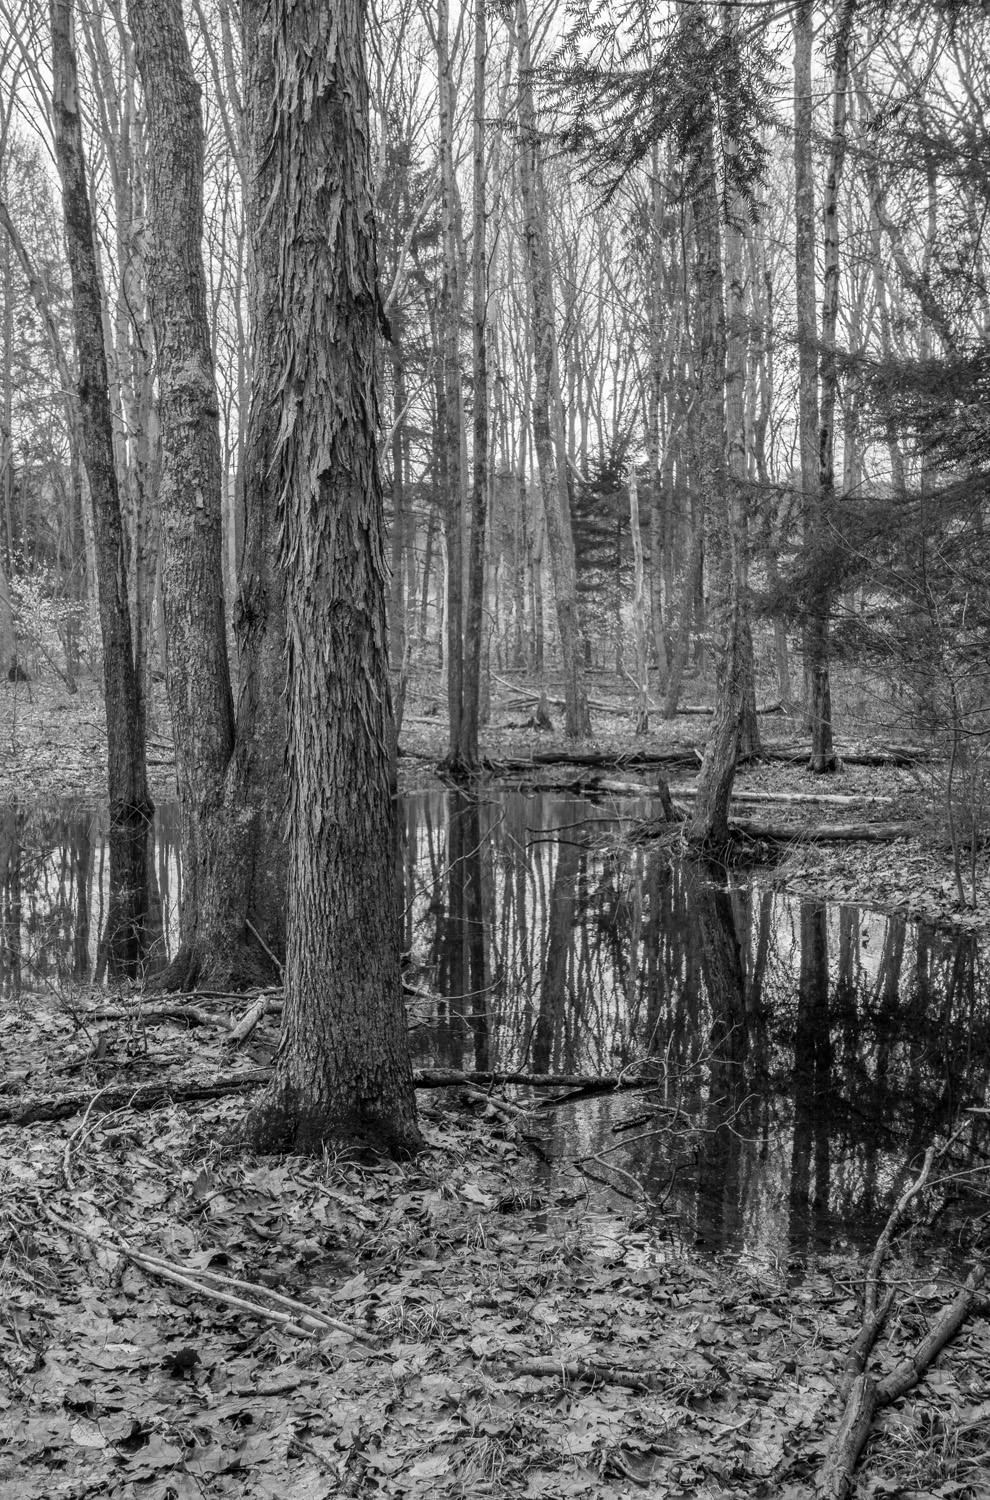
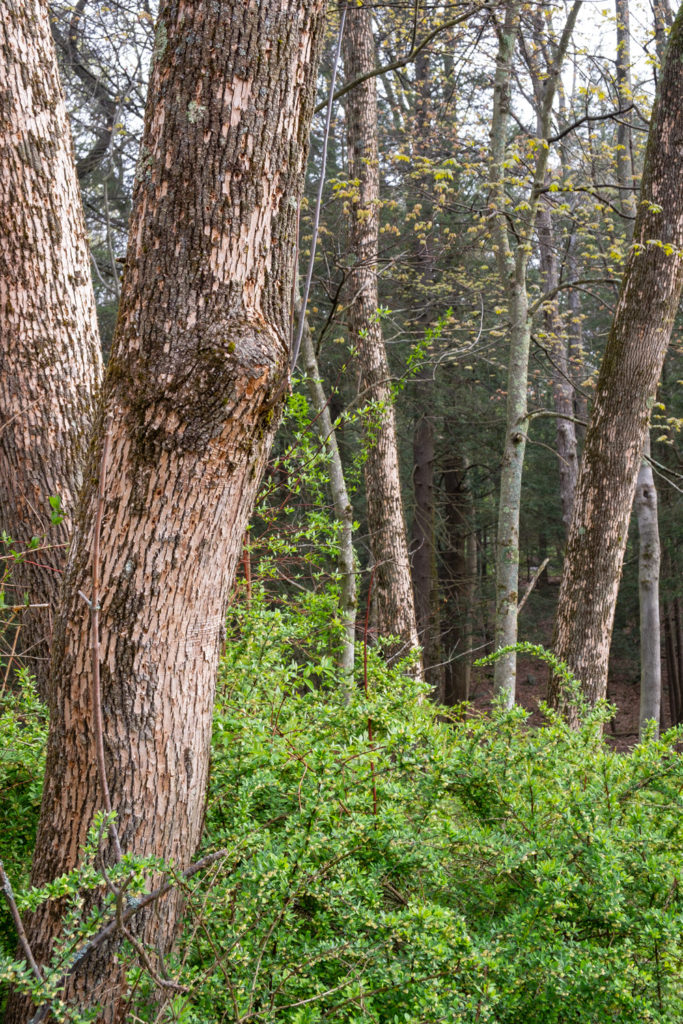
I fact I looked for images of ash trees in my archives. I found images of oak, maples and even spindly chestnuts. But none sadly, of the, now threatened tree.

Unfortunately, At least as a member of our forest community, It’s about to follow the chestnut tree into oblivion.

Again it is an Asian immigrant, this time an insect, The Emerald Ash Borer.  First found in the upper Midwest In the early two thousand, It is spread quickly Throughout the Eastern United States.  First noted in Pennsylvania and 2007. It spread quickly on the wing. It is virtually a 100% lethal, once it infests even healthy ash trees. 
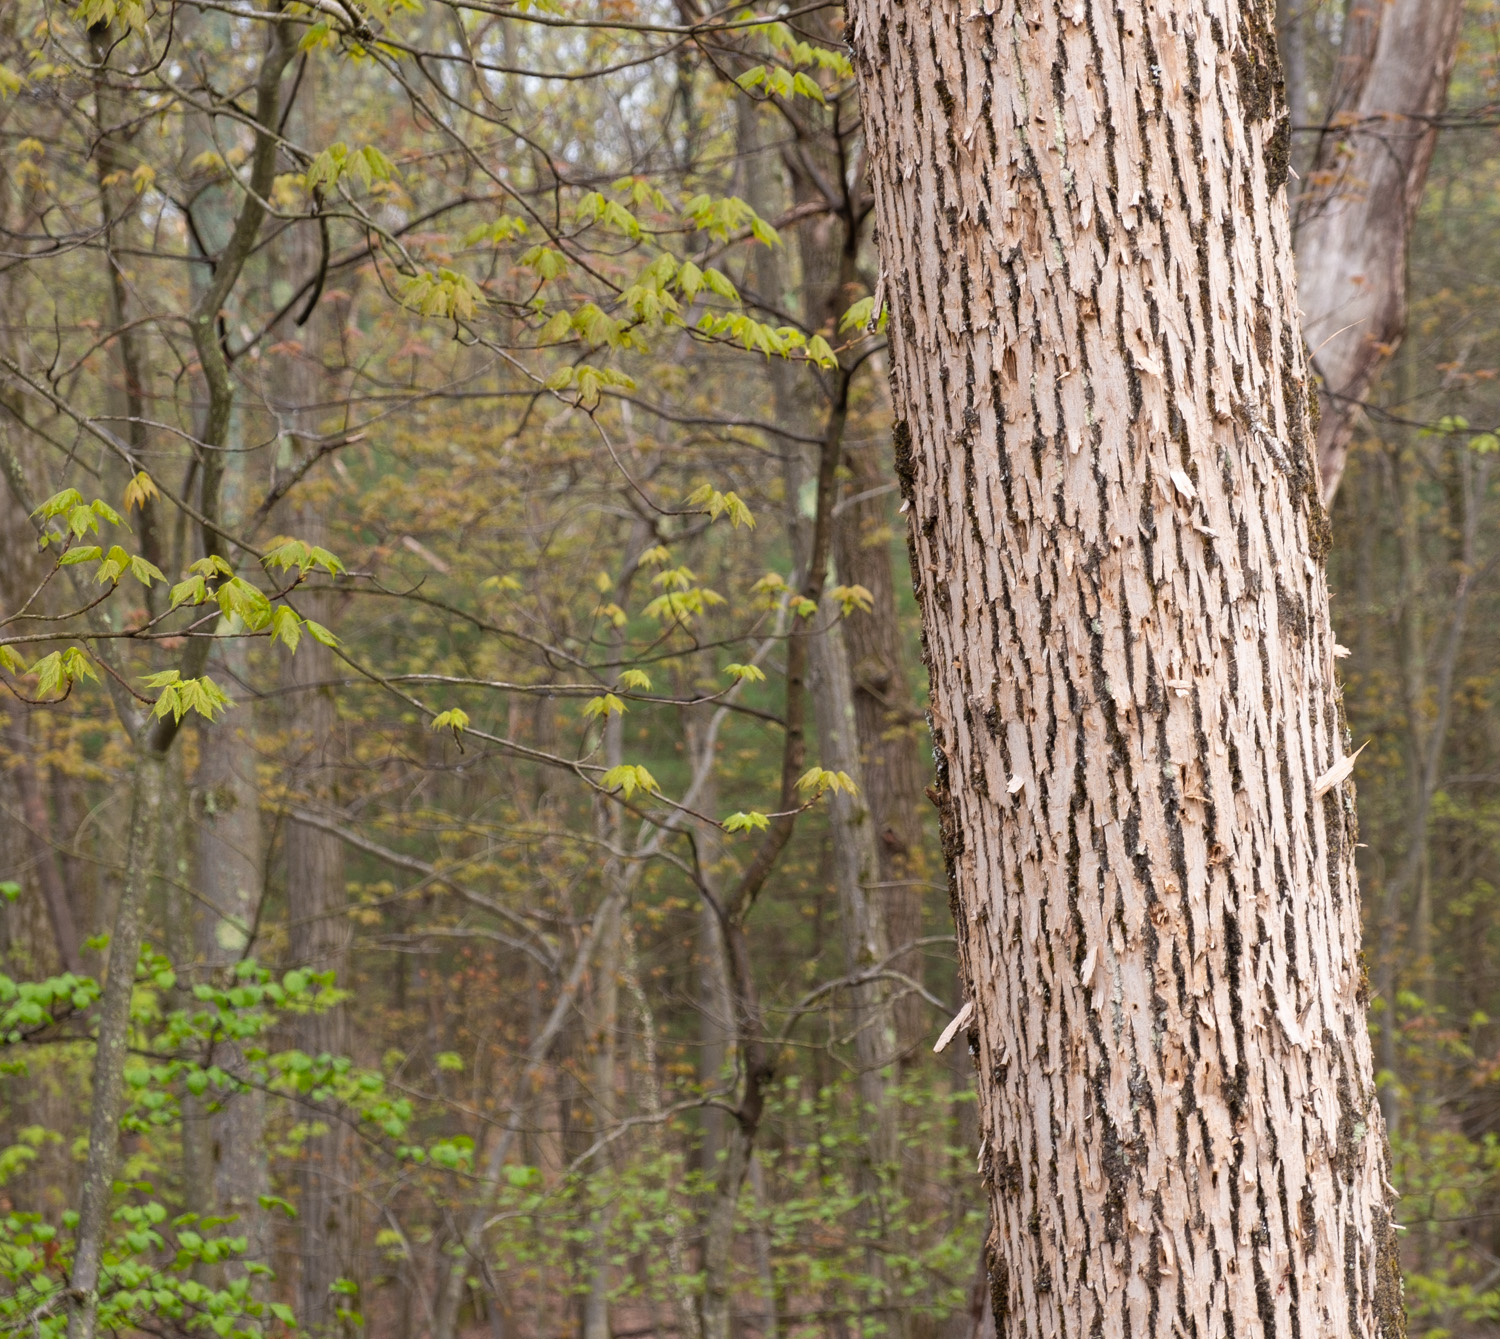
We began to notice the signs last summer. Along the dirt road that leads to my home, there are at least 50 Green ash trees many of them quite mature. Last September their bark began to deteriorate as though someone had taken a giant sander to them.  This is called “blonding”, and is caused by peeling off the bark.   Soon we could see the characteristic “D “shaped holes in the bark caused by the insects.

 This spring, none of them have foliage. In fact, I have yet to find  an ash tree that has any sign of life

It is possible to save individual trees. I have none on my property, but if I did, they could be injected every couple of years with a pesticide that will protect them from the parasite. It is expensive, and as I understand it would need to go on for the foreseeable future. Sadly, it is the only way and is obviously not practical for the trees of our woodlands.

Science tells us, that our forests are complex communities, with fungi interconnecting the trees of many species. Trees it turns out can use these networks to communicate chemically.  They can warn each other of danger such as an influx of parasites., They will even share carbon and other nutrients when necessary.  Thus the forest behaves as a family of organisms, working together.

With this newest onslaught that will likely wipe out a species, I wonder:

Do the Oaks mourn?  

The Gear that I use: Some thoughts on the Fujifilm XE3, and XF 23mm f2.0 WP

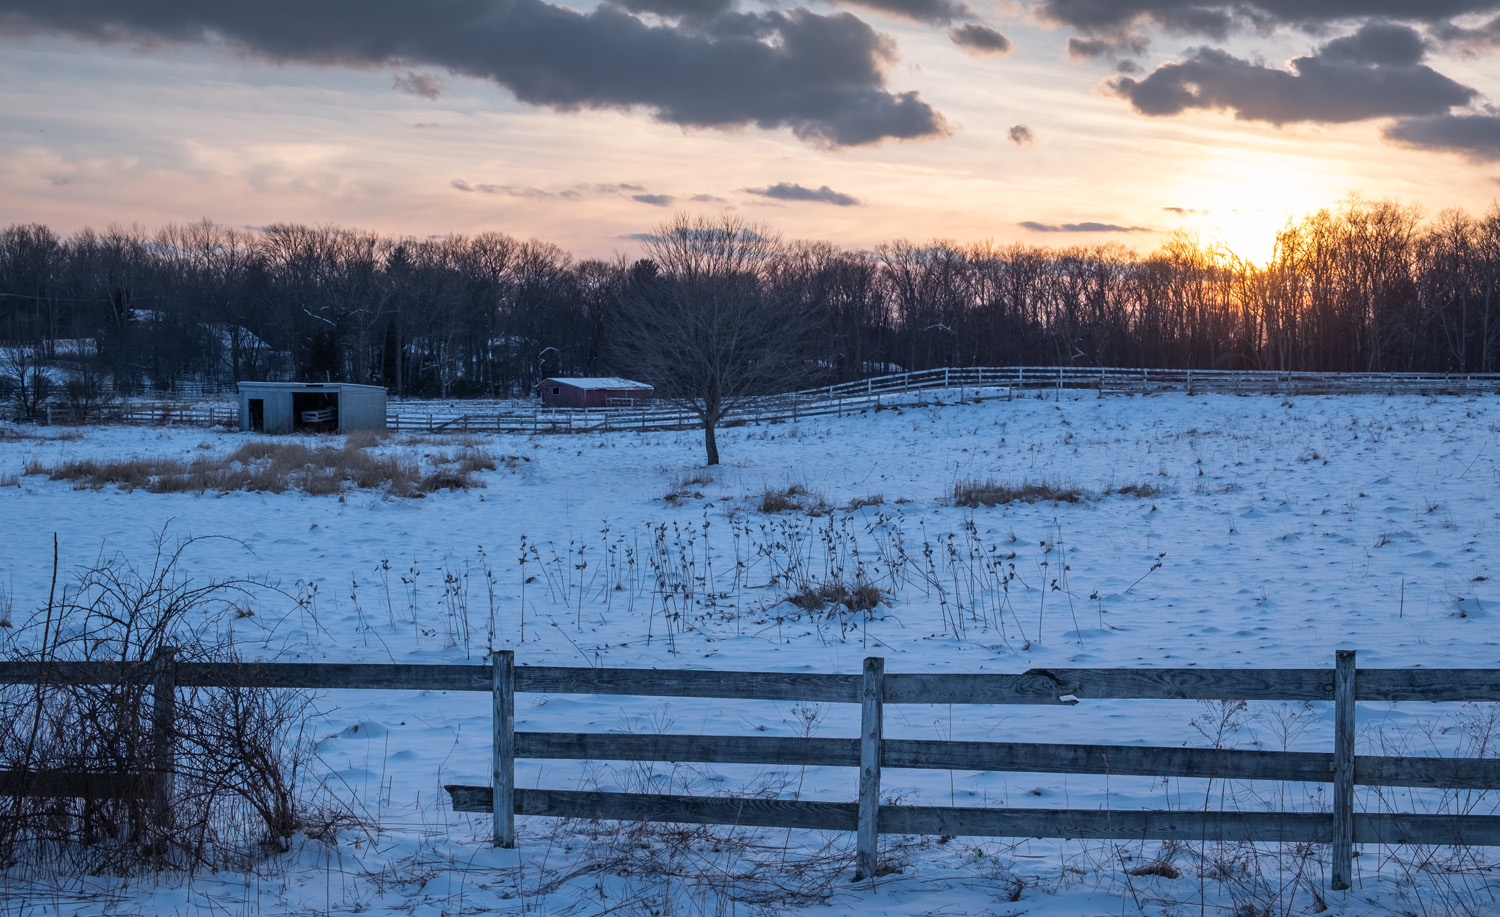
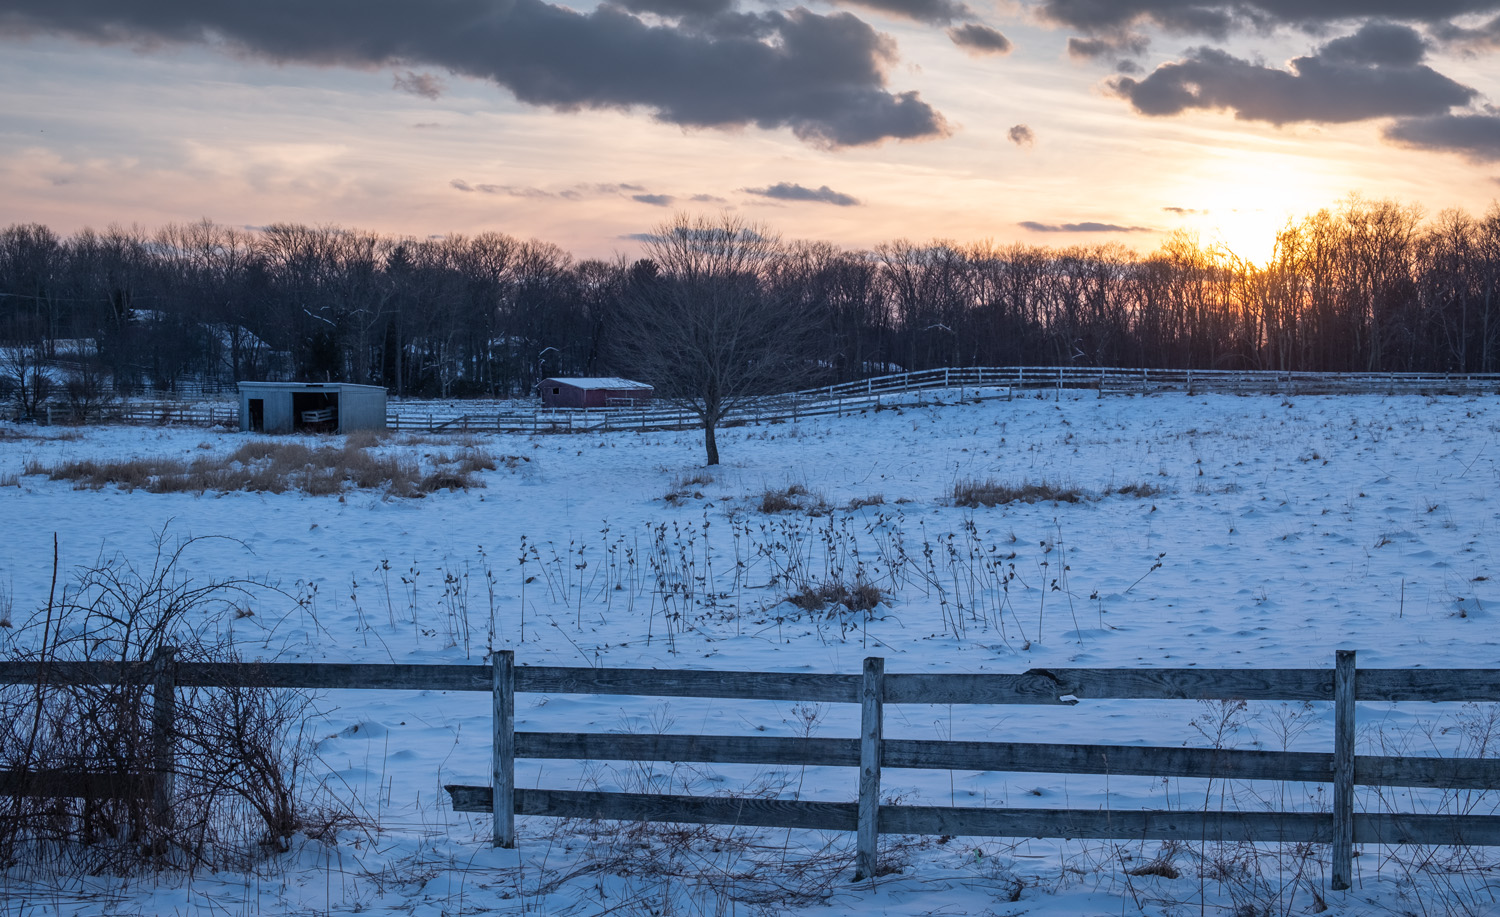
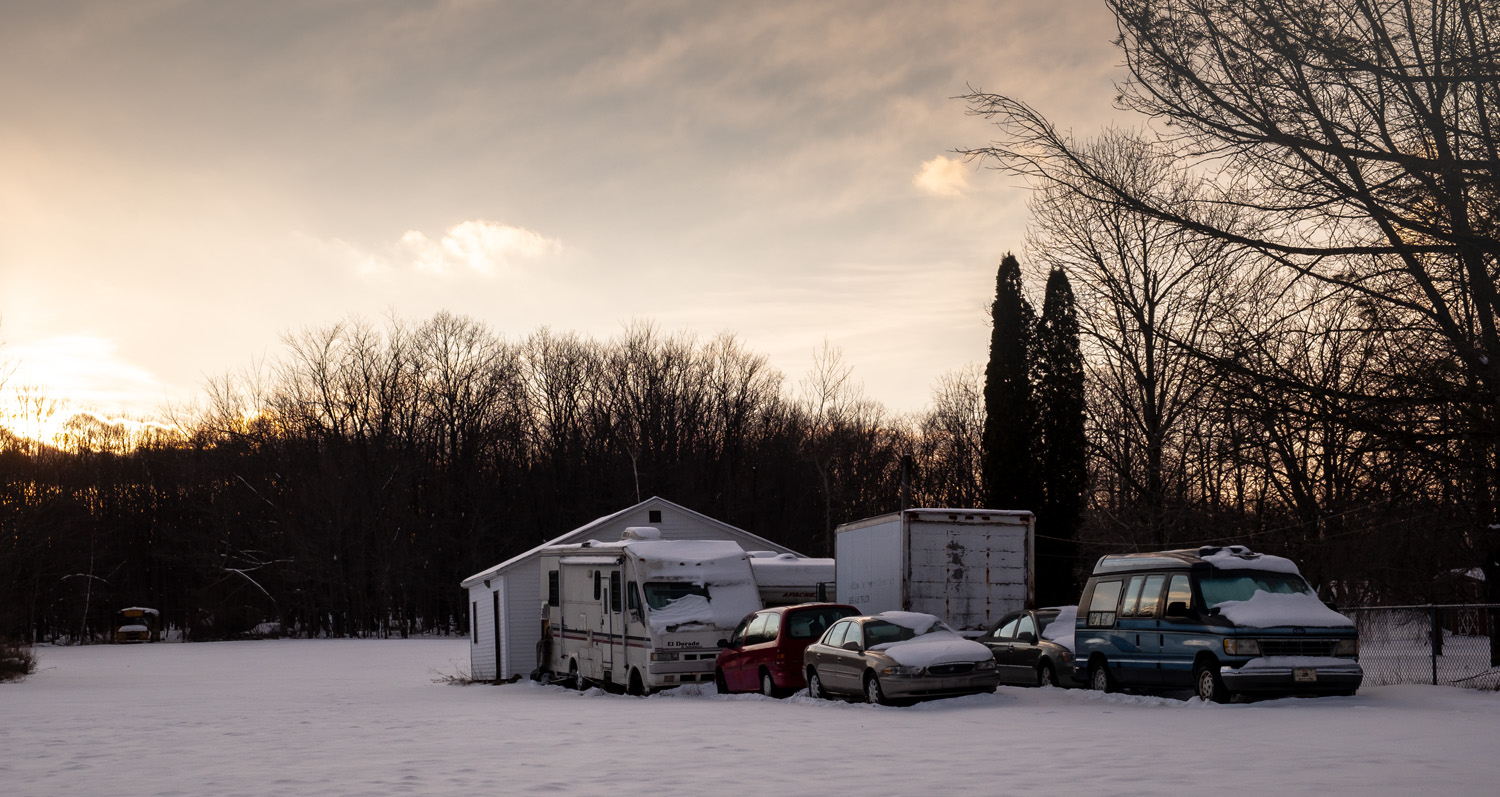
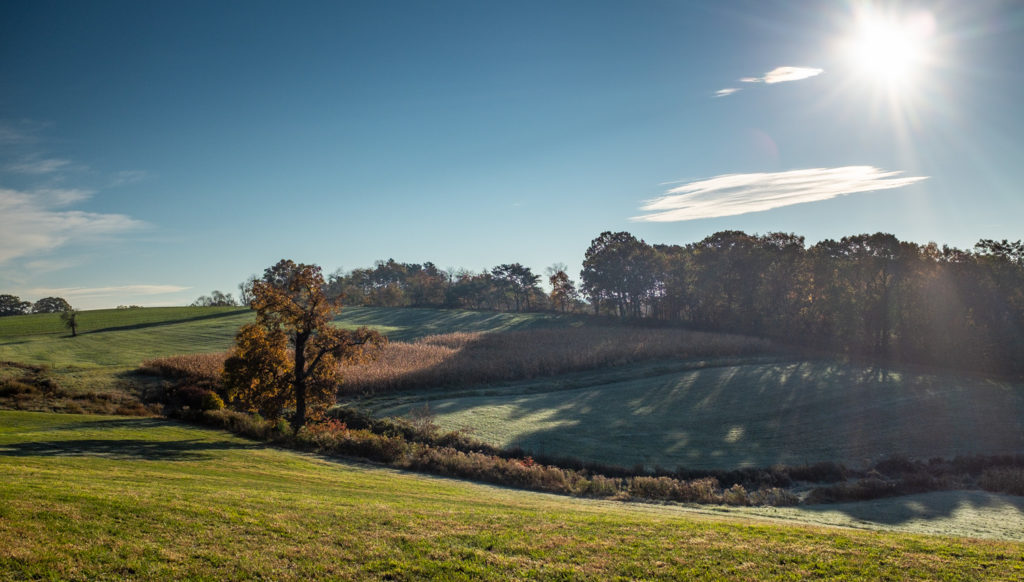
Farm on Alberdeen Road( Fujifilm XE3, XF 23mmf2.0)

The”late adopter” strikes again.

I had been interested in the Fujifilm XE3 since it was introduced in September of 2017. I already had 2 bodies with the same sensor and processor ( the X100F and the X Pro 2) and couldn’t justify the introductory price. So I bided my time.

Several months back, a deal was offered on the XE3 in this case bundled with the XF23mm f2.0 lens and I finally gave in.  The new camera was meant to replace my previous small bodied interchangeable lens camera, the X-T10 for one with the same image quality and controls which I have grown accustomed to on my other bodies.  I’ve been shooting enough now that I have some thoughts on where this camera and lens fit in, at least in my workflow.

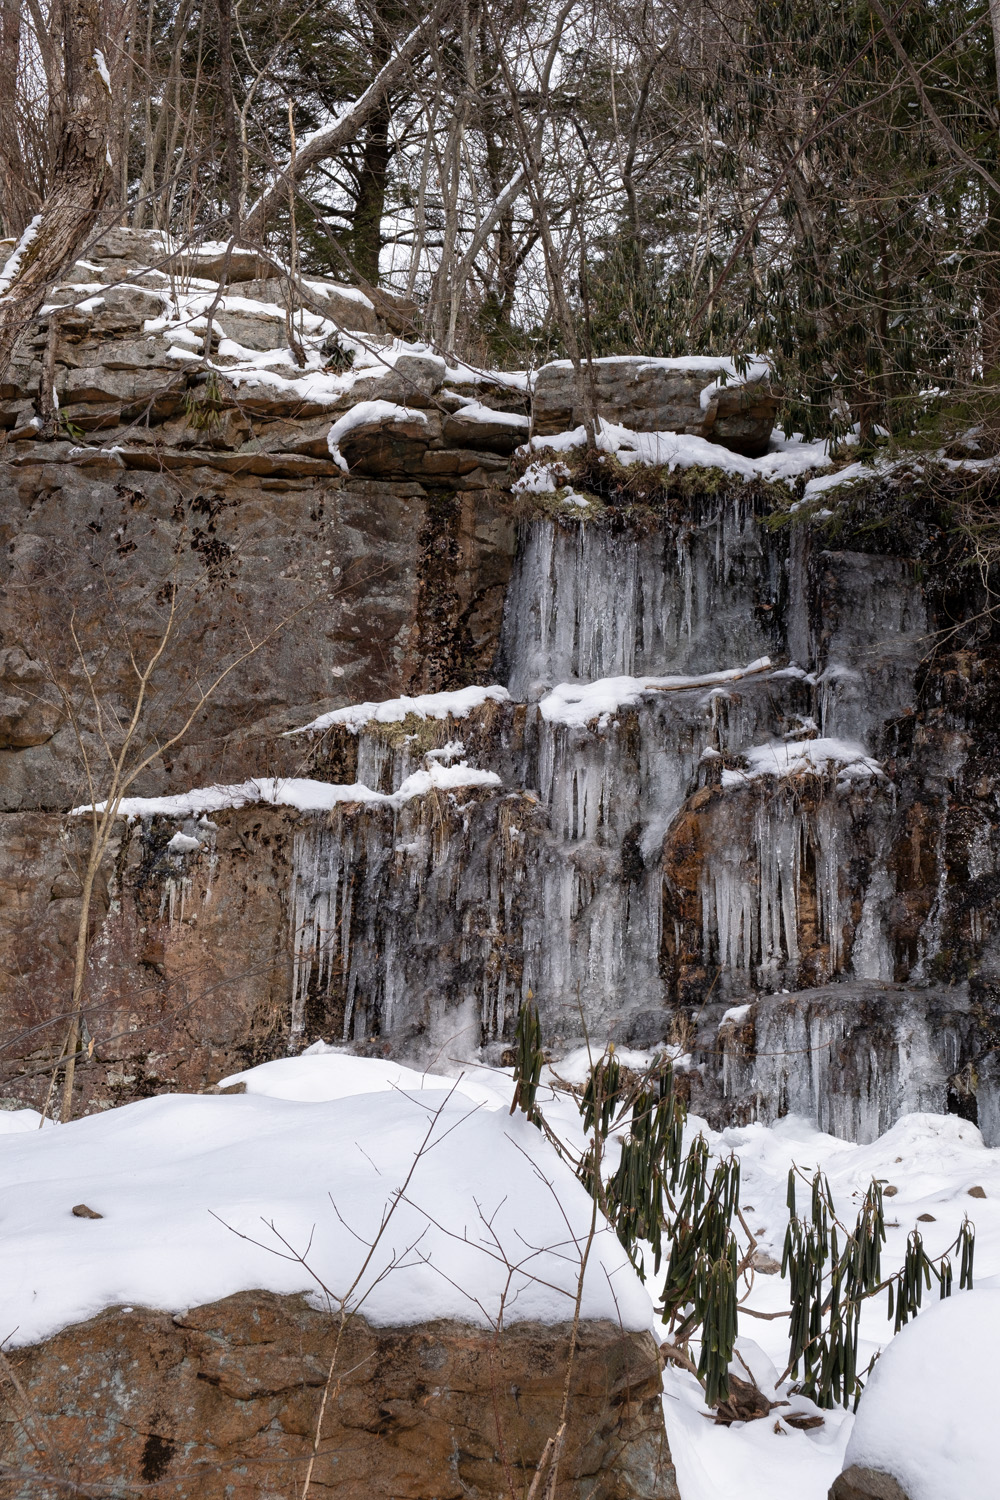
Ice Fall on the Orchard Trail (fujifilm XE3, XF 18-55mm f2.8)

This is not meant as a technical review , for this equipment has been out a long time, and there are many in- depth evaluations available elsewhere.  This piece, merely fulfills my self-imposed obligation to have something to say about the Fujifilm gear that I acquire.

The XE# is really small.  It is certainly smaller than its predecessor, the XE2, thanks in part to the loss of the directional pad, and some of the external buttons functions are taken up by a touch screen.

Remains of the old Foot Bridge (Fujifim XE3, XF 23mm f2.0)


With the 23mm lens mounted, the combination is quite compact though not as much so is my X100F.  But like that camera, it is discreet and non-threatening, and I think another good choice for street shooting.  Though not quite as sturdy in feel as the fully weatherproofed X Pro 2, it definitely feels substantial, and “part of the family”.

It has a very adequate electronic viewfinder with the usual features.  There is a new icon on the screen however signaling the functioning of the touchscreen, which can be turned off, turn on fully, or to avoid being activated by one’s nose, activated on one side only.  So far I’ve tended to keep it off as it’s reasonably easy to unintentionally trigger a camera function.  But the screen is fully customizable as are the other buttons and dials on the camera. I may yet turn it back on.

March Melt (Fujifilm XE3, XF 23mm f2.0)

In keeping with its status as a more amateur/enthusiast product, it carries a switch on its top plate, offering to move the camera into an “auto” mode.  This switch can be inadvertently triggered, likely changing the settings and format you have chosen (it has happened to me).  I should probably use some gaffers tape to keep it from moving.

The camera is quick and responsive, it seems to have autofocus performance certainly similar to my X Pro 2.  In fact with a joystick, it shoots pretty much like a miniature version of the camera.  And with the same sensor and processor, it has the same image quality.

Car Museum (Fujifilm XE3, XF 23mm f2.0)

A new feature of this camera is Bluetooth.  This allows you to connect for control from your cell phone in a matter that is less battery intensive than the Wi-Fi connection used in previous cameras.  I’ve played with this a bit and it seems to work well.  Using my phone’s display helps to make up for the fixed rear screen of the camera. 

The XF 23 mm f2.0 WP is a small compact lens, fairly well built with a small sun shield, which hugs the front element.  The small lens cap either fits on the filter threads of the lens or the orifice of the sun shield.  The focus ring moves smoothly, and the overall impression of quality is high.  Though I have done no formal testing on the lens, I had been shooting some casual landscapes with it, and so far it seems to be very sharp.  I know from MTF testing published elsewhere, that the lens outperforms the lens in the X100 series, and stands up well to the significantly larger 23 mm f1.4 version that has become one of my favorite optics in the XF series.

After the March Storm (Fujifilm XE3, XF55-200mm f3.5-4.8)

In fact, this camera and lens combination really begs the question as to why I need an X100 series camera.  Though this combination is larger than the fixed lens X100, I’m not sure the size difference is significant.  The other main difference would be the X100’s optical/electronic viewfinder but I’ve rarely if ever use the optical feature so this is somewhat lost on me. 

Now some of you are probably thinking: why should I buy the XE3 when there is a new generation of Fujifilm products, with a new sensor and processor being introduced. Well maybe, because the new hardware brings only slightly improved resolution and dynamic range over those products I currently own. 

Debbie on St Patrick’s Day (Fujifilm XE3, XF 23mm f2.0

As I’ve written elsewhere I’m starting to think that cameras in general and Fujifilm products, in particular, are reaching a point where further improvement to the basic technology is slowing.  If I am right, it probably makes sense, at least in terms of cost/benefit ratio, to buy equipment one series behind, so to pick up bargains.

We’ll see how long I stick to that idea.

Another Fujifilm Raw Conversion Post- 2019 Edition

Small Falls near Middleburg (Fujifilm XE3, XF 23mm f2.0)

Thanks to the quirkiness of the Trans-X sensor, the topic of the raw conversion remains fertile ground for those who blog on the Fujifilm line of cameras.

For those of you not familiar with this issue, the color pattern of the Fujifilm Trans-X sensor, is more complex than that of a more conventional Bayer sensor used in pretty much every other digital camera.  For many years, we have sought the best method for the conversion of raw files from this unique sensor.  I’ve written on this multiple times in the past.  Now in 2019, we are faced with some new choices and options,several of them free. I though I would do an informal comparison.

There has been, and always will be, Adobe’s raw conversion software either in Lightroom or Photoshop versions.  This converter has been accused of less-than-stellar performance with the Trans-X sensor.  But lo and behold, Adobe has included a new feature, in their latest Photoshop version called “Enhance Details”.  This is said to be aimed in part, at the Fuji sensor problem.

Phase One, whose “Capture One” software, has always performed somewhat better with Fuji raw files, has been updated to version 12.  More interestingly, they have released a free Fujifilm only version, which presumably replaces the former Silkipix software that was bundled with the Fuji cameras.  The latter software performed very well, but because it was in no one’s workflow, it always felt kludgy and uncomfortable to use.

Another free software workaround for Fujifilm raw files comes from Irident Digital.  Though the company offers a fairly reasonably priced raw development package, many of us frugal types, have taken advantage of their free “Irident Transformer”.  This is a simple application that transforms Fujifilm raw files into another raw file, in this case, the ubiquitous .dng files championed by Adobe.  It does this in a clever way so that they may be processed more easily, particularly by Adobe Products.  This has proven to be an excellent way to avoid the muddled details, and “wormy artifacts”, often seen in straight Adobe Camera Raw conversions.

Rock Wall at Francis Slocum (Fujifilm X-T10, XF 18-55mm f2.8)

I thought it would be interesting, to compare files, converted in as close a manner as possible, for different methods, in this case straight Adobe camera raw conversion, then a conversion using the “enhance details” feature.  These can then be compared to conversions done by Irident/Adobe, and by the free Fuji version of Capture One 12.

I decided to use 24-megapixel X-Trans 3 files from both my new Fujifilm XE3, as well as the 16-megapixel files of the previous X-Trans 2 sensor from its predecessor, my now departed X-T10.

Now right up front, this is an inexact comparison.  I did play around to try to obtain the best image possible from the different conversion software, but I don’t think things like sharpening and clarity for instance, can be directly correlated between Capture One, and Photoshop.

A word about the workflow.  Perhaps because of familiarity, there’s no doubt that for me that Adobe Bridge, Camera Raw, and then Photoshop make for an extremely comfortable process.  I’ve used Capture One for many years, but even now I’m a little vague on some of its features.  This may be my fault in that I have probably not been as diligent as possible watching their tutorials.

Adding Irident Transformer conversion to the Adobe workflow ads exactly one step, and works pretty well.  Conversion is quick, and I have set up a file called “Irident conversions” on my computer to receive them.  One then the open is a converted, you can open file in your raw conversion software of choice.  My only gripe, would be that there does not seem to be a way to have the image open automatically in Photoshop after it is converted to a .dng file which would be handy.

Oddly enough, the Adobe “enhance details” feature is less conveniant inthat it seems to take forever to process a file.  It can take up to 2 to 3 minutes to run on my fairly high-end Intel I7 desktop.

So how do they perform?  Here first is a representative file from the XE3 at 200%:

Photoshop Camera Raw
Camera Raw plus Enhance Detail
Capture One 12 (Fujifilm Edition)
Irident with Camera Raw conversion of the .dng

I think it’s fairly obvious that the straight Photoshop version, even given the limitations involved in these jpegs, is inferior to the image processed using either of the other methods. I was hard-pressed, even looking at the original files, to decide on a winner among these though I settled on the Capture One conversion as slightly more detailed than the others. I was initially unhappy with my original Irident conversions which looked “harsh”. I came to realize however that there is some sharpening occurring in that during the .raw to .dng conversion. Once I backed off on the sharpening in Camera Raw, things improved markedly.

Also, I didn’t attempt to convert the Irident file using Capture One , Though it is certainly possible, given that the .dng file format was created by Adobe , I assume their software will convert it as well or better than anyone else .

Now let’s have a look at the X-T10 files, again at 200%

Camera Raw and Photoshop
Camera Raw plus Enhance Detail
Capture One 12, Fujifilm Edition
Iredent Conversion then Camera Raw

In posting these, I fear that, the JPEG compression of the files, plus the compression inherent in WordPress, has somewhat minimized the differences between these files.  Yet I can tell you that on my monitor, there is a clear difference between the straight Camera Raw conversions and the other methods.  I would say that between the Enhanced Detail, Adobe conversion, Irident plus Camera Raw, or Capture One 12, there is no clear winner.

Also it is intriguing to me how similar the detail is when comparing between the 16-megapixel, X-Trans 2 files, and the 24-megapixel X-Trans 3 files.

I must say, given the effort required to optimize X-Trans files, and that diminishing value of the technology as time marches on, I can certainly be convinced, that at some point, perhaps this sensor type should be abandoned.

On the other hand, those of us who have been Fujifilm shooters for a long time know that a portion of the brand’s appeal has always been unique sensor technology (remember the SuperCCD of the S3pro?).

In summary, I would say that Adobe has finally given us the ability to process with Fujifilm files at a level that matches the best rival conversions.

I just wish it wasn’t so slow both in coming, as well as in use.

Why would I Upgrade?

Fall Fields ( Fujifilm X100T)

I haven’t posted in a while. This is mainly because WordPress decided that they would completely change the functioning of the blog editor, and it took my rapidly aging brain some time to figure it out. Well, in the immortal words of Jack Torrance: “I’m Baaaaaaaaaack…”

I don’t know whether it’s the crappy photography conditions we’ve had, or my general satisfaction with the capabilities of my current equipment. It is even remotely possible, that finally, maturity and fiscal responsibility has settled on me perhaps 30 years late. For whatever reason I no longer yearn for the newest and best.

I no longer scour the pages of Dpreview for the latest equipment reviews.  I’ve stopped visiting the various Fujifilm forums. I dropped my subscriptions to Reid Reviews and the Luminous Landscape (though in the case of the latter site, it’s not really the same since Michael Reichmann died).

Nonetheless, new Fujifilm gear is likely in the pipeline, and probably not far from introduction. I’m not talking about The XT or XH lines, which have obviously been updated more recently. I’m talking about the cameras that I prefer to shoot, namely the X100 and X Pro lines. Both I think will be due soon for an update. What really bothers me, is that I’m not sure that I care.

What is happening???????

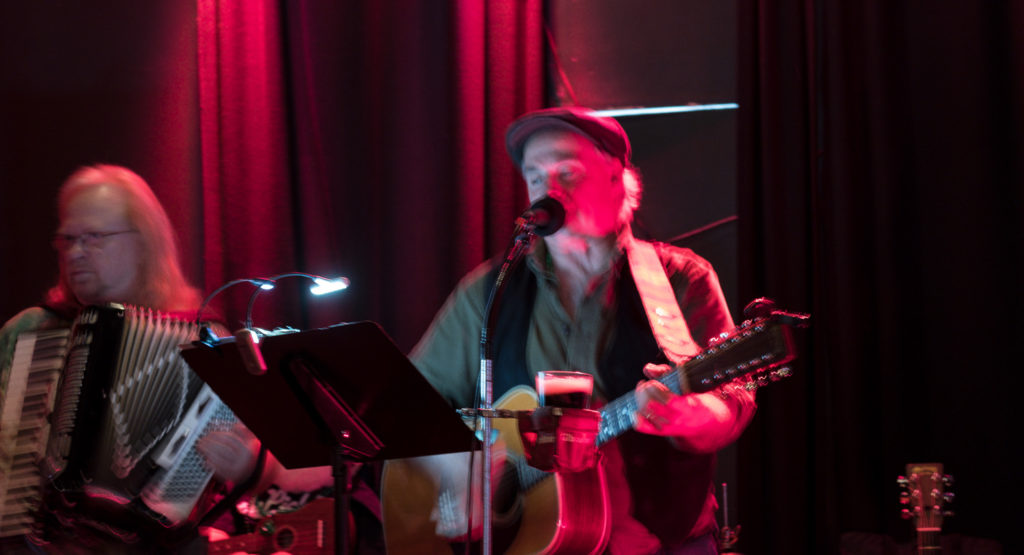
Dave Chappell and Band (Fujifilm X100F)

I currently shoot an X100F and an X Pro 2. In the case of the X100 series, I have owned all of the various versions starting with the original X100. It seemed to me that each time a new model came out, there was a fairly compelling reason to update the camera. This was also true of the X Pro 1 to X Pro 2 evolution. I am truly satisfied with my current equipment which has benefited from the constant evolution and improvement not only in the new models, but with subsequent firmware upgrades.

So what new features/ capabilities would an X100 “G” or an X Pro 3 need to offer in order to move up once again. I think part of the problem, is that I’m not a particularly demanding shooter. I’m not generally shooting sports, or wildlife. Most of the landscape I do is fairly deliberate. so what new features/ capabilities would cause me to upgrade? I suspect the next camera up will be the X100 series, so this will be where I focus in this article.

So, what might Fujifilm do to entice X100F owners to upgrade?

Well, there is the new sensor introduced in the XT3. At 28 megapixels there is slightly more resolution than the X100F’s 24 megapixels. High ISO performance is said to be the same or slightly worse than the previous sensor, with perhaps a gain in dynamic range, partly from the new lower base ISO. The latter feature would be useful, to slow shutter speeds for moving water, but overall, to me,the new sensor is not a huge draw.

Sunset in Jakey Hollow (Fujifilm X100F)

How about weatherproofing? In a fixed lens camera, one would think this is easier to accomplish than in an interchangeable lens body. My sense is that it wouldn’t add much in the way of weight or bulk, and would be a nice addition to a camera used extensively for street photography. On the other hand, I use my cameras all the time in wet weather. Exercising some caution, I’ve never really had a problem with the X100 series.

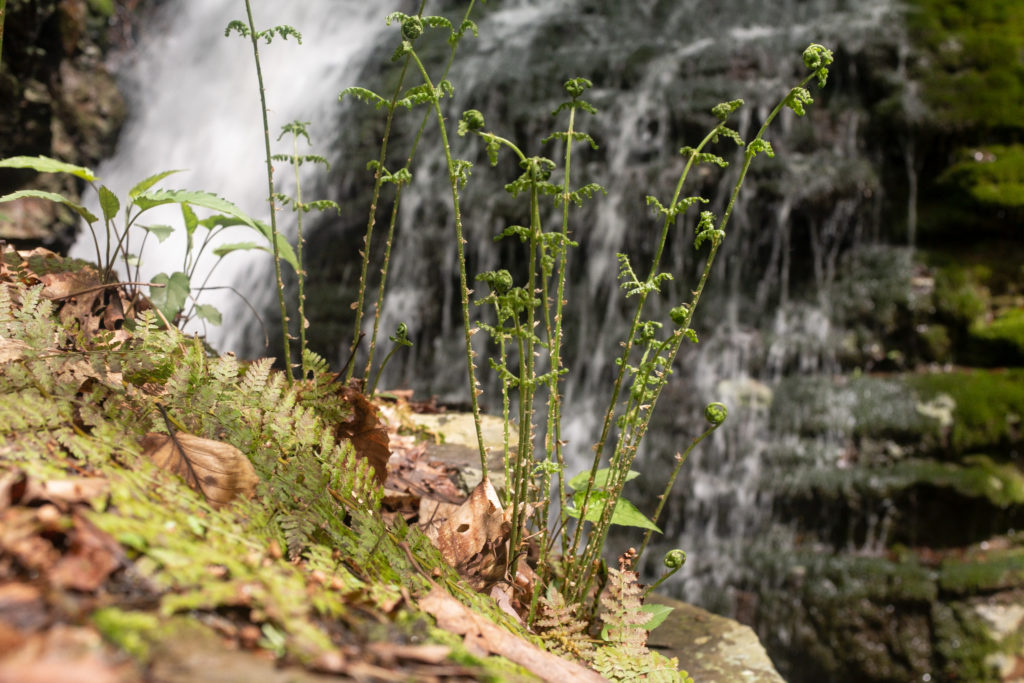
Ferns in the Glen (fujifilm X100F)

A new lens might be interesting. The current 23mm f2.0 lens has been unchanged since the X100 introduction in 2011. It is a lovely optic, but it is known to be soft wide-open particularly close up. I would be interested, and an upgrade with a new lens, perhaps F1.8.  A deal breaker however, would a lack of compatability with the two lens converters Fuji currently offers ( for which  I spent good money on and use all the time).

They could improve the video performance, but I suspect, most X100 series users wouldn’t really care. Unless there have been big strides in technology, I don’t think there is adequate heat dissipation capacity in the small X100 frame for 4K (It’s borderline in the larger X Pro 2). You can always buy an XT3 if you want to shoot “Movin’ pitchures”.

Lens stabilization is always a welcome feature in a camera body. Given the size constraints with this line, I suspect it’s not possible to add it without increasing bulk. Ditto dual Card slots, or a separate memory card door like the X Pro 2

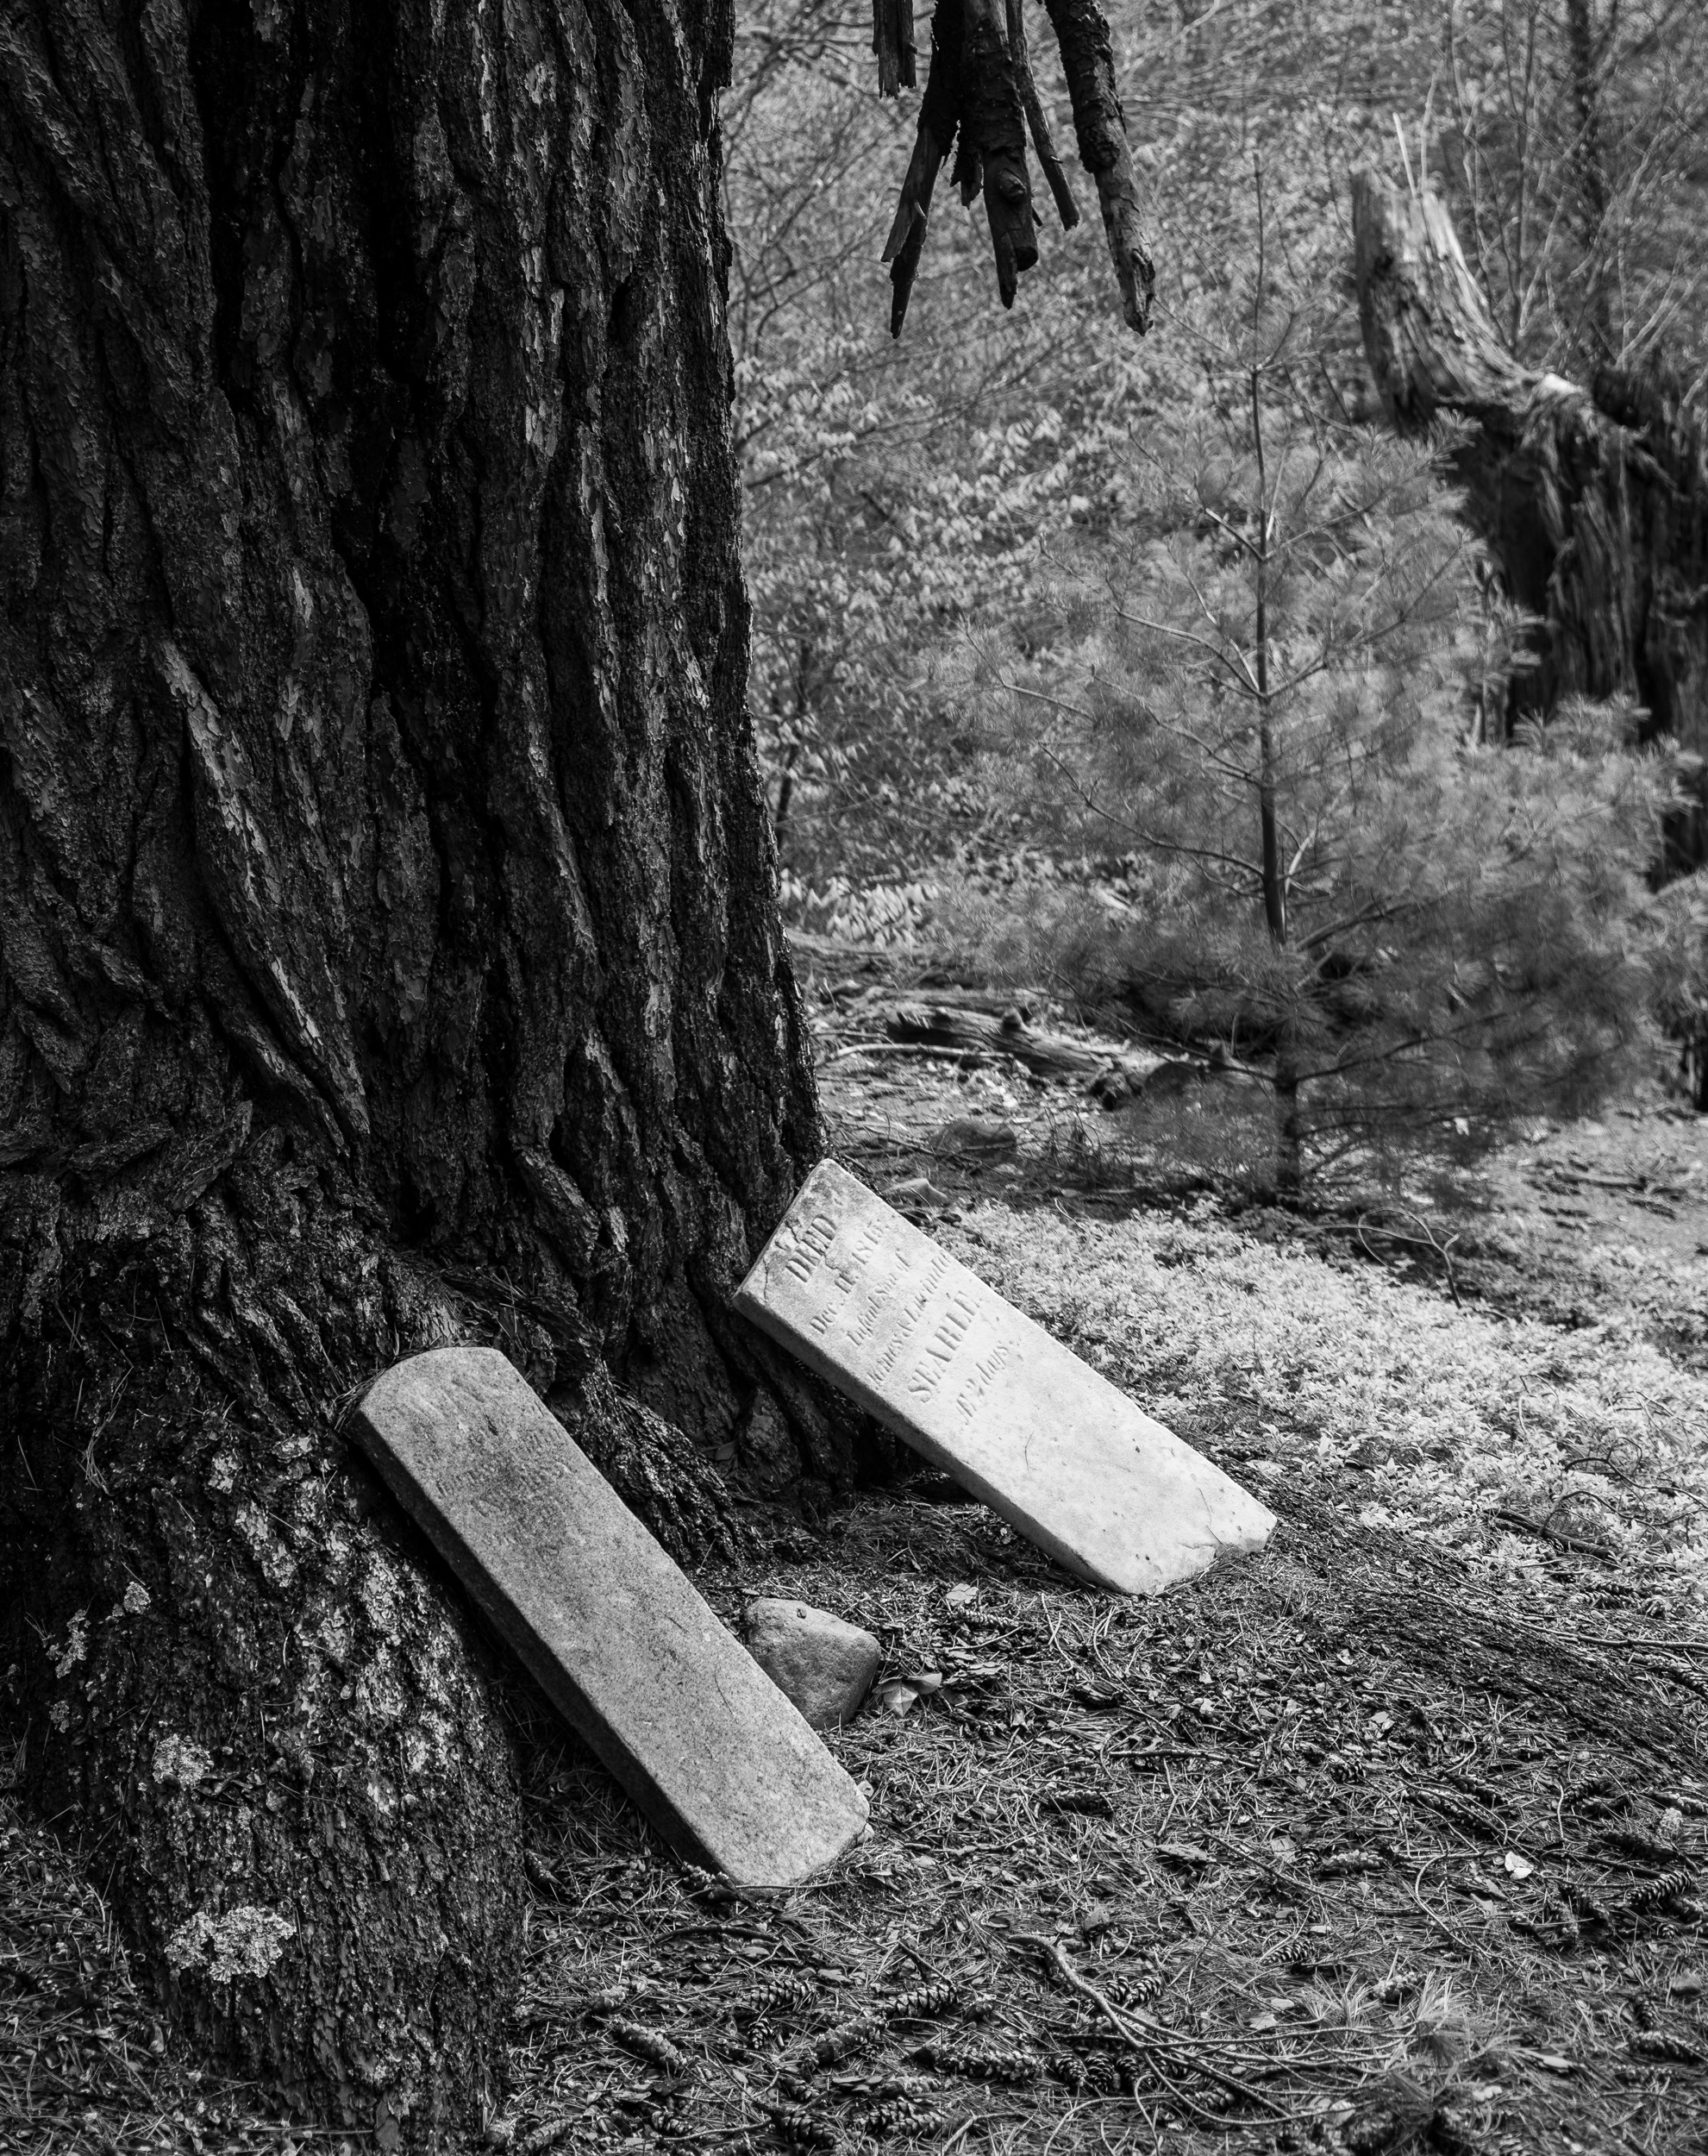
Two Gravestones at Hickory Run (Fujifilm X100F)

Better autofocus which is always claimed for upgraded cameras would also be useful, but I am relatively happy with the current performance of the “F”.

In short, because we’ve already had a look at the new sensor, the prospects for the upgraded X100/X Pro series aren’t very compelling from my limited viewpoint. The improvements that were so lauded in the XT3
(video and tracking autofocus) are not really that germane to these two camera series (at least in my hands).

I guess time will tell.

How Fall Turned Out

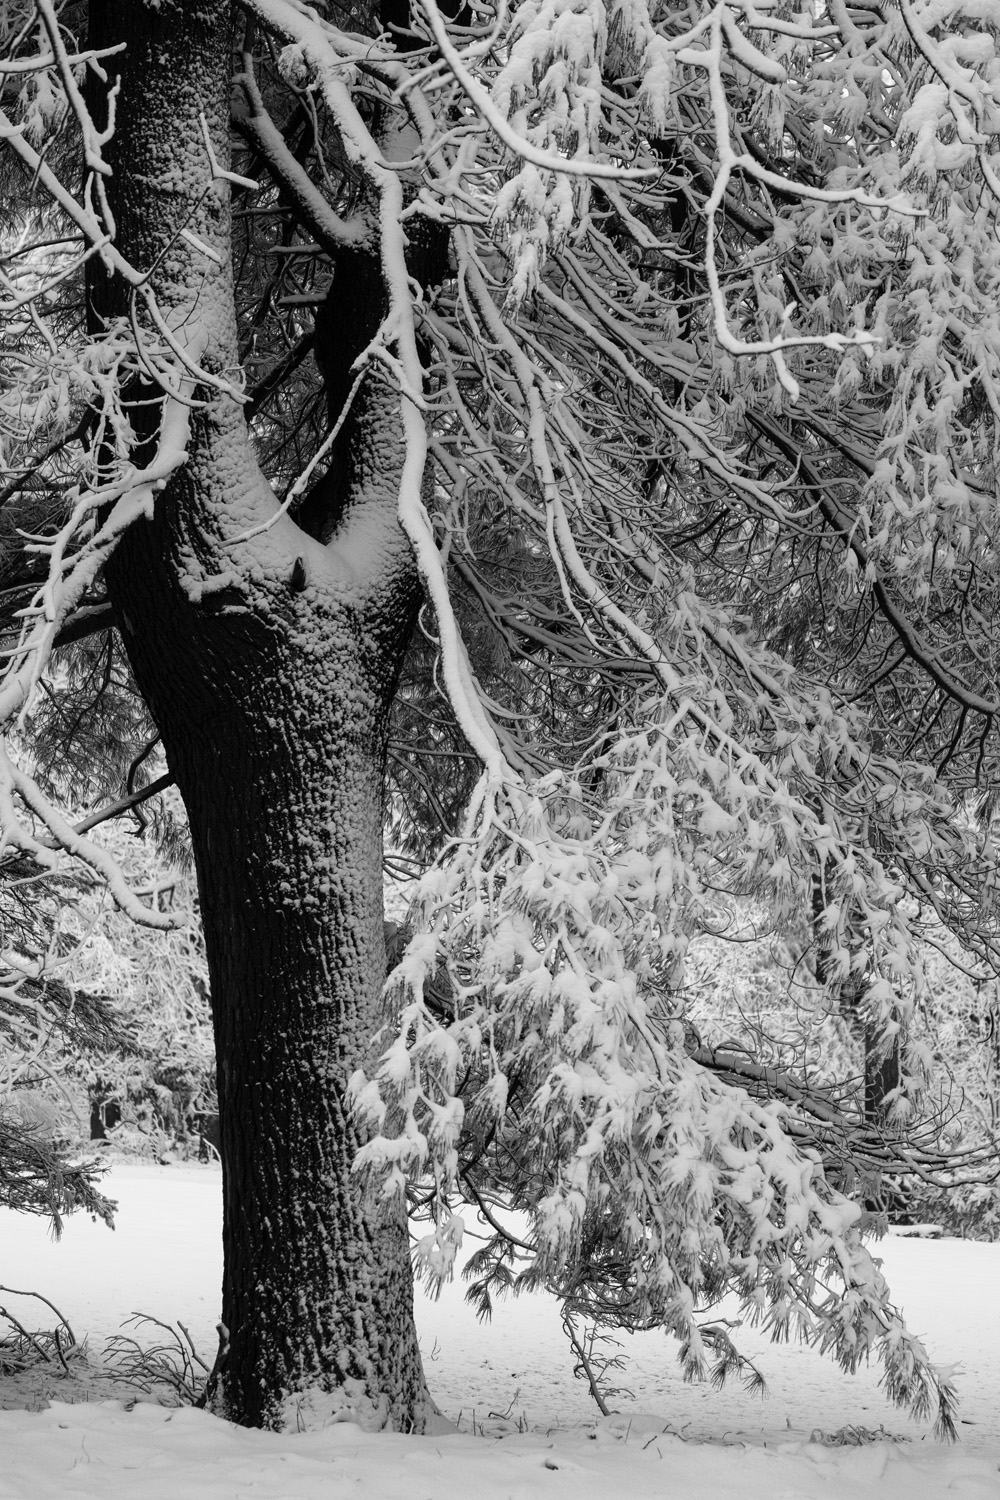
White Branches (Fujifilm X100F, TCL X100II

I’m writing this on December 5. I’m sitting at my desk, at about 7:40 AM, the sun has just risen in the east-southeast, as it does at this time of year when the sun’s arc is short. A straight shaft of sunlight pierces the window to my left and gently warms me on this cold winter morning. It is a welcome sensation that I have missed over the past 4 or 5 months given the abysmal weather we have been experiencing.

For the first time it seems since the early summer, meteorologists are predicting a prolonged period of dry, clear, if cold weather. For people prone to the “winter blues”, this is a welcome development.

When I last wrote back in early October, we had not really experienced any real autumn color. As it turned out, it was a long time coming. Usually, so-called “peak leaves” occurs around October 15, with the foliage largely off the trees by the end of the month. This year, the days around Halloween were probably the most colorful.

A Walk in the Barrens (X100F, TCL X100 II)

If only the weather cooperated. It seems like every day I was off and available to shoot, it was pouring rain. This was true through most of the weekends in the last several months, which initially got very discouraging. I got about when I could. I found myself relying on the X Pro 2 when shooting between raindrops given that it is relatively weatherproof.

Perhaps the only weekend in the fall that I remember there being favorable weather was in early November. At that time, my wife and I traveled to New York City to support a good friend who was running in the New York Marathon. Both Saturday and Sunday were clear, with mild temperatures.

New York Public Library (X100F, TCL X100 II)

We walked the city extensively and were quite surprised by the level to which New Yorker’s turned out for the event, and the extraordinary organization involved.

Behind the Band (X100F)

My wife and I watched the race in the upper east side, from a neighborhood pub which is frequented by a good friend of mine. It was a welcome respite from the rain and fog of the Pocono plateau.

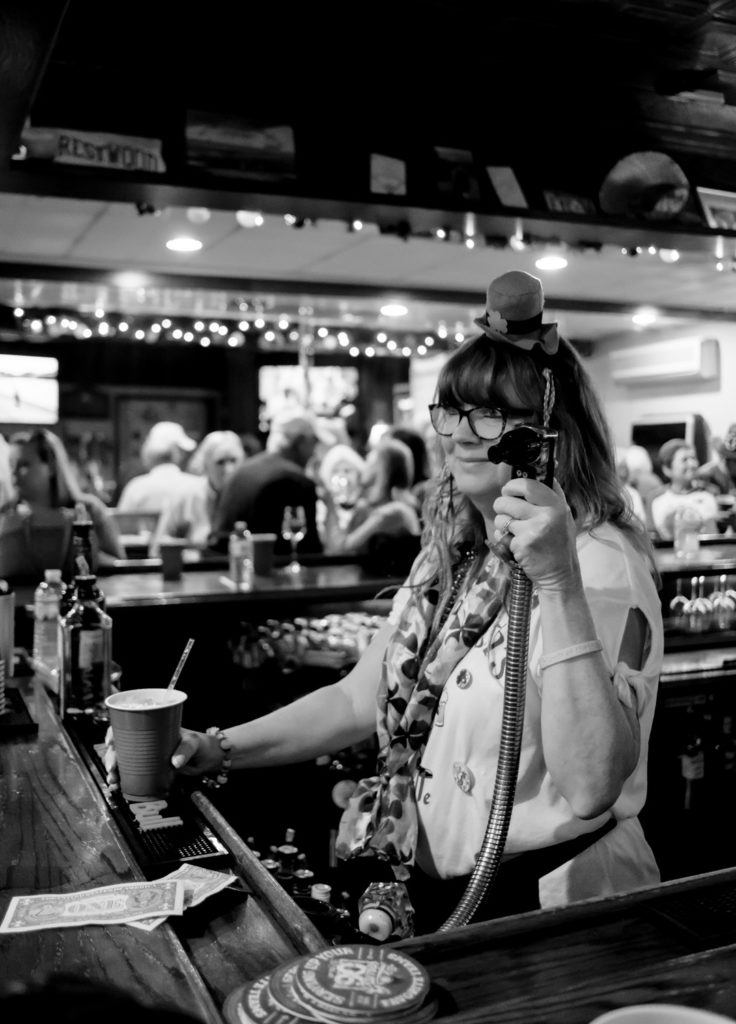
The Owner of the Spotted Dog (X100F)

Alas, on Monday morning when I woke to take a last photographic sojourn around Manhattan, it was raining again. Drat. I didn’t even get to make my usual walk to B+H photo.

Times Square in the Rain (X100F)

 Back at home, whatever was left of the fall visuals, was pretty much eradicated on the 13th of November when a rogue, early season nor’easter dumped snow over the region. At the altitude where I reside, we got about 13 inches of very dense snow that was quite challenging to remove, particularly given that I had not yet converted my equipment over to winter mode.

Corn Rows in Snow (X Pro 2, XF18-55mm f2,8-4)

The snow hung around for several weeks, but then, a long period of warm rainy/foggy weather finally has returned us to our late fall landscape.

Creek at Flood Stage (X Pro 2, XF18-55mm f2,8-4)

So now we are looking at a prolonged dry spell, and hopefully, the end to this weather pattern which has plagued us since at least June.

We’ll see…

Do Stop the Rain

Mushroom (Fujifilm X100 F, TCL, X100 mark II)

If it’s gonna be a rainy day
There’s nothing we can do to make it change
We can pray for sunny weather
But that won’t stop the rain.

   – Jim Morrison


I live in an old resort community, on the edge of the Pocono plateau in Pennsylvania. This is an old settlement, founded in the 1880’s on either side of a what was then the main road between towns. In the center of the community, there is a creek that runs below a 70-80-year-old masonry culvert.

Over the years, the road, still owned by the township, services only a few properties beyond our community. It is no longer a main thoroughfare.

The creek at this point is perhaps 200 yards from its inception in an artesian spring, one of many that bubble up in the surrounding woodlands. Being so close to the source, there is little watershed to feed the creek. Typically, by late July, the creek bed under the road is dry. In the 30 years I have lived there, this has always been the case.

In the last 3 years the culvert has been deteriorating to a point where it needed replacement. it’s an expensive proposition, and the Township has been struggling to find the money.

A state grant was obtained, and the job bid out. This spring we were told, that the “culvert” would finally be replaced in the late summer when the creek ran dry.

Unfortunately, however  the summer of 2018, about the wettest summer in my memory. As of early October, the stream is running as vigorously as though it was late March.

Fall Flow (X100 F, TCL X100 mark II)

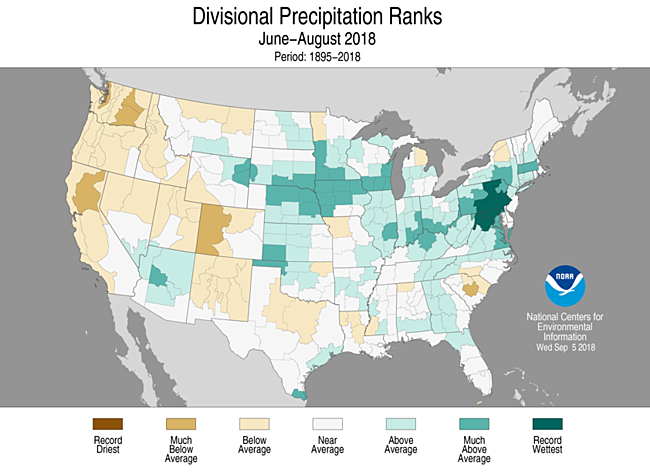
As it turns out my memory is fairly good.  According to NOAA, this is been a record here for rainfall in my region.

Now I want to recognize devastating effects caused by hurricanes, that have already occurred and will apparently occur again in the southern US.  The fact is however, we’ve had more rainfall as compared to normal than anywhere in the U.S.

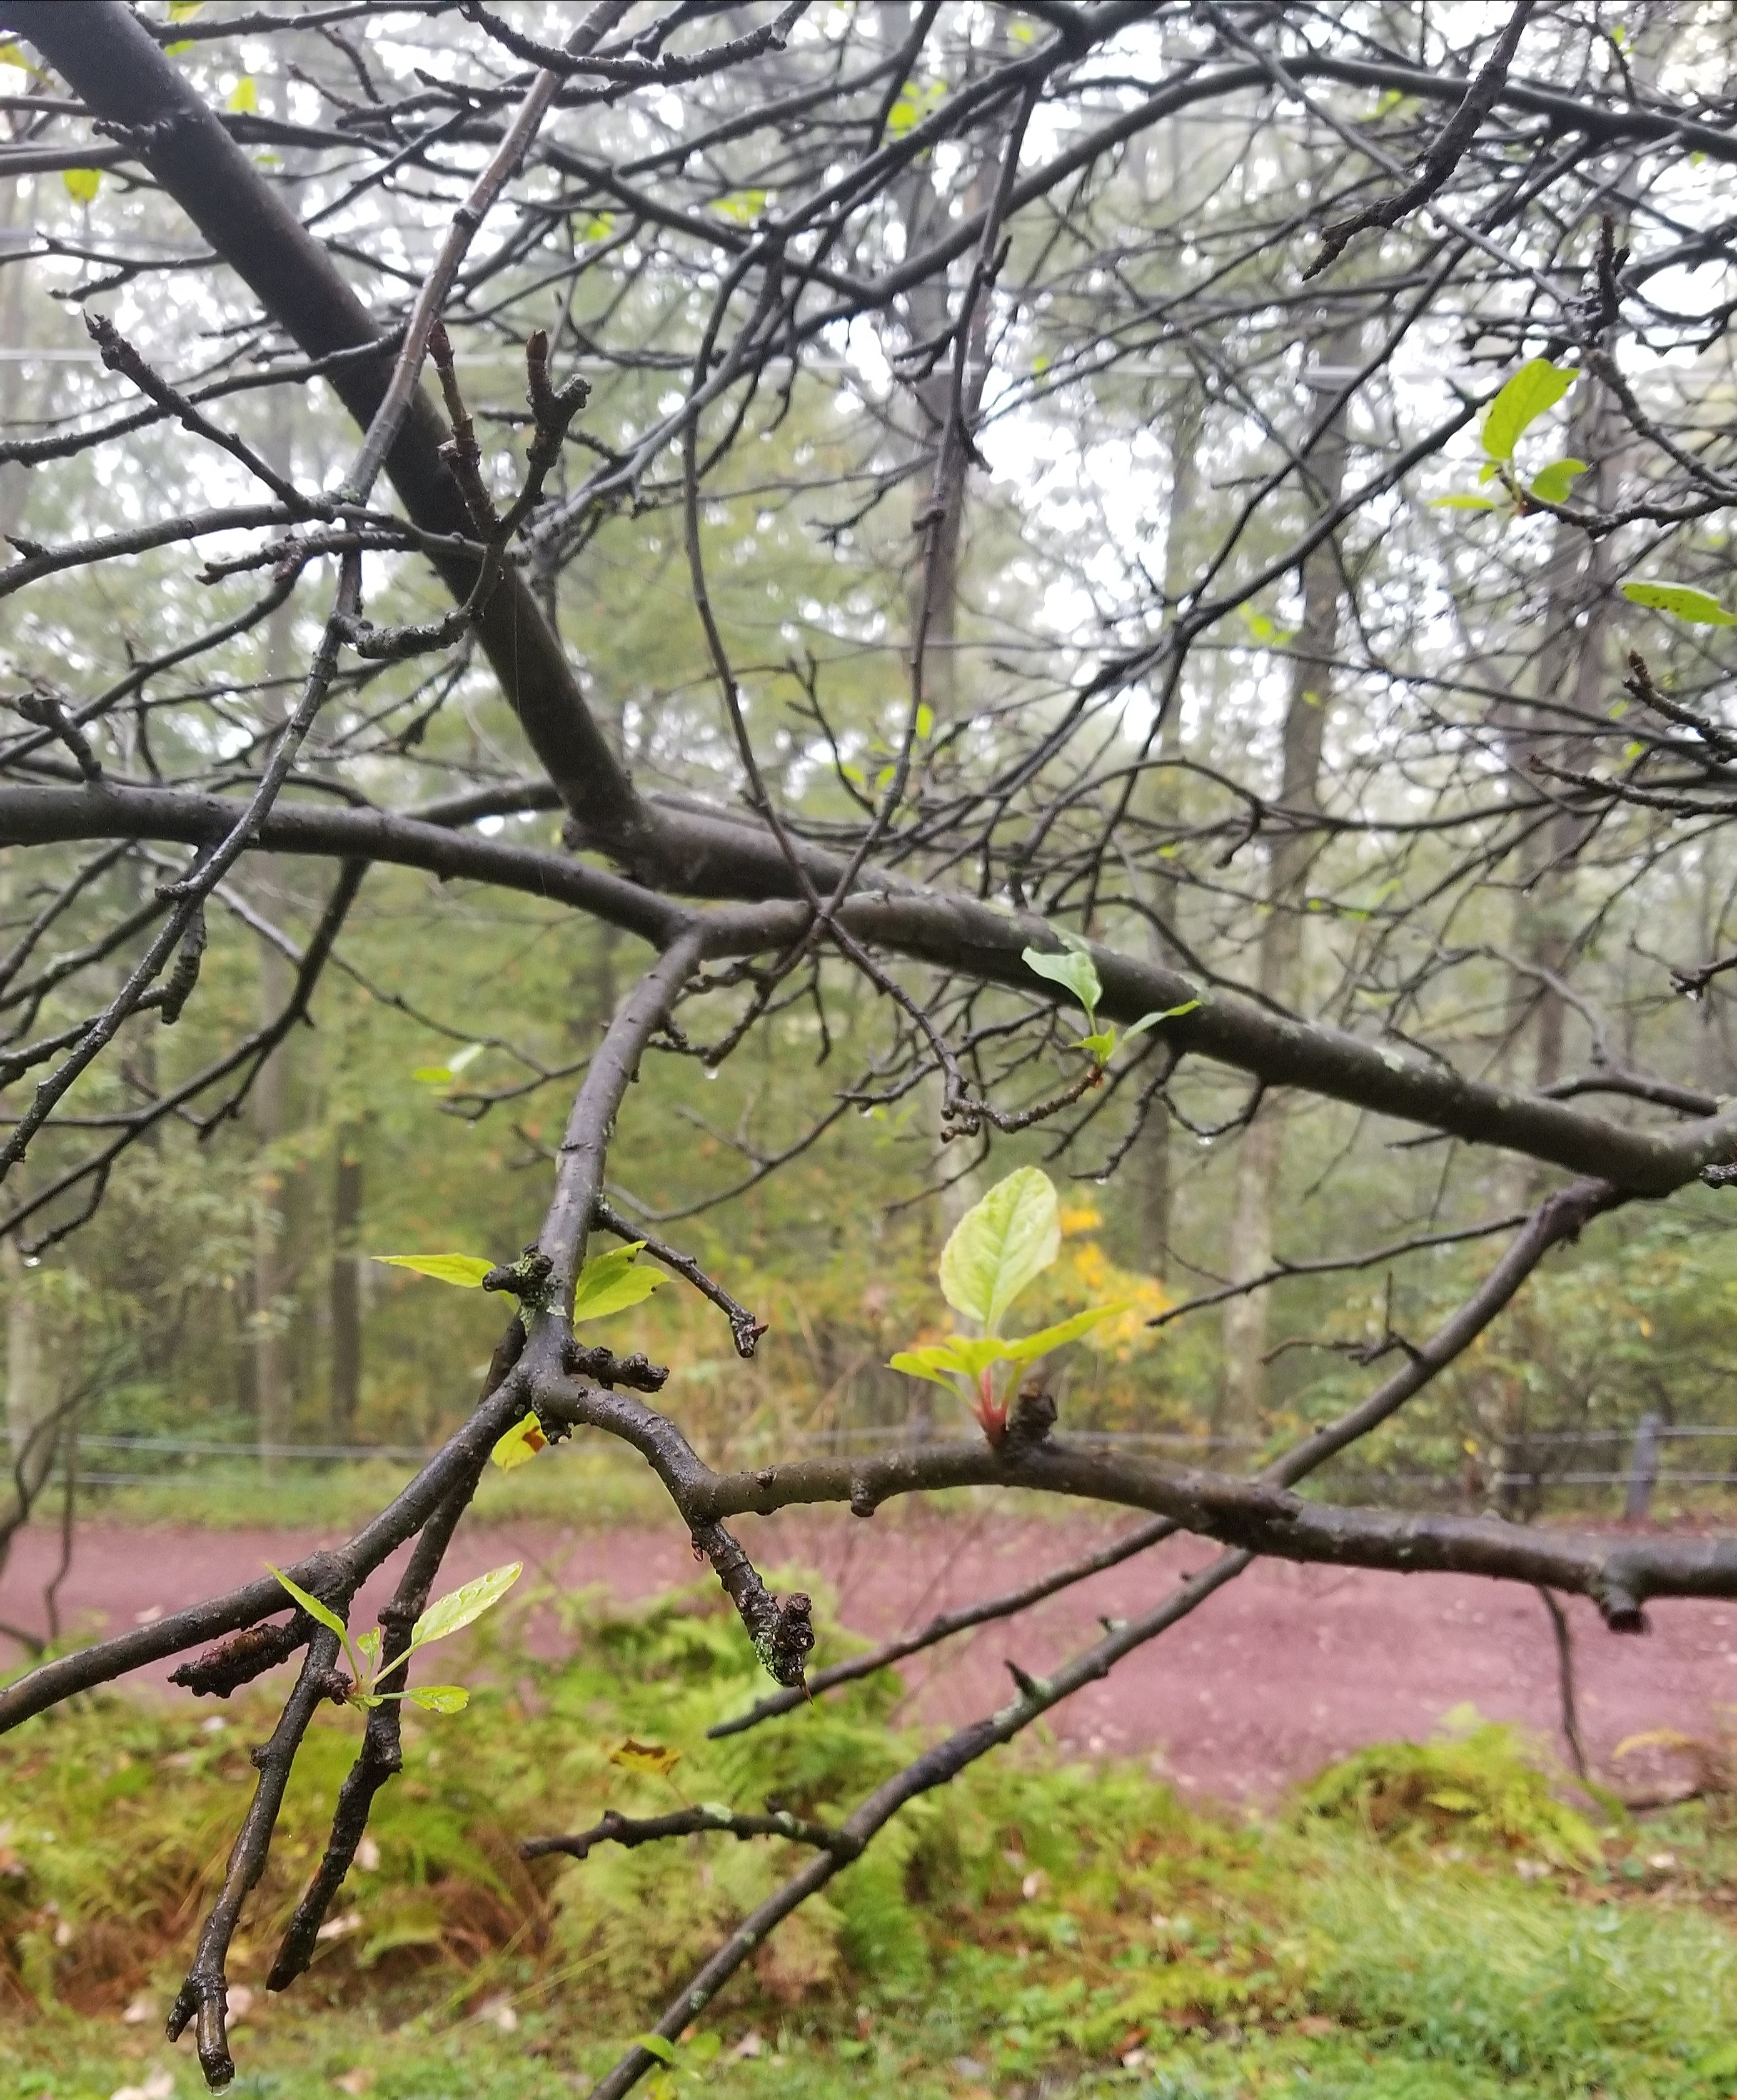
The wet summer has had a variety of consequences. Fall foliage is clearly delayed by at least a week or maybe two, and many trees apparently affected by the super-saturated soils have already lost their leaves prior to any change in color. I understand that this is particularly true of apple trees. Sometime in the summer, both of my apple trees dropped their foliage, and then feebly tried to push out a second crop of sparse greenery.

Drowned Apple (Samsung Galaxy S8)

It is a great year for mycology. In both the forests, and the lawns, I have never seen a greater variety of mushrooms springing up in places they are not generally seen.

Weird Fungi (Samsung Galaxy S8)

It has been a constant battle to fix the washouts of the gravel driveway that leads to up to my barn. My house painter, who works on part of my house every year, is so delayed that I doubt he will get to me.

As I alluded to in an early article, on any warm day biting insects remain a significant problem even at this late date due to the persistence of vernal pools.

Pool on the Red Rock Trail (Fujifilm X100F, TCL X100 Mark II)


As I write this (October 9) we have just enjoyed a 3 day weekend of fog, mist and intermittent downpours.  It was so humid, in the outdoors, that my X100F autofocus started to act strangely, only to return to normal in my dry studio.

At our location and altitude, normal peak foliage time is around 15 October, yet at this point, with less than a week to go , most of the foliage is still green. It will be interesting to see the effect of all of this rain on the quality of the colors when they finally occur. 

I’m afraid I am not optimistic.


Learning to Work Ultra Wide: the Laowa 9mm f2.8 Lens.


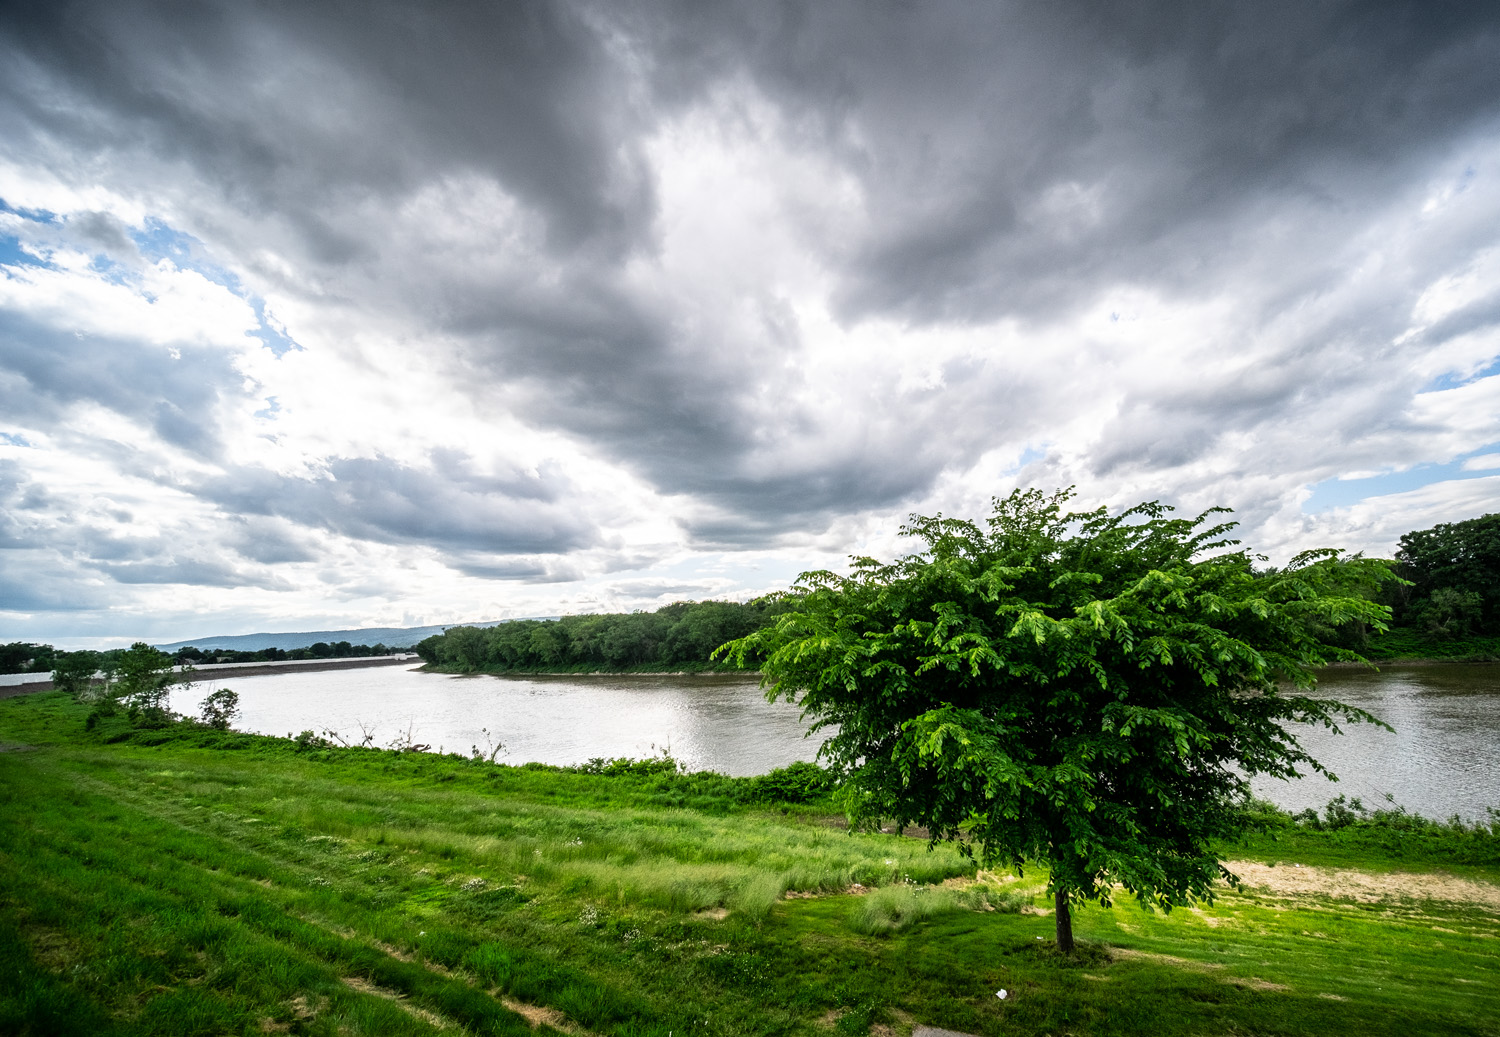
Susquehanna from the Dike (Fujifilm XT-10, Laowa 9mm f2.8)

Every once in a while, it is stimulating to leave what is familiar and comfortable, and venture into a place where we are challenged to adapt and extend our abilities.

In pursuit of this, some people travel to novel destinations, or take on a new physical challenge.  In photography, this can mean trying a new form of photography or working with new equipment. Recently, my exercise has been to shoot in a very unfamiliar format with the Laowa 9 mm f2.8 ultra wide lens.

We all have our comfort level.  In terms of focal lengths, I tend to work within a range of 35 mm to about 150mm (full frame equivalent).  These days I favor my Fujifilm equipment. So the X100 series 23mm f2 fixed lens( 35 mm field of view), the TCL-100 adapter(50 mm field of view) and the XF 56mm f1.2(roughly 85 mm field of view) get the bulk of my use, with the XF 55-200mm zoom available when required.

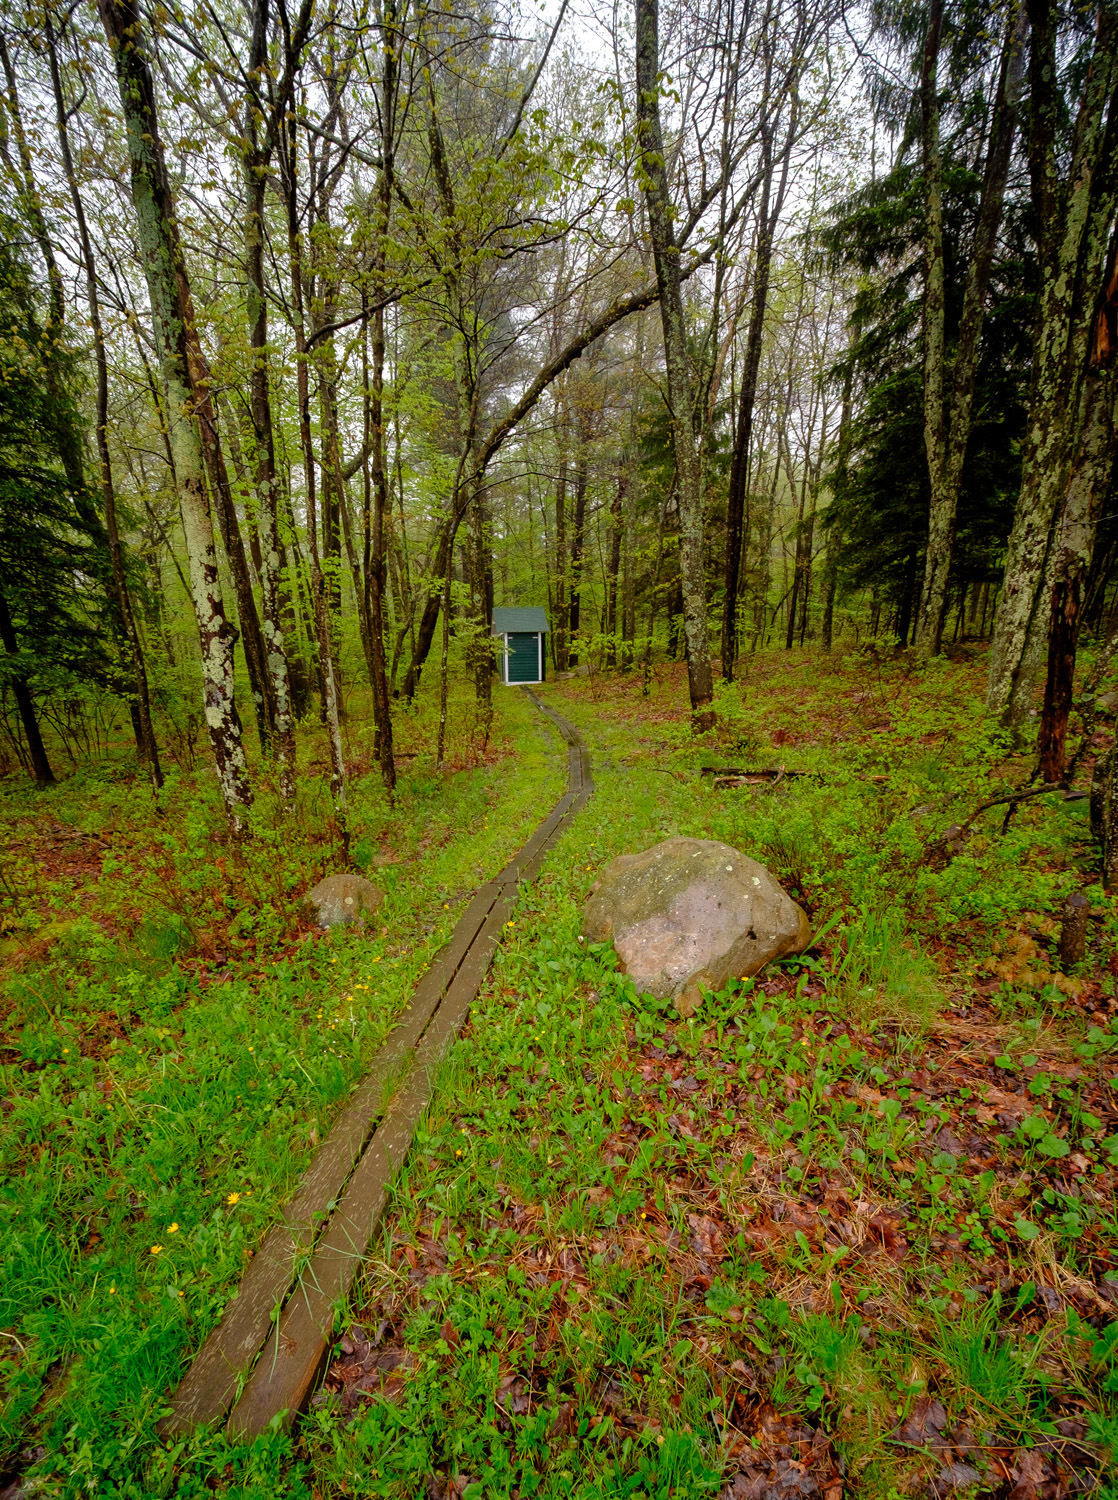
Long way to the Outhouse (Fujifilm XT-10, Laowa 9mm f2.8)

A 9 mm lens (13.5 mm field of view) is radically more wide angle than anything I typically shoot.  But I was intrigued by some images I saw online, shot with this Chinese-sourced lens. Curious,  I purchased one from the company website.

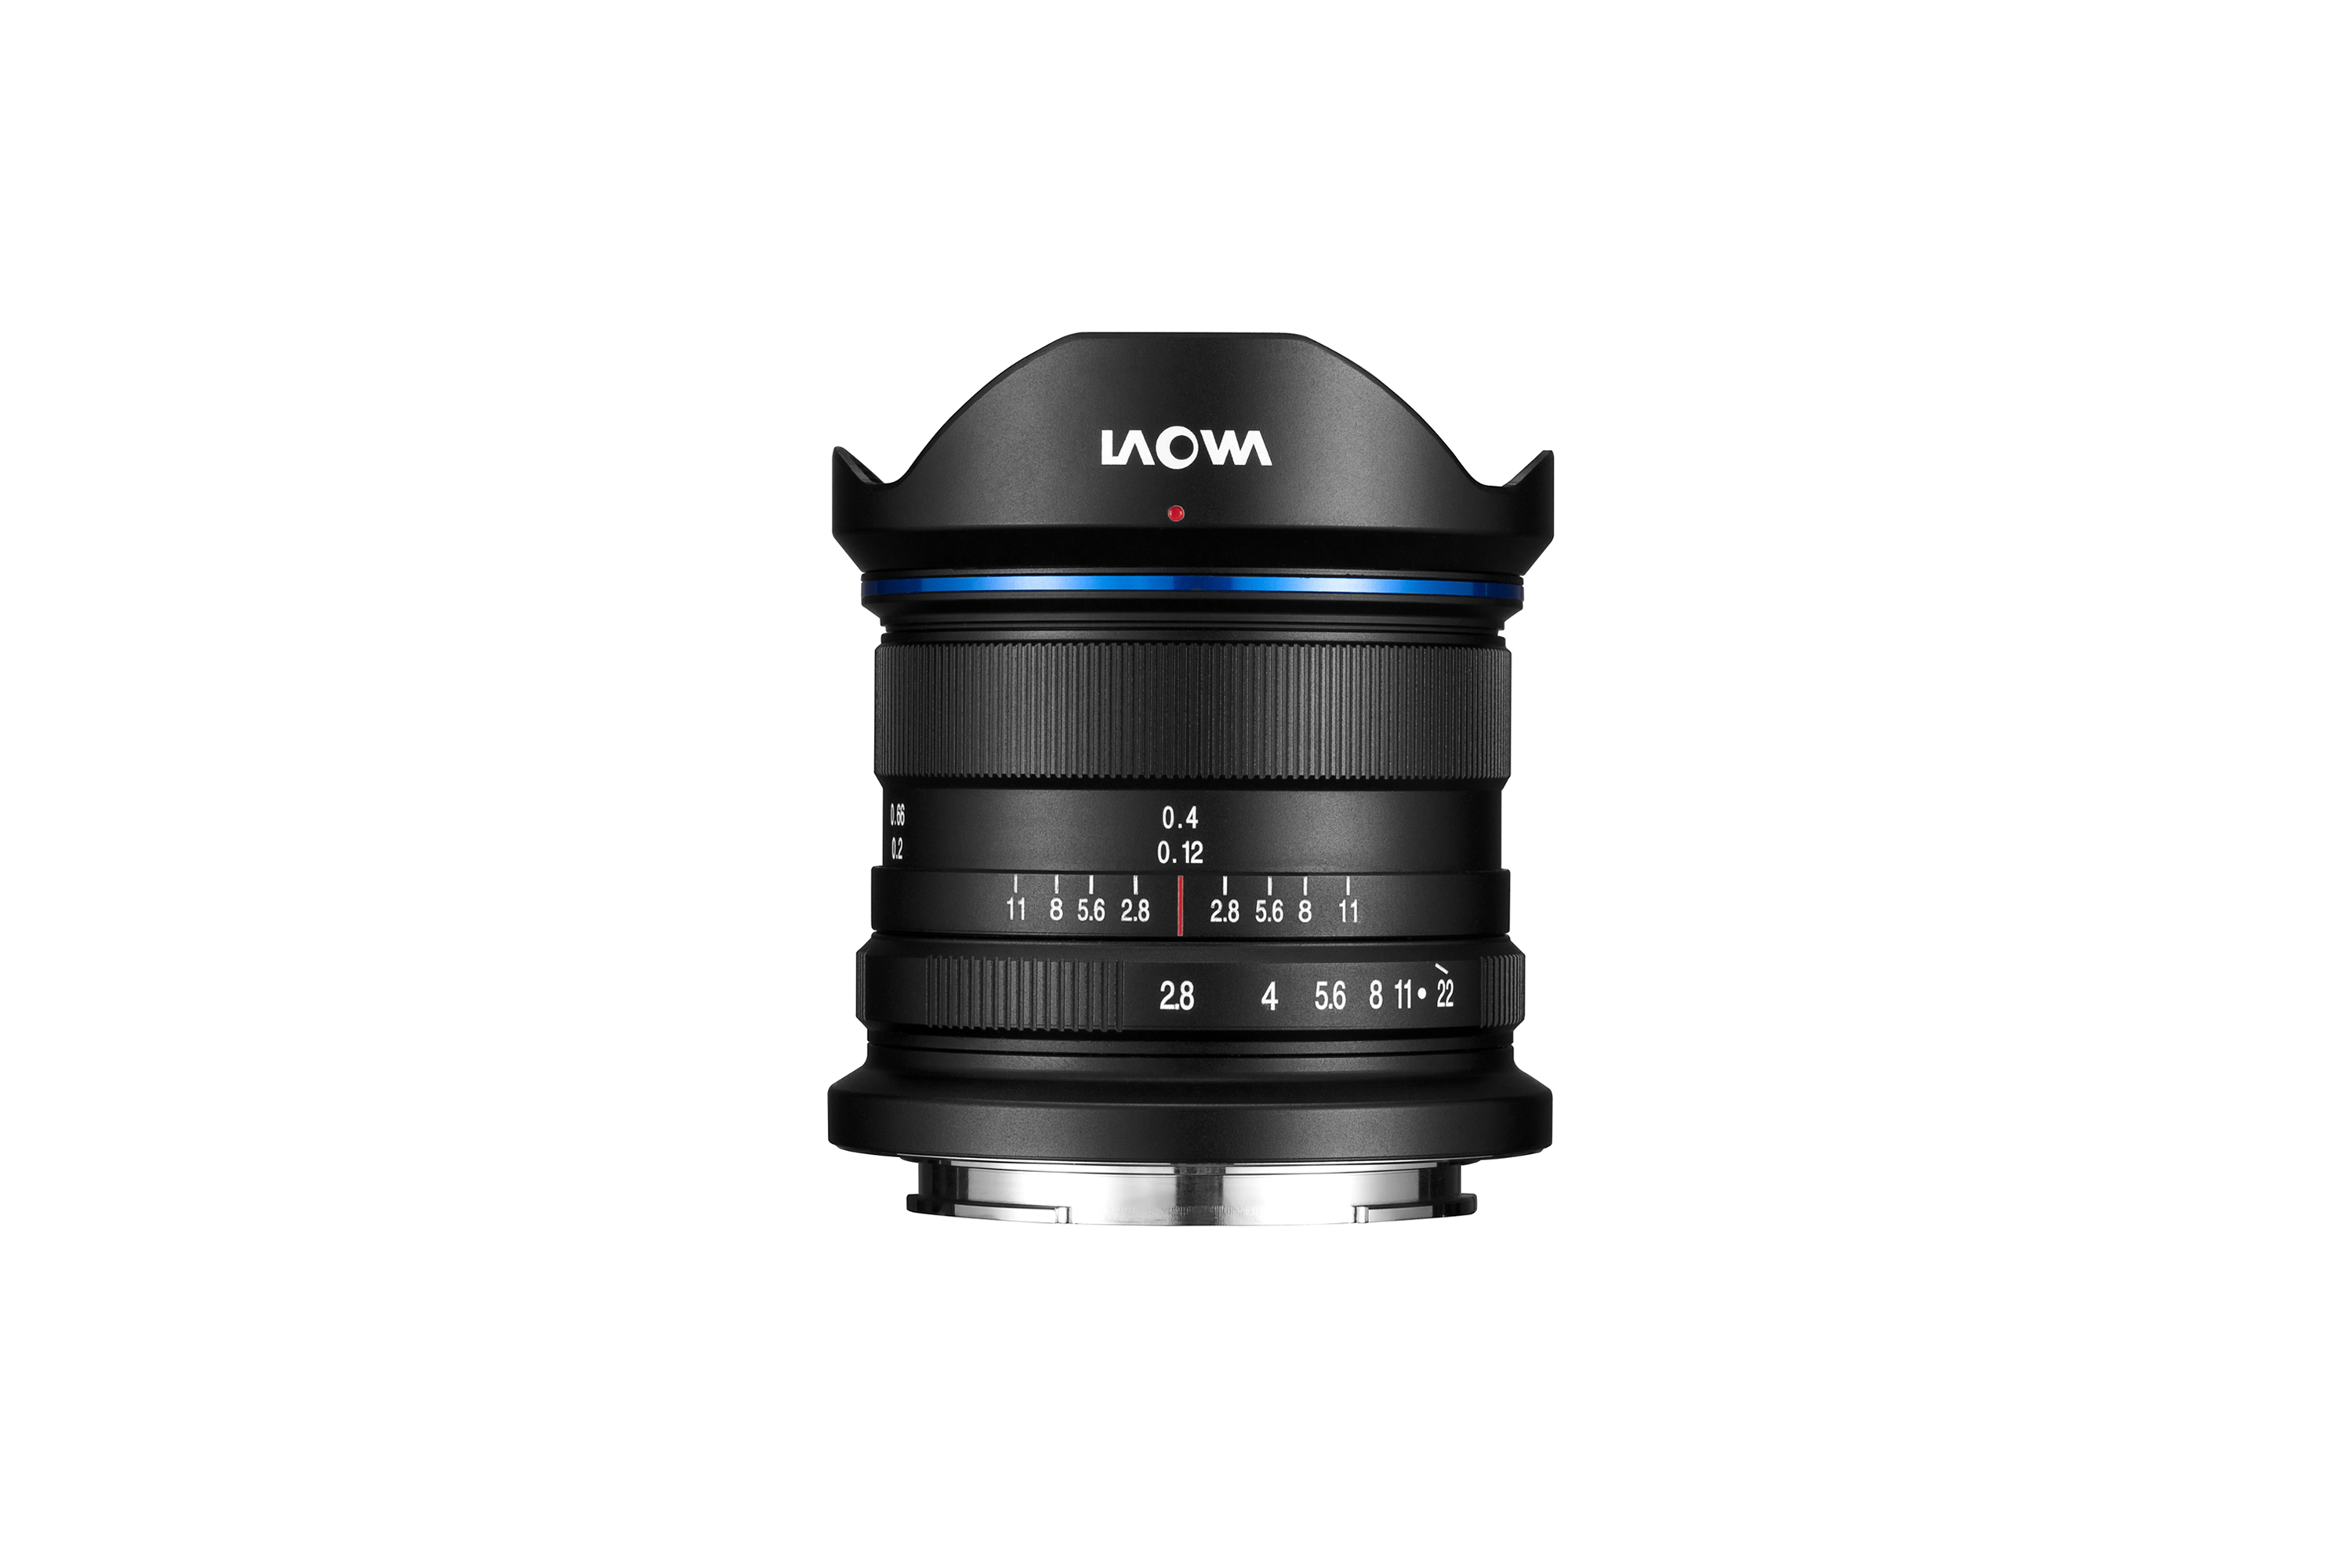
Image by Laowa

This is a small lens, smaller than anything I currently have for the Fuji lens mount.  It looks old-fashioned, it is made of metal with a metal lens cap and seems quite sturdy. There is a handy depth of field scale on the aperture ring. It interfaces securely with the Fuji X lens mount.

XT-10 plus Laowa 9mm (Samsunng Galaxy S8)

Setting the aperture and focus are  done manually  as there are no electrical contacts on the mount.  The body must be set to “shoot without a lens” in the menus to allow the set up to work.  One simply sets the shutter speed on “A”, and the light meter will set appropriate exposures on whatever aperture is selected. For the most part, this seems to work pretty well.  Exposure compensation also seems to be usable.

Ultra wide-angle lenses require specific framing if you are to obtain an interesting image.  I had very little experience with their use, so I went online and watched a variety of tutorials.  Pretty much everybody says the same thing:  first, you need to set the aperture fairly tight to maximize your depth the field.  On the lens this wide, at roughly f11, everything from about 1 feet and infinity is in reasonable focus. You need to pick a subject in the foreground and then get extremely, almost uncomfortably close to it. Then need to pay close attention to the background, as this focal length is very inclusive.  If your composition is right, then this should result in an interesting, fairly three-dimensional image.

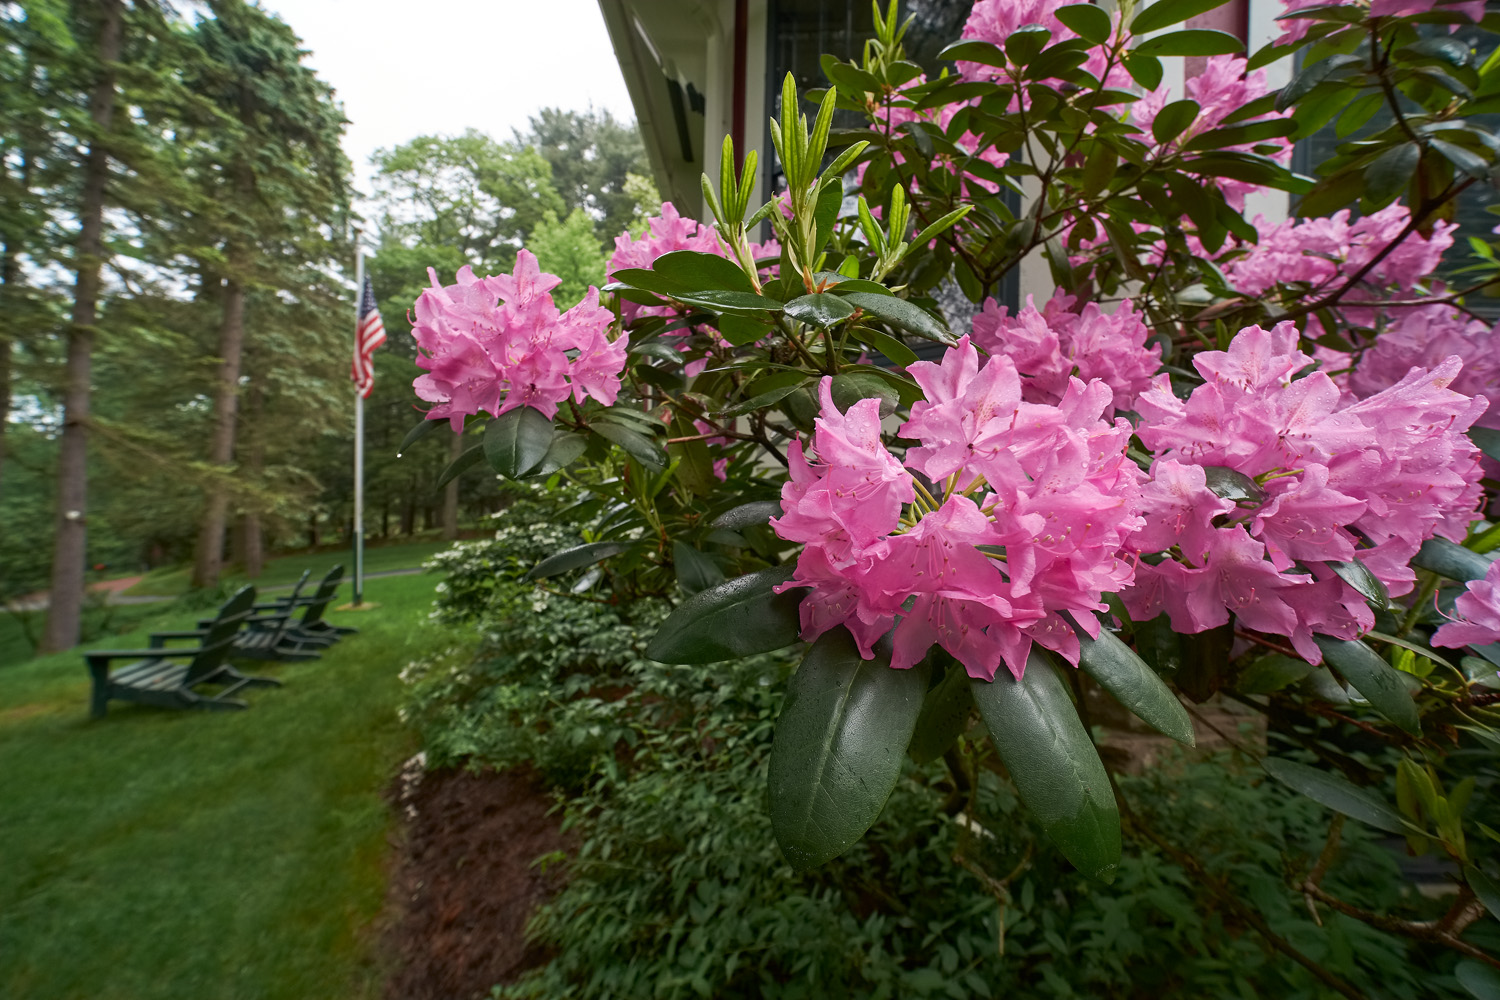
Rhododendrons in my Yard (Fujifilm XT-10, Laowa 9mm f2.8)

With focal lengths this short, sometimes you have to get very low to the ground or shoot at unusual angles to frame a compelling image, or to exclude something unpleasant-looking.  A tripod is helpful, especially since any small movement of such a wide lens tends to alter significantly perspectives and angles of the seen.

I quickly found that if I could not get sufficiently close to an interesting subject, the resultant image would usually be completely uninteresting and flat. Every once in a while though, you can break the rules, and still end up with an interesting photograph. 

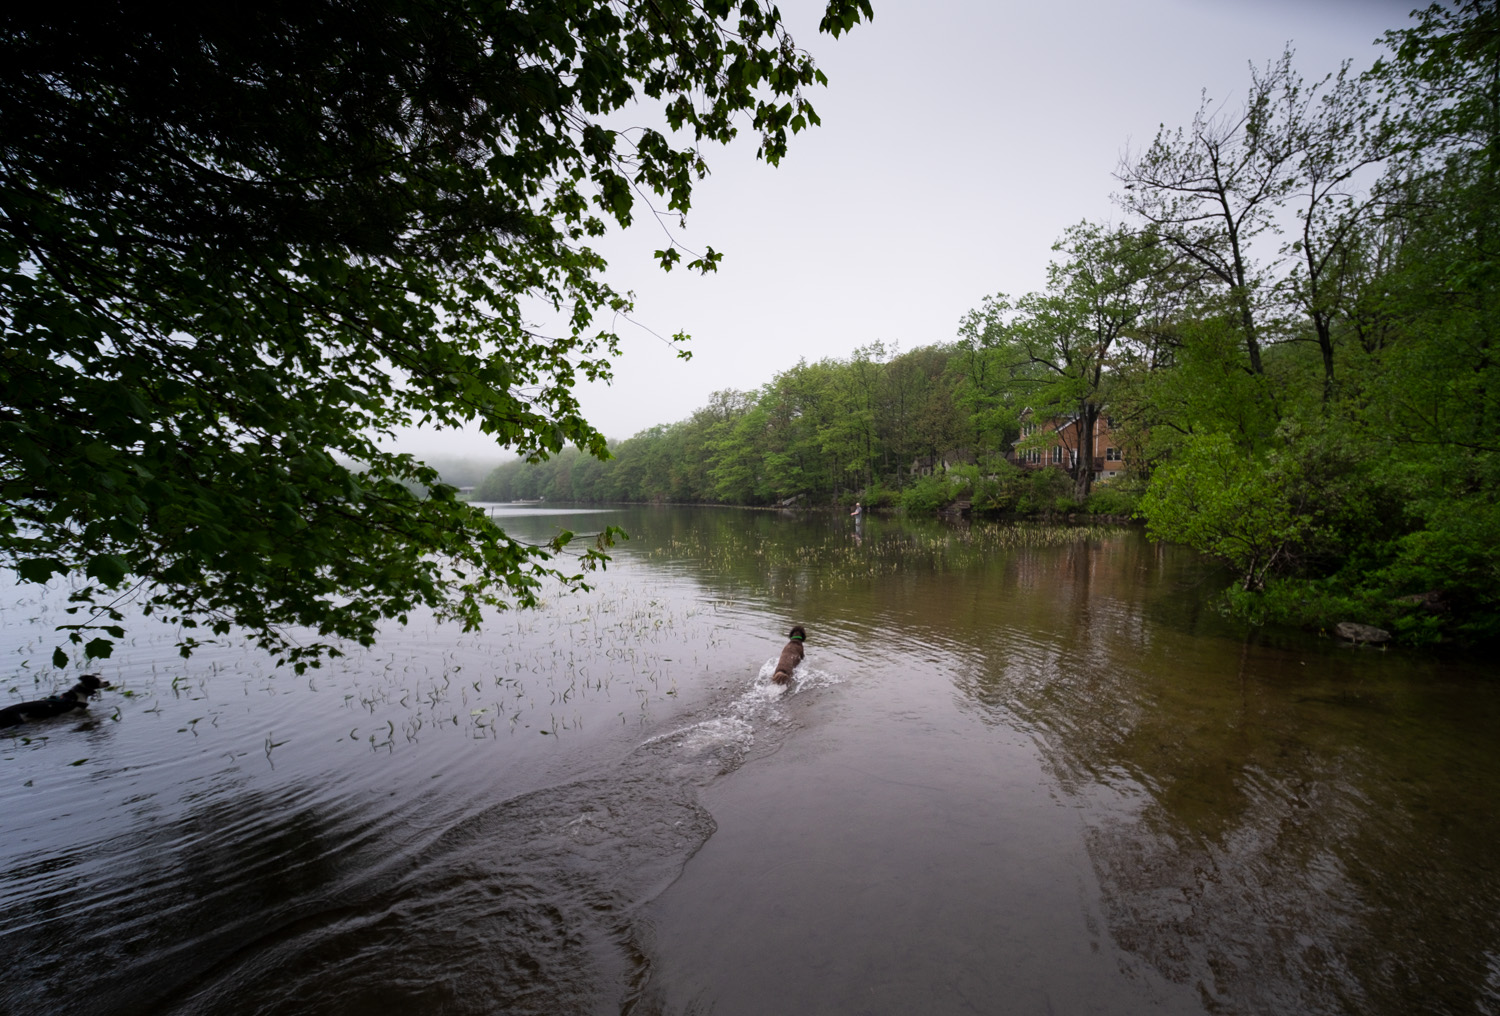
Mike and Dog at Moosic Lake (Fujifilm XT-10, Laowa 9mm f2.8)

This was my first experience with a Chinese made lens.  Both the aperture ring and the focus ring rotated smoothly, and the former had click detents at 2 stop increments. The front element has a hydrophobic coating said to resist water droplets and mist.  The lens however, is not billed as weather-sealed. From the standpoint of built quality  it certainly felt like pretty good value.

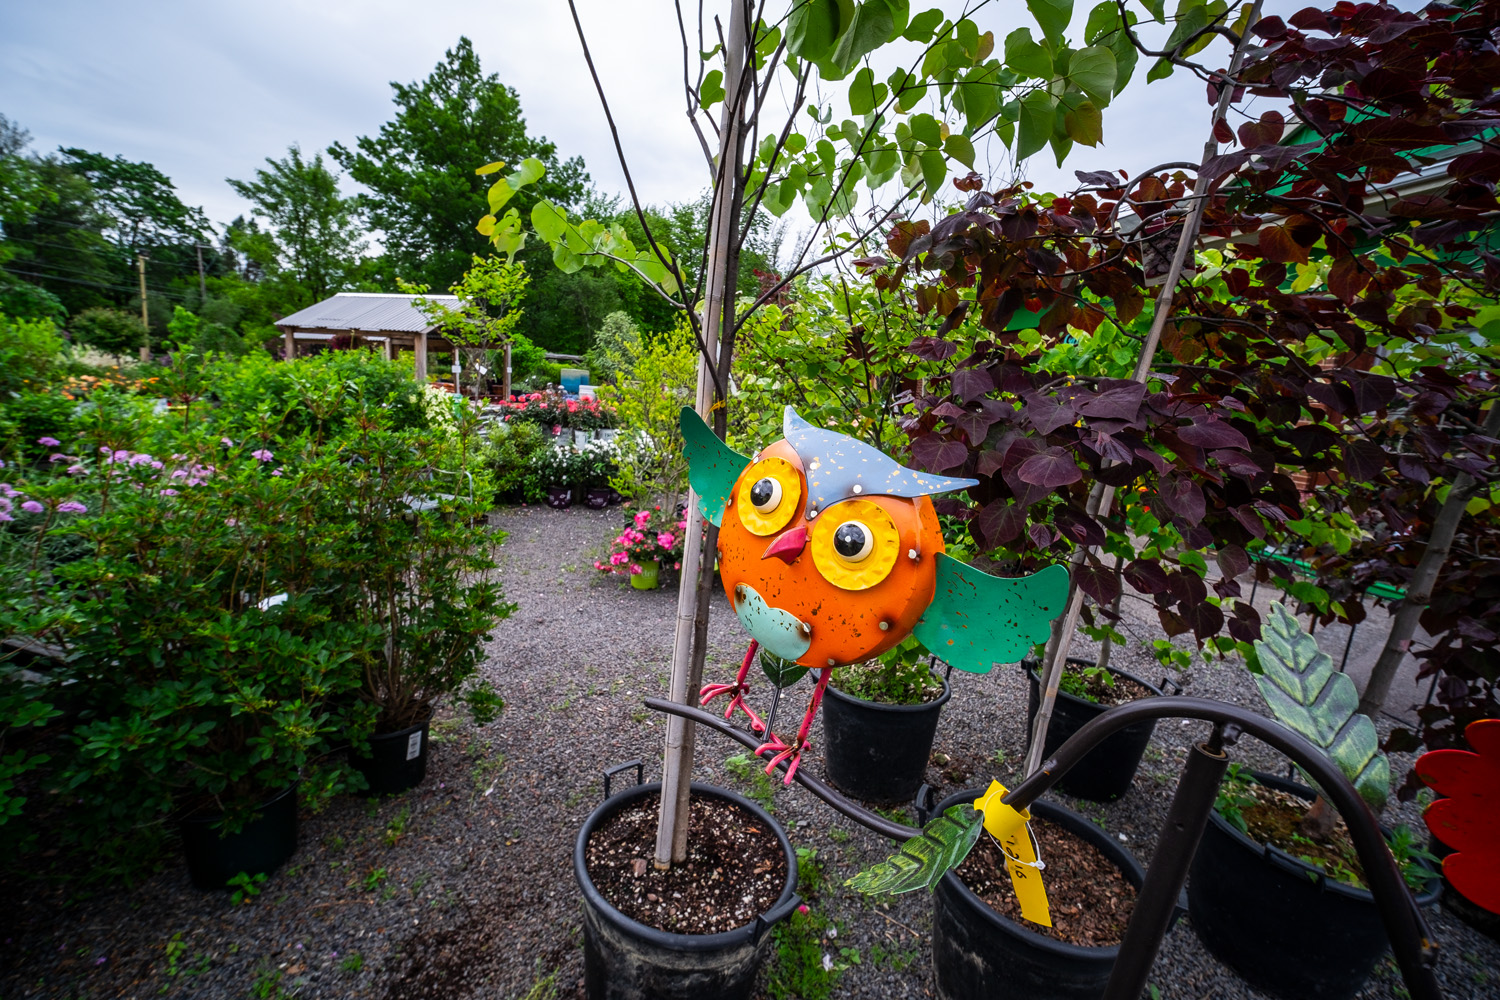
Owl at Berger’s (Fujifilm XT-10, Laowa 9mm f2.8)

Image quality was interesting.  This is not a fisheye lens and is designed to be rectilinear.I rarely found the need to set the aperture wider than perhaps f5.6 and found that from there to perhaps f11 the lens is not only very sharp in the center, but acceptably so in the corners. I have very little expectation that a modestly priced, ultra wide lens would be sharp edge to edge.

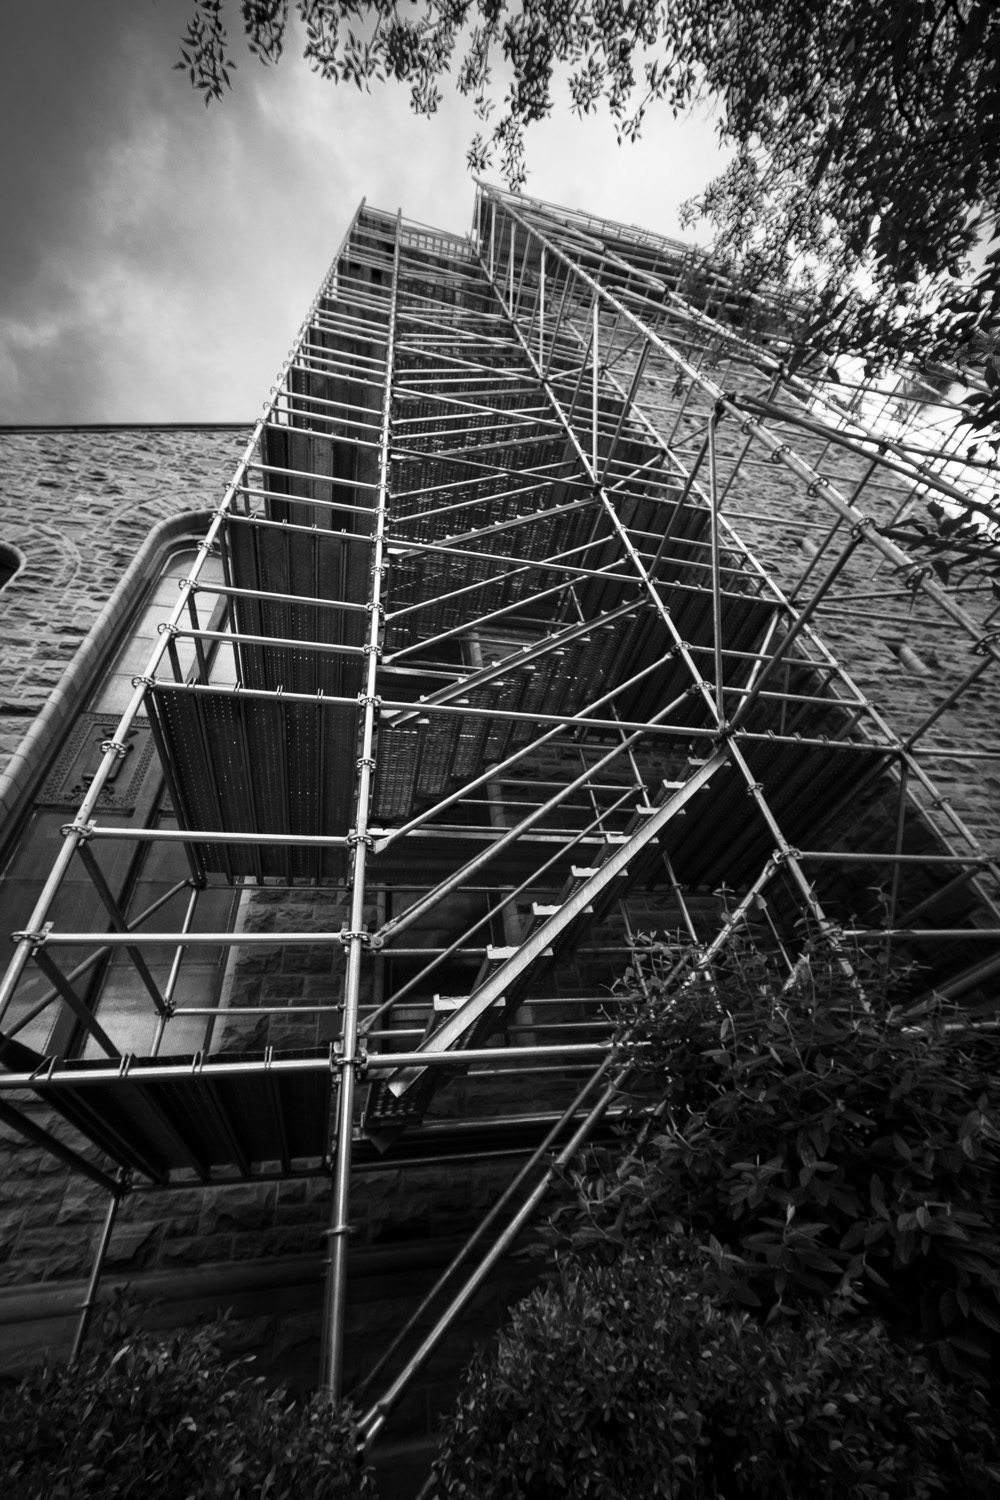
Scaffolding (Fujifilm XT-10, Laowa 9mm f2.8)

What was surprising was the light fall-off.  There is considerable corner shading even at tighter apertures, though obviously this can be easily corrected in post. I think this is particularly noticeable, because unlike my Fujifilm lenses, the camera has no lens information to use to correct optical aberrations “in camera”. 

I tended to shoot this lens on my XT 10, as the articulating screen of that camera was useful to frame images in some of the unusual angles required for wide angle photography.  I found the best way to deal with focus, was  use the focus peaking feature of the camera, but most of the time to bunch the sparkly bits towards the foreground, to prioritize sharpness there.

I did not shoot people with this lens. An optic this wide tends to do unflattering things to faces, particularly if you are close enough to fill the frame.  And most casual subjects will be uncomfortable with the proximity that the lens requires. Stay tuned, though.

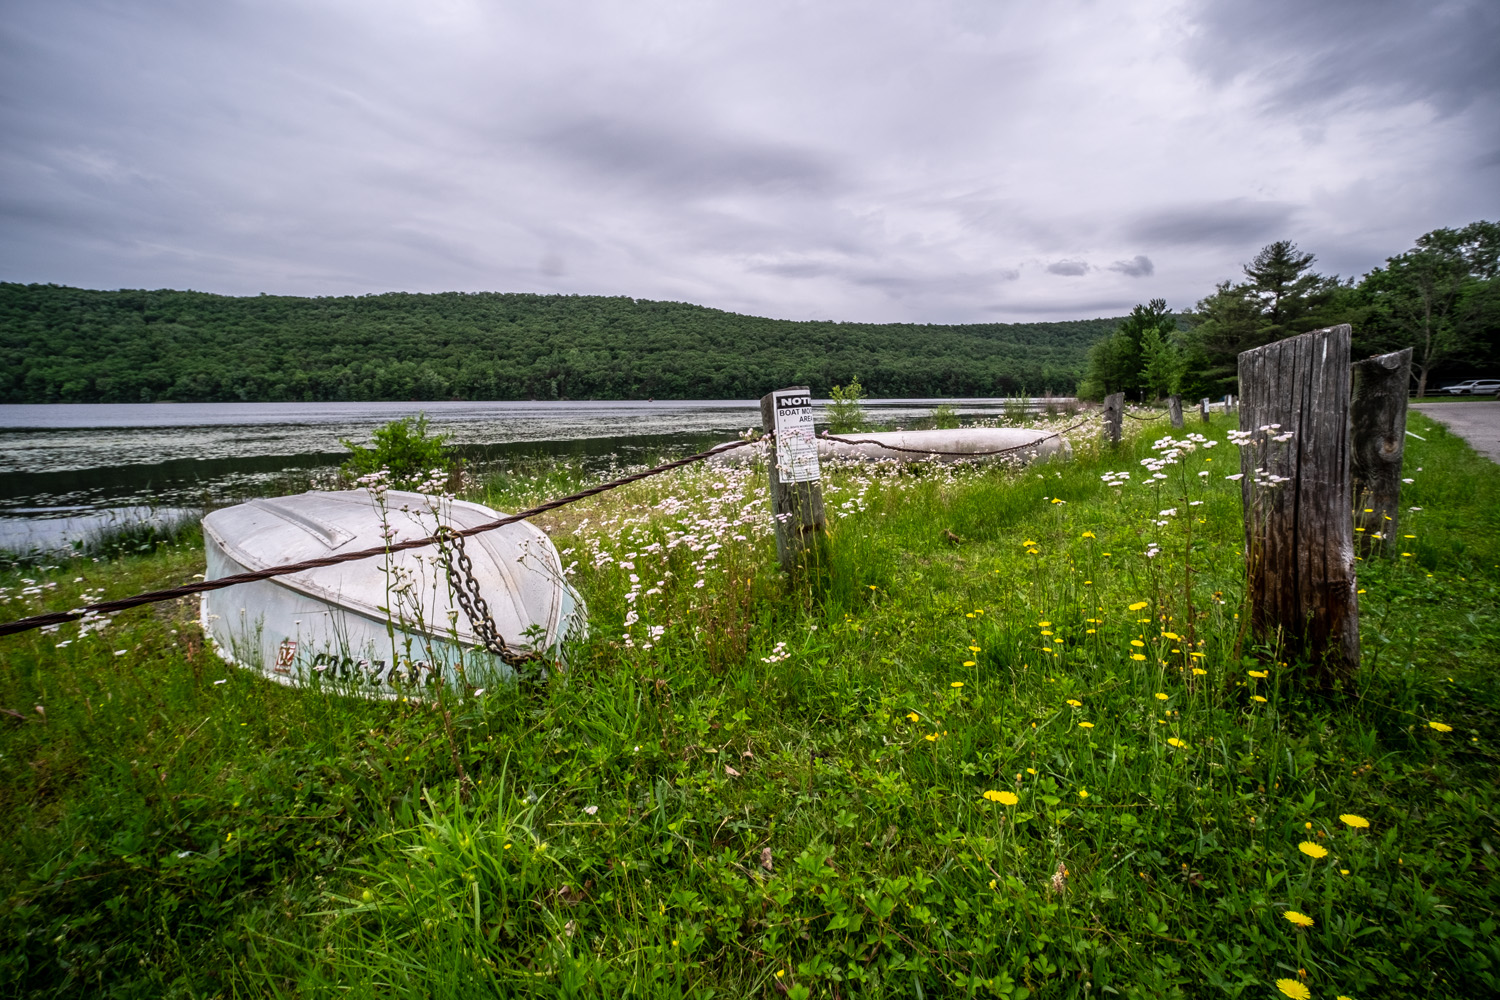
Boat and Chain, Lily Lake (Fujifilm XT-10, Laowa 9mm f2.8)

This brings up what for me at least,  is  a major disadvantage of shooting at this focal length.  In situations where I am not shooting professionally, I am particularly wary of invading of peoples privacy and their property,procedure this for the sake of what is essentially my hobby. 

Particularly in rural areas, when armed with an ultra wide lens, you simply cannot take advantage of every scene.  In a cityscape though, where more interesting subjects are more freely accessible, things get somewhat easier.  Sometimes however, no matter where you are, it may just be impossible physically to get close to a subject or location to the degree the focal length requires.

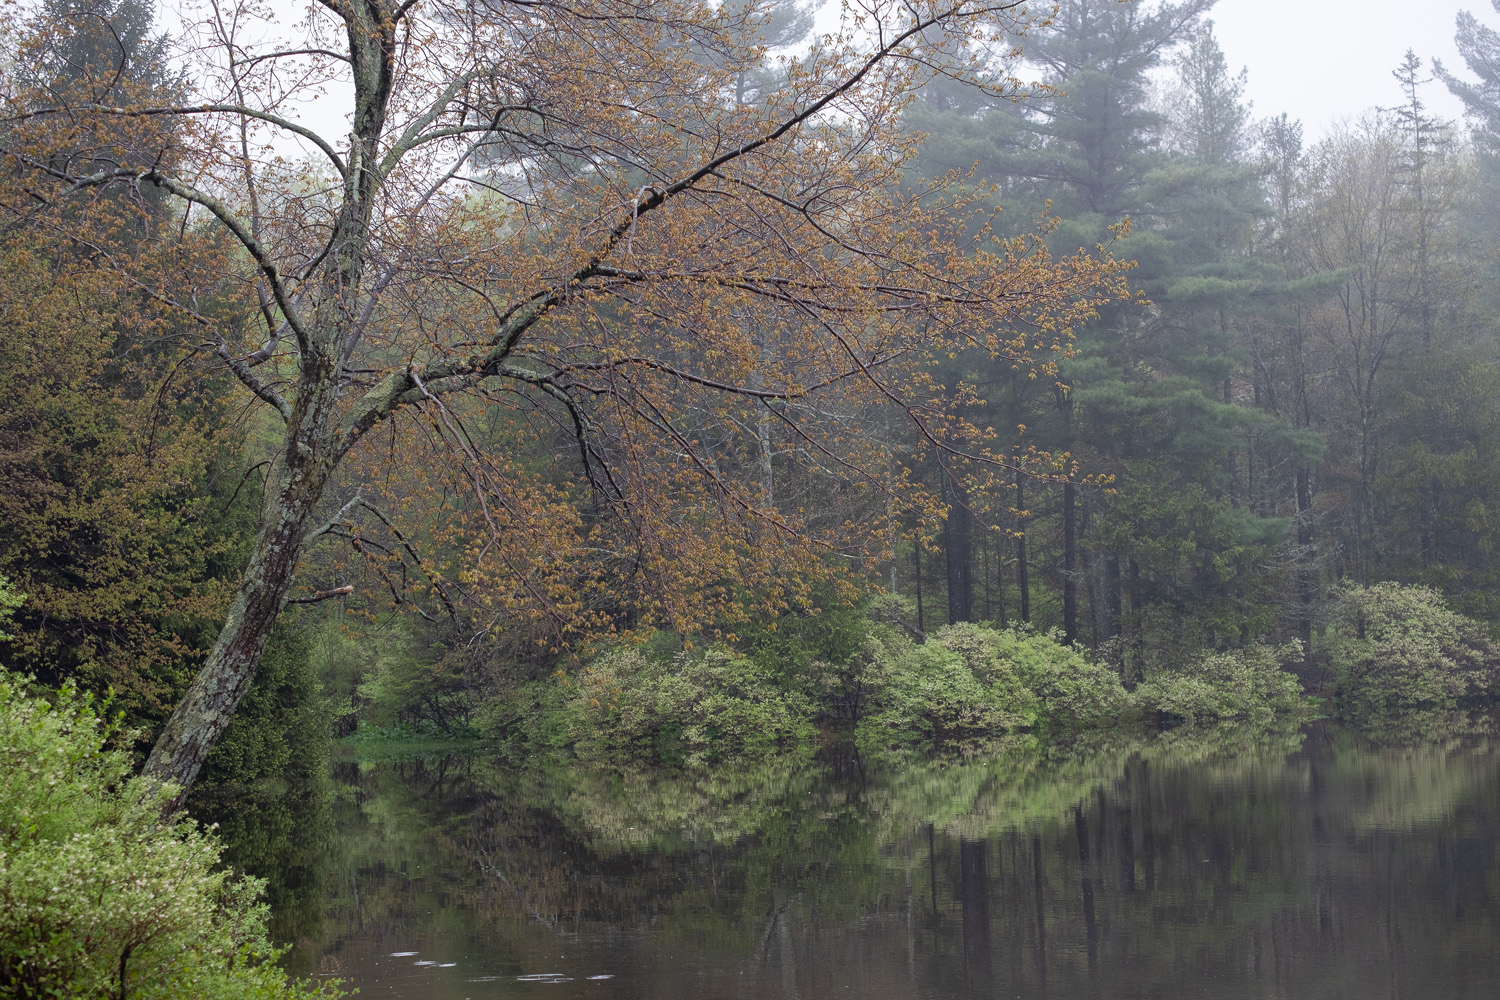
Foggy Spring Morning, Fountain Lake (Fujifilm XT-10, Laowa 9mm f2.8)

I have been shooting the lens for several weeks.  I’m starting to develop a better sense of what will work with an ultra wide and what will not; my percent of “keepers” is going up.   Now, when I’m opening up a card in Photoshop, I am seeing images that often intrigue me, but don’t look like my previous work.

Which I’m pretty sure was the goal of this exercise.

The Gear that I Use: The Memento Digital Picture Frame


Scene on Bow Creek (Fujifilm X Pro 2, XF 55-200 mm f3.5-4.8)

As a photographer, it is natural to want to display your work for others to see.  Obviously, with social media, you can offer essentially the world (or, at least your followers), your latest efforts.  But what about your guests at home?  Printing and framing, are expensive and for me, impractical for the number of images I  would like to display throughout the year. 

Now you can certainly show work on a computer monitor, but this isn’t something that house guests think to seek out.  Coaxing someone to review your work on your computer always seem to me to be akin to breaking out the slide projector after dinner.  It makes most people cringe.

So I was on the website Luminous Landscape recently.  They posted a review, of two fairly novel products that looked really interesting to me, especially as I re-decorate, my home office workspace.  As it turns out, one can now purchase large digital display devices which are very appropriate for the wall display of photography.

Now digital picture frames have been around for a long time.  I have a 5 x 7 version sitting on the table in my den, which is pleasant for a slideshow of snapshots.  It is obviously too small and has insufficient resolution for serious work.  But there are apparently several manufacturers making display-worthy larger digital frames that offer a convenient and easy way to show one’s work (and other artistic works) in a gallery style.

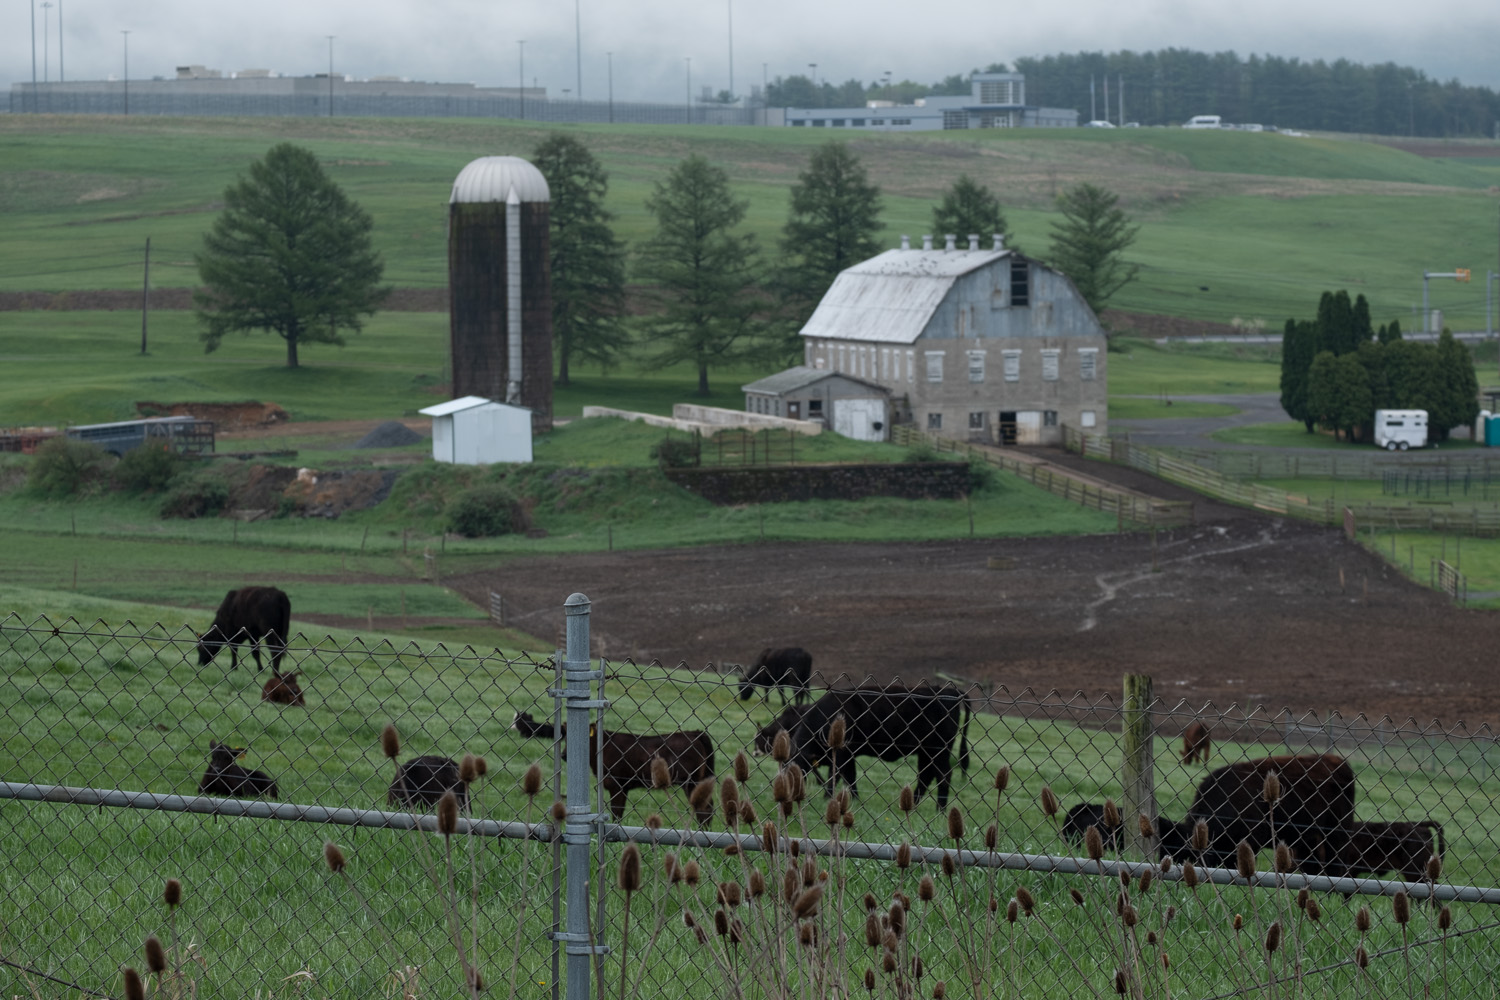
Cows at the Prison (Fujifilm X100f, TCL X100II)

The most aggressively marketed of these is the Meural.  This is a 27 inch, 1920 x 1080 resolution flat panel screen mounted to look like a matted framed object.  It is actually marketed along with a subscription service that allows you to display a huge variety of artworks licensed by the service.  It can be controlled from your computer or your mobile device.  It can also be loaded with your own images.  It has a unique motion sensor that allows you to swipe in front of the screen to change the artwork.

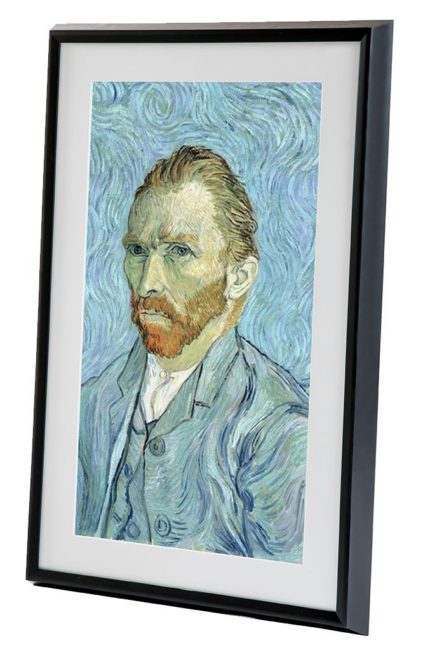
I, however, chose another product: the Memento Smart Frame.  It too looks like a matted frame, but for me, it has several advantages over the Meural product.  First, it has significantly higher resolution at 3240 x 2160 which also gives it a 3:2 aspect ratio rather than the 16:9 aspect ratio of the Meural.  It comes in two sizes: 25 and 35 inches, sold at US $599 and $899 respectively.

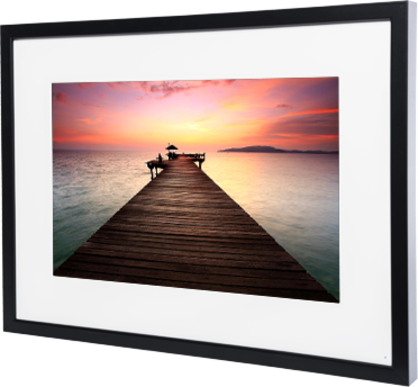
Memento Frame (Image courtesy of manufacturer)

On both the Meural and the Memento products, it is possible to display other aspect ratios with the rest of the screen masked.  I find the images look much better if they can be displayed full screen.  Given this, most images work better at the 3:2 format (the native format of most sensors) than in the wider ratio.

The Memento Smart Frame is mounted to a wall using a specially designed bracket.  The 35-inch frame is capable of being mounted both horizontally and vertically.  I have the 25 inch which is only designed to be mounted horizontally. It is connected to an electrical outlet by a thin power wire which is relatively easy to hide.  You can also buy an optional flat power wire that can be taped to the wall and painted over.

The frame is activated by downloading an app to a mobile device, or your computer.  You can then connect the frame to your WiFi.  The app allows you to create different folders with images for display.  It will store up to 3000 images as jpgs.

Foggy Morning, Fountain Lake (Fujifilm X Pro 2, XF 55-200mm f3.5-4.8)

You can decide to display 1 image or a variety of images which will display whatever time interval you select.  I will typically allow about 5 minutes between images so they can be appreciated, but a slideshow-like presentation would also be possible.

It also has the capability of having images uploaded remotely.  Thus it can be a sort of upscale version of those smaller digital frames marketed to seniors so their offspring can upload images of the grandchildren.

Another appreciated feature is the timer and light sensor which allows the frame to be off for prescheduled periods (like when I’m at work).  The frame can also be set to go off at night, and/or when there is no ambient light.  The frame also adjusts to the light level, and its color signature, contrast, and brightness can be adjusted in the app.

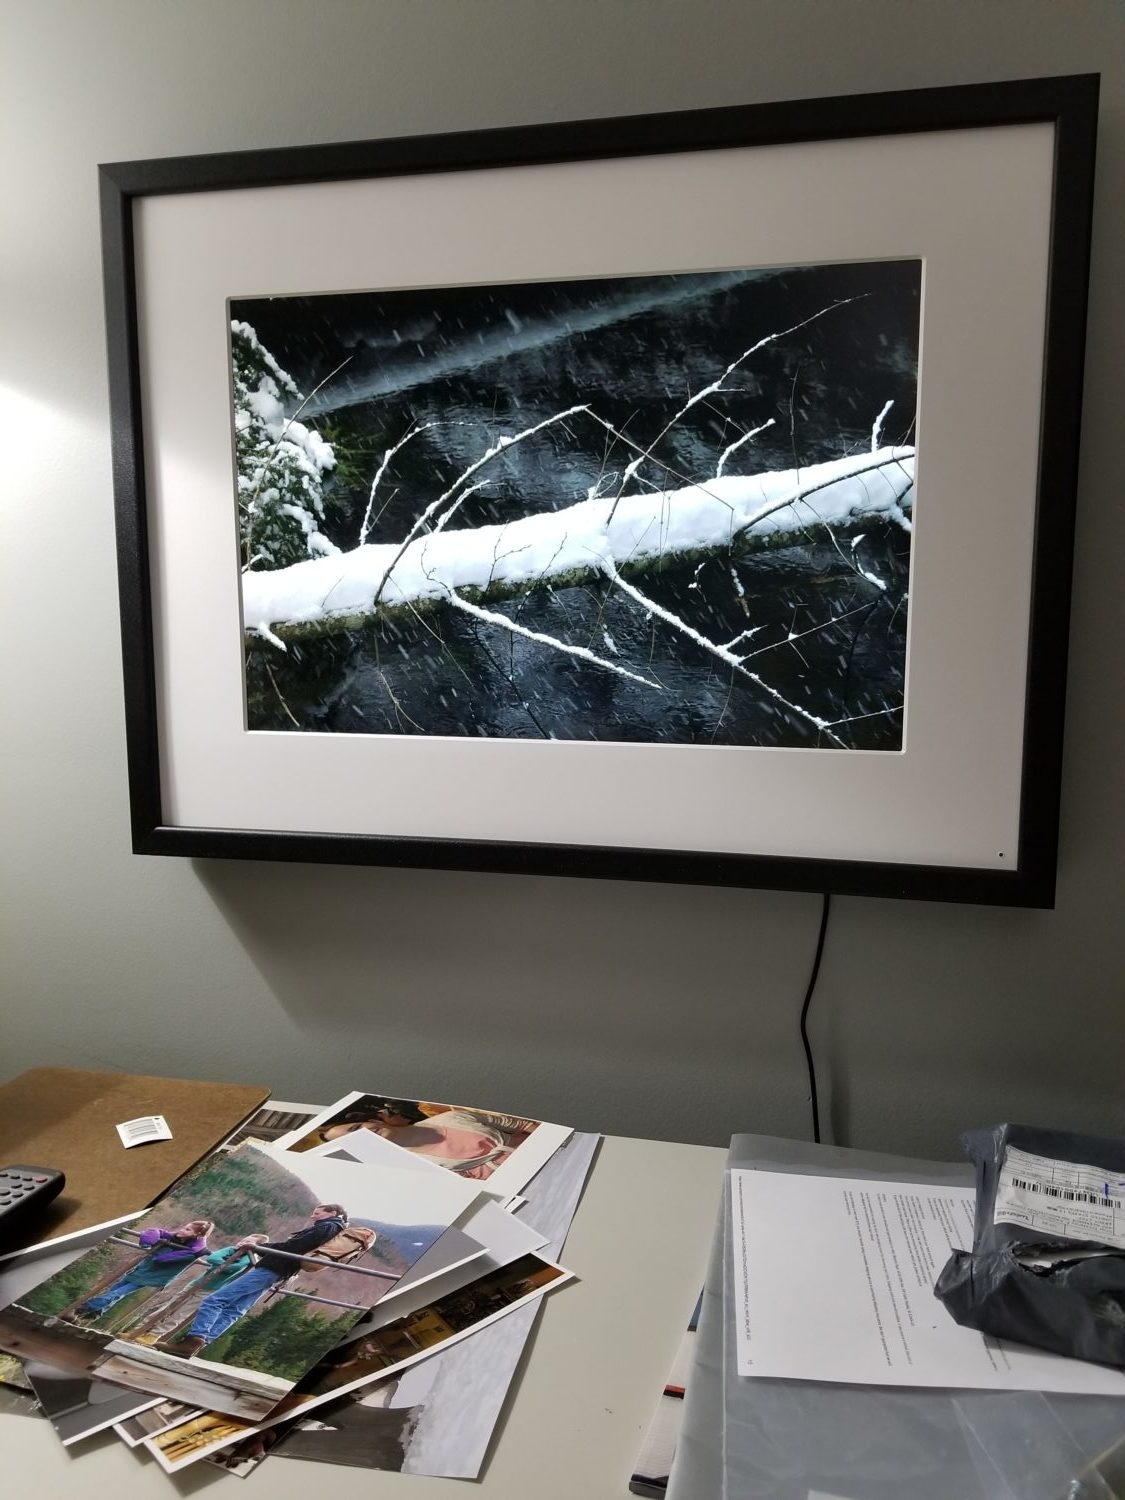
So how do images look?  From my point of view very nice indeed. I keep most of the controls near neutral, but it is important to adjust the brightness of the display so that the impression of backlighting is minimized. Once this is done, images are not immediately distinguishable from an actual framed print. Colors are vivid, and detail is excellent.  When displaying black-and-white in particular, the graduations are very pleasing, and blacks are deep.

Memento Smart Frame at Home (Samsung Galaxy S8)

I am so enjoying the Memento frame, I am thinking about buying a second one, perhaps a 35-inch version so that I can display vertically oriented images.  I also think of their other potential uses.

For instance, my last gallery show cost upwards of $2200 just for framing roughly 30 works.  In time when the price of these devices comes down a bit, I can imagine organizing a gallery show using four or five of these frames, each displaying perhaps 5 images sequentially.  Over the long run, this would save a lot of money and trouble (bubble wrapping and transporting framed prints is a nuisance). As opposed to the many hours it takes to create a standard display of prints, setting up this sort of show would be a breeze. I would only have to print the images I sell.

The Memento Smart Frame is a wonderful example of how technology is changing the nature of photography, and the display of artworks. And, it will only get better.

The Gear that I Use:  The BenQ SW2700PT Photo Editing Monitor.

The Lasr Snowfall? (Samsung Galaxy S8)

I am nothing if not a tightwad. I can’t help it.  Nonetheless, after approximately 20 years in digital imaging, I have finally broken down and acquired my first specifically-designed photo editing computer display.  This turns out to have been a really good idea, and one that was long overdue.

When I got started in computers back in the early 1990s, I bought what was for the time, a very nice computer desk, with a hutch and a matching printer stand.  It was quite modern and stylish for the times.  And just sufficient in size for a single CRT monitor.  I  have spent a lot of time at this desk.   More important yet, it was the place my two graduate computer engineer kids learned their craft. I think I developed a slight sentimental attachment.

Over the years I went through a variety of computer displays.  Cathode ray tubes, gave way  to flat panels, which were certainly more space efficient. When I became interested in digital photography, the display quality became more critical, and I would seek out IPS (in plane switching) panel displays of good quality. This technology allows one to view at wider viewing angles without a significant change in the appearance of colors.

Dedicated photography monitors, such as those made by companies such as Eizo, were just prohibitively expensive. Plus, my little desk from the 90s  limited my choices and prevented me from running dual monitors which would be very helpful both in photo editing, and for my work tasks.

Spring Flow on the Nescopeck (Fujifilm X100s)

My latest monitor was an 4/3 aspect ratio  NEC panel circa 2008 that  came highly recommended.  In the last several months, I noticed during calibration that it was  losing its luminance.  Given that pretty much all available monitors are now wide-screen format,  I was finally forced to bite the bullet and upgrade my situation.

Ultimately this led not only to new furniture, but to a significant redo of my home office/photo editing space.  I got rid of the old standby, and obtained  a large Hon desk for the work-space.  I painted the walls a more neutral gray, and changed the carpeting in attempt to match.  My desktop computer was already robust, so I merely needed a better display.  I looked at a variety of panels recommended by various websites, specifically  wide gamut panels that could display nearly 100% of the Adobe RGB color space.

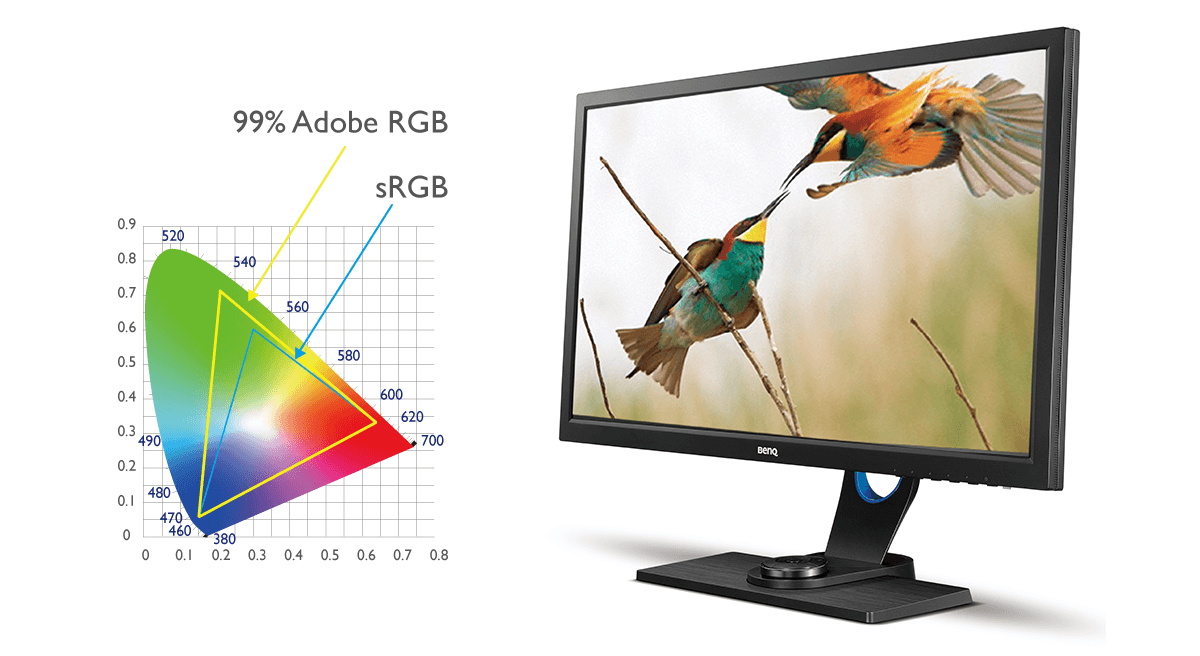
For the uninitiated, there are multiple so-called “color spaces”.  These refer to the different “languages”, a digital device uses to interpret  color information.  Most monitors can display all or part of the more familier narrow “gamut” sRGB color space.  This is the “language” for instance, that your smartphone uses.

Photographers, particularly those that will print their work, will generally prefer to work in Adobe RGB, a broader color space.  Better digital cameras can generally be set to capture this more vibrant “dialect”.  Relatively few monitors however are capable of displaying this wider range of colors accurately.

There are some that do, most of which come in at a fairly high price point.  I ultimately chose the Ben Q  SW2700PT, a very well-reviewed full gamut display for roughly $550 (a comparable Eizo professional display costs $2900 US).  Despite its reasonable cost, it performs in a way comparable to higher price products.

Image by BenQ

The display comes very carefully packed with its stand. Included in the box is a monitor hood, the mark of a serious piece of kit designed for critical photo editing.  It includes a handy remote control with a sufficient cord either to sit on your desk or in its cubby, on the monitor stand.

It was easily assembled.  For the time being I am partnering it with my NEC monitor which is still functional, but no will no longer be used for any serious photography work.

Please bear with me on the technology, for I am hardly an expert.  For serious photographers  there are multiple advantages to this monitor compared to a more generic display.  First, as I understand it, each SW2700PT has its color profile carefully calibrated in the factory prior to its delivery.  The individual monitor’s profile is included in the box.

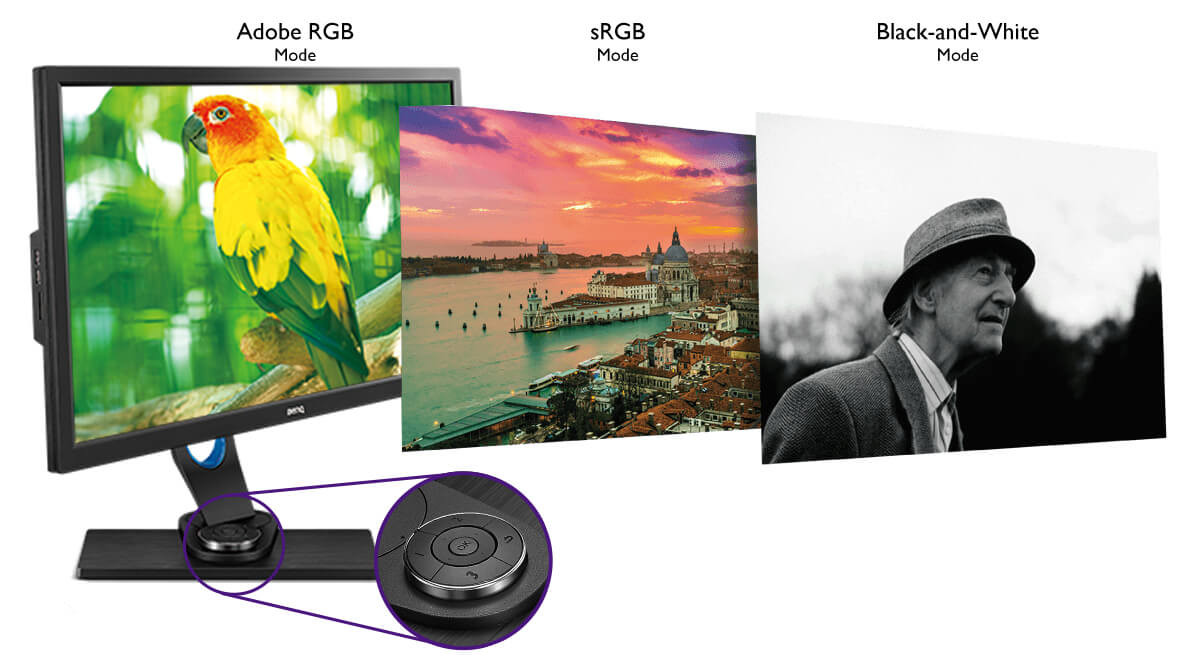
Color Space Comparison ( Image by BenQ)

Monitors used for photography need frequent calibration to known standards, using specialized on-screen sensors, and software.  Once calibrated, the resultant “profile” is stored on the computer’s hard drive. This allows you to send files that will look the same on other calibrated devices (i.e. printers) 

The SW2700PT has sufficient memory that it can retain the color profile within its own hardware, rather than requiring it to be stored on the computer’s hard drive.  You can download  BenQ’s own calibration software from their website, which used with your own color calibrator, will store profiles that are directly accessible to the monitor’s remote control.  Using BenQ’s software makes re-calibrations much more straightforward then using aftermarket software which are generally designed to accommodate multiple types of displays.

If you have ever reviewed images on a dedicated professional photography or printing workstation, you know they tend to look dim. Most of the time we intuitively set our monitors to be brighter, and higher contrast, than actually is appropriate in a calibrated printing work flow.

Unfortunately, if you use your computer for both printing and casual use, you can end up viewing the online world in a less vibrant way.  I put up with this for years.  If I did brighten the screen, I had to remember to set it back to a more appropriate brightness/contrast levels prior to a print job.  This was generally a guess, and resulted in a lot of wasted paper and ink. Until things were dialed in, my prints generally came out too dark.

This is where the remote control comes in.  There are 4 buttons.  One is used to access the display’s menus. The others access three color profiles: sRGB, Adobe RGB, and monochrome.  More importantly, because everything resides within the monitor, you can also set a brightness/contrast setting for each.

Color Space selection (Image by BenQ)

Thus, for normal web viewing, I naturally use sRGB, which I have set for a pleasantly bright viewing screen and color reproduction that aligns with the web.  Switching to AdobeRGB dims things down to allow accurate photo editing and printing.  It is interesting to me that although AdobeRGB images reviewed in photo editing software look really nice, web content is overly saturated and unnatural.

The appearance of the monitor in Adobe RGB is striking, and for the first time I was able to see onscreen, the full spectrum of color, and nuance that  modern cameras imagers acquire.  It also has a fairly high resolution at 2560 x 1440 (not quite 4K) which allows you to view impressive amounts of detail.  This turns out to be not only important in photography (for accurate sharpening), but makes it much more pleasant to view text and waveforms, which is a part of my online medical work.

The monitor has a variety of other nice features including multiple inputs ( DVI-D, DisplayPort 1.2, HDMI and multiple USB ports). There is also an SD card reader.

I’ve been using the BenQ now for multiple months.  This is a situation of “I had no idea what I’ve been missing”.  As I scan between the new display and my old NEC monitor, there is no comparison in terms of color reproduction ( particularly in AdobeRGB), and resolution.

I note that there is a new version from BenQ, the PhotoVue SW271 featuring full 4K resolution for roughly $1100.  I’m sure that this would be a striking display, but for me at least, I’m not sure the improvement would justify doubling the cost.

If you’re serious about your photography, particularly if you are printing your work, this monitor is well worth a look.  If you’re coming from a more generic display, I think you will wonder how you did without it.


April is not Really Spring.


Vernal Pond on the Farmstead Trail ( Sony RX100 mark III)

We never learn. 

Every year in the first weeks of April, I hear my warmth-loving friends lament  the  cool weather, and/or the lingering snow as though it were something unusual.  But this is April in the Pocono region.  Weather-wise, anything can, and does happen. It’s kinda like November, but in reverse. 

As I write this, It is April tenth.  The morning temperature is in the high twenties, headed for about 40 degrees later today. A half inch of snow has fallen overnight.

Now my childhood memories for this time of year tend to feature blissful afternoons after school. Dressed in shorts and a sweatshirt, it was warm enough to enjoy a pickup game of baseball (remember those) or to ride one’s bike.

The internet however, allows us to review historic weather data, readily available on multiple websites. Turns out this memory of mine is not really typical of early April in the Pocono region of Pennsylvania.  In fact I suspect that the warm afternoons I remember are representative of a fluke year, possibly 1967 ( I was 10) when April was rather warm. Most of the rest of my youth, the month was not so blissful.

Apple Trees in April ( Fujifilm X100f)

It takes only a quick trip to the Weather Underground website to discover that at least in my part of Pennsylvania, April starts out with typical high temperatures in the low 50’s and by the 30th of the month typically reaches the low 60’s.  Given this, there are opportunities for anything from bonnie summer-like days,  to significant snowfall events.  And oddly enough these weather swings tend to be fairly typical.

Oh, and by the way, May here is no picnic either.

For instance:  in our region, April 2017 was the warmest April on record.  The mean high temperature for the month was actually 66°, which is 3-4° higher than the average high temperatures for the very end of April.  And the month was warm pretty much from the first, to the 30th with only a few cool spells.

April on the Nescopeck ( Panasonic GH1, Lumix 14-42 f3.5-5.6)

Contrast that was 2016, which at least started out cool like this year prior to slowly warming as the month went on.

So April is the month, when I hedge my bets.  Once the snow melts, and the lawn firms up, spring cleanup is certainly reasonable.  Early-to-mid April  is however waaaay too early to take the plow off my UTV or put away the snow shovels.  This is true at least on the ridge-tops here, for as in the  fall, spring snowfall events  tend to be very altitude dependent.

I think back to April 16, 2007. It was a cold day in the Susquehanna river valley where I spend my workdays.  There was a wet snow falling, though it was unable to accumulate on the warm ground.  In late afternoon, I drove to my home (which is 13- 1400 feet higher in altitude than the hospital where I was working).

Last of April Snow (Samsung Galaxy S8)

I noticed as I climbed out of the valley, that first the snow started to stick,, and then accumulate, deeper and deeper as I gained elevation.  At my home, there was 16 inches on the ground.  That was the most robust snowfall event of the season. It was also the greatest accumulation difference valley to mountains I can remember.  It is hardly the only significant snow event I remember occurring during the fourth month of the year.

April Snow in the Pine Plantation (Fujifilm X Pro 2, Fujinon XF35mm f1.4)

So my approach with April is typically to stop complaining, and be grateful.  For even on the cooler days, it’s not as cold as it would’ve been in January when the sun arcs so much lower in the sky. When it’s warm, I bask in the sunshine and think back to that kid on his bicycle after school. 

I have faith that as the weeks pass, the warmth of spring will finally beat back the leftover chill of Winter.

Hopefully in June… towards the end of the month.